There’s something wonderfully nostalgic about a no bake peanut butter pie. Every time I make it, I’m instantly transported back to the summers when my mom would pull a chilled pie out of the fridge right as the afternoon heat peaked. We’d sit at the kitchen table, forks in hand, pretending we were going to wait for dinner—but of course, we never did.
What I love most about this recipe is how unpretentious it feels. It’s the kind of dessert you make when you want something indulgent but not fussy, something creamy and sweet that comes together with pantry staples. And honest truth? The first time I made this on my own, I remember being shocked at how little effort it actually took. I almost felt guilty accepting compliments. Almost.
This pie has become my go-to whenever we host friends last minute. It chills beautifully, slices cleanly, and always gets that wide-eyed “you made this?” reaction that secretly makes the whole thing even more satisfying. And the best part is that you don’t need an oven, any fancy tools, or more than a few minutes of actual work. Just mix, layer, chill—done.
If you’re looking for a dessert that tastes like comfort wrapped in a creamy cloud of peanut buttery goodness, this no bake peanut butter pie is exactly that.
Why I Love This Recipe

There are dozens of peanut butter pies out there, but this one stands out because of how deceptively simple it is. You don’t cook anything. You don’t temper eggs. You don’t melt chocolate over a double boiler or fuss with ingredients you’ll only use once.
This is a pie that delivers full flavor with minimum effort, and that simplicity is part of its charm. The filling is unbelievably smooth—almost mousse-like—with that rich peanut butter flavor that feels both nostalgic and indulgent. And because it’s chilled instead of baked, it takes on this dreamy, silky texture that you’d expect from a dessert made by someone who went to culinary school.
Another reason I love it is how versatile it is. You can make it in a graham cracker crust, an Oreo crust, or even a pretzel crust if you want a sweet-salty twist. You can decorate it with chopped peanuts, chocolate shavings, caramel drizzle, or nothing at all. It’s the kind of recipe you can adapt to your mood, the season, or whatever you have on hand.
And truly, this is the recipe people ask me for the most. It’s that dessert that becomes “your” dessert—the one you bring to gatherings, the one guests remember, the one your family requests again and again. It feels special even though it’s ridiculously easy, which to me is the best kind of recipe.
Ingredients for No Bake Peanut Butter Pie
One of the beauties of this pie is that the ingredient list is simple, familiar, and forgiving. Nothing feels intimidating, and most of the items you probably have at home already.
You’ll need a creamy peanut butter—something smooth and classic works best. Natural peanut butter can be used, but the pie sets better with a no-stir variety. You want that creamy consistency so the filling mixes easily and becomes perfectly silky after chilling.
Next, you’ll need softened cream cheese. This helps create the structure of the pie and pairs with the peanut butter to give that tangy-creamy richness. Leaving it at room temperature for 20–30 minutes makes mixing much easier.
For sweetness, powdered sugar works beautifully. It dissolves into the filling without leaving any graininess, which is essential for a smooth no bake dessert.
You’ll also need whipped topping or freshly whipped cream. I’ve used both, and each gives a slightly different texture. Whipped topping is sturdier and makes the pie firmer, while fresh whipped cream adds lightness and additional richness.
Then there’s the crust—store-bought or homemade. Graham cracker works wonderfully and offers that classic, buttery base. Oreo crust adds a chocolate-peanut butter combination that tastes like a candy bar. Pretzel crust offers that irresistible sweet-salty balance.
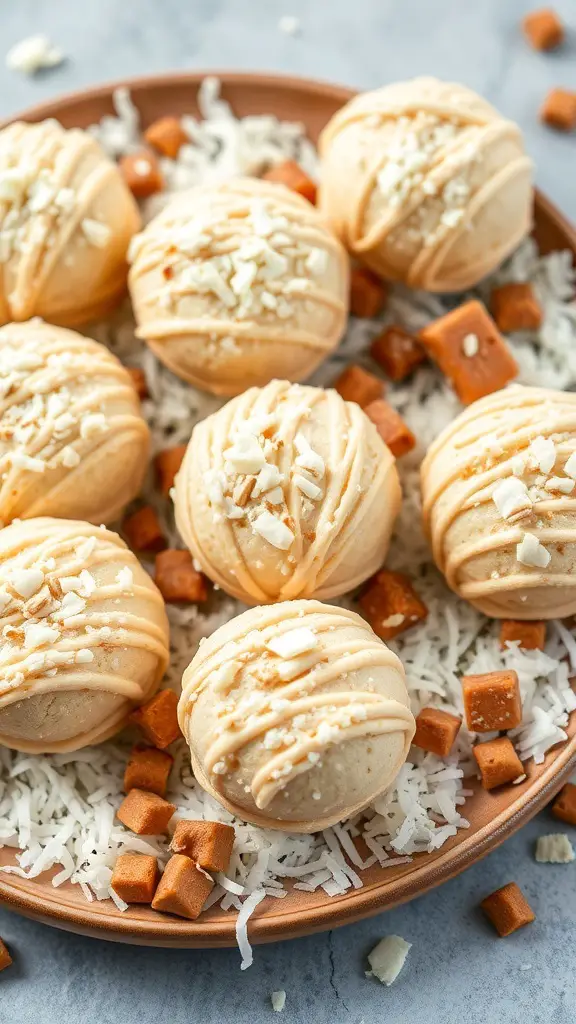
Finally, toppings. Optional but always fun. Crushed peanuts, mini chocolate chips, shaved chocolate, warm drizzled peanut butter—anything goes. And honestly, even completely plain, this pie is a showstopper.
How Much Time Will You Need
This is one of the quickest desserts you can make. The active preparation time is usually around 10 to 15 minutes. That includes mixing the filling and assembling the pie.
But chilling time is where the magic happens. The pie needs at least 4 hours in the refrigerator to fully set, though overnight chilling produces an even cleaner slice and a firmer texture.
So overall, you’re looking at:
- Prep: about 15 minutes
- Chill: 4 hours
- Total: roughly 4 hours and 15 minutes
It’s the perfect make-ahead dessert—ideal for holidays, busy days, or any time you want a dessert that works quietly in the background while you go about your day.
How to Make This No Bake Peanut Butter Pie
Here’s the step-by-step process I follow every time, and it always turns out perfectly.
Step – 1: Prepare the Crust
If you’re using a store-bought crust, simply unwrap it and set it aside.
If you want to make your own, combine crushed graham crackers (or Oreos) with melted butter until the texture reminds you of damp sand. Press the mixture firmly into a pie dish, making sure the bottom and sides are compact to avoid crumbling later. Set it in the refrigerator while you make the filling.
Step – 2: Soften the Cream Cheese
This part is important. Let the cream cheese sit at room temperature until it feels soft to the touch. This helps it combine easily with the peanut butter. Once softened, beat it with an electric mixer until smooth and creamy, with no lumps left.
Step – 3: Add Peanut Butter and Sweetener
Mix in the peanut butter, beating slowly at first so it doesn’t splatter. Once combined, add powdered sugar and continue mixing until the filling looks silky and uniform. At this stage, the mixture should be thick, smooth, and rich-smelling.
Step – 4: Fold In the Whipped Cream
Gently fold in the whipped topping or fresh whipped cream. This is where the pie gets its light, airy texture. You want to lift and fold, not vigorously stir, to keep the mixture fluffy.
Step – 5: Fill the Crust
Spoon the peanut butter filling into your prepared crust. Smooth the top using a spatula, and give it a few gentle taps to eliminate air bubbles.
Step – 6: Chill Until Firm
Place the pie in the refrigerator for at least 4 hours. If you’re in a hurry, the freezer can speed things up, but I prefer the refrigerator for the best texture.
Step – 7: Add Toppings Before Serving
Once chilled and firm, add your toppings. This can be as simple as chopped peanuts or as fancy as drizzled chocolate, peanut butter swirls, or whipped cream rosettes.
Substitutions
Here’s where things get fun because this recipe welcomes creativity.
If you don’t have traditional peanut butter, almond butter or cashew butter can be used for a slightly different flavor. They give the pie a more gourmet feel without changing the texture much. For those who like less sweetness, natural peanut butter is fine—it just makes the filling a little softer, so chilling a bit longer helps.
Crust substitutions are endless. Graham cracker crust is the classic, but a chocolate crust makes this feel extra indulgent. Pretzel crust brings in that irresistible salty crunch that pairs beautifully with sweet peanut butter.
If you’re avoiding dairy, you can experiment with dairy-free cream cheese and coconut whipped topping. The flavor shifts slightly, but the recipe still works.
Powdered sugar can be replaced with honey or maple syrup, but you’ll need to adjust the thickness by adding slightly more peanut butter or chilling longer.
Substitutions don’t just make this recipe adaptable—they make it fun. You can truly tailor this pie to your pantry and your preferences without sacrificing flavor or texture.
Best Side Dish for No Bake Peanut Butter Pie
While the pie is the star, a few complementary sides can turn dessert time into an experience. Three that work beautifully:
Fresh berries — Their tartness balances the rich creaminess of the pie.
Iced coffee or cold brew — The bitterness of coffee pairs perfectly with sweet peanut butter.
Vanilla ice cream — Soft, cool, and simple; it enhances the overall dessert without overwhelming it.
These sides round out the flavors and make serving this pie feel even more special.
Serving and Presentation Tips
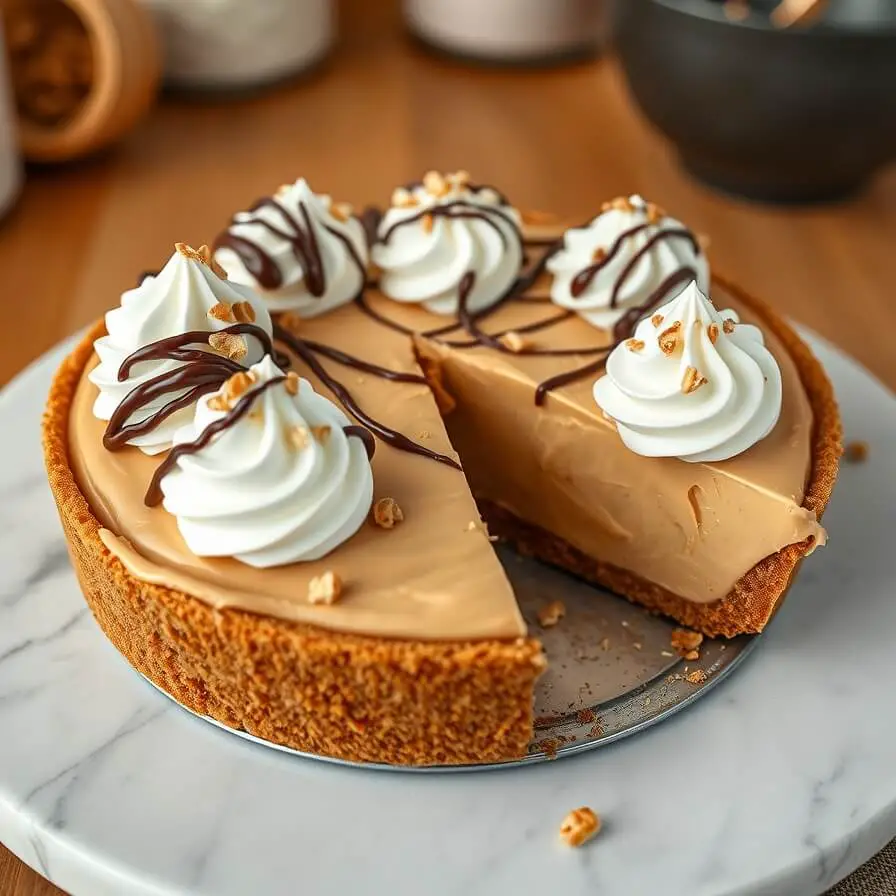
There’s something magical about slicing into a chilled peanut butter pie and seeing that smooth, creamy filling underneath the topping. But with just a tiny bit of attention to presentation, you can take this humble dessert from “homemade” to “this belongs in a bakery window.”
What I love most is how forgiving this pie is—it’s nearly impossible to make it look bad. Even a simple swirl on top or a sprinkle of chocolate is enough to make it feel intentional and polished.
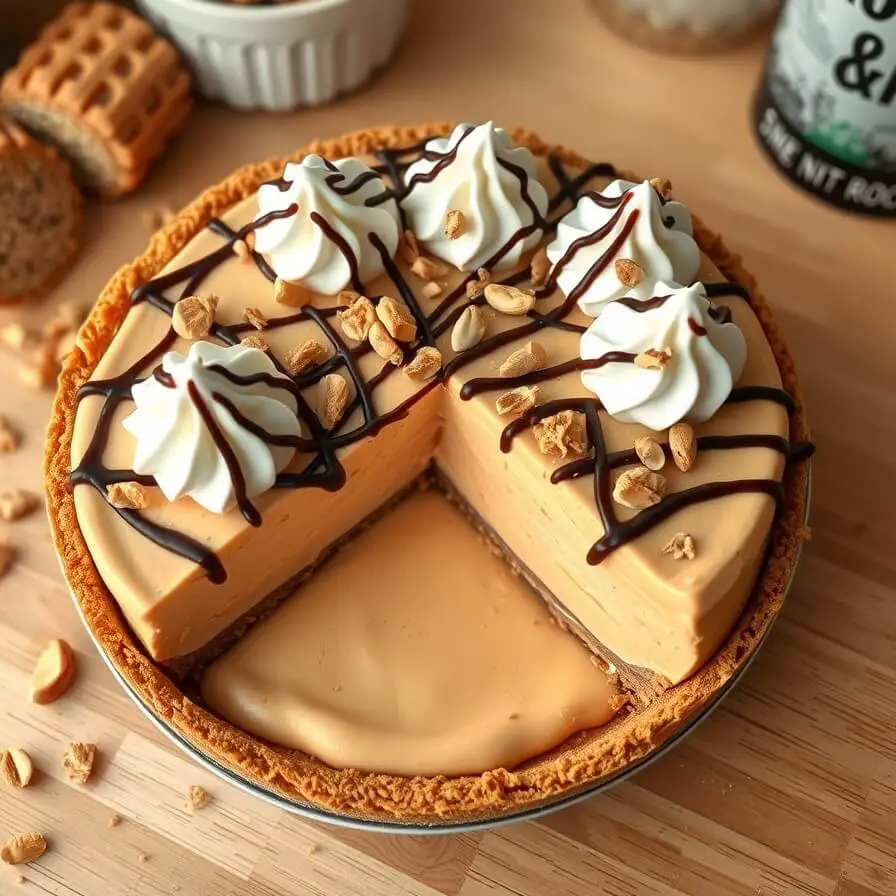
One of my favorite tricks is to add a light drizzle of melted peanut butter or chocolate right before serving. Just warm it for a few seconds until pourable, then zig-zag it over the chilled pie. It instantly gives the pie that café-style charm.
Another great idea is piling whipped cream around the edges. Not a full layer—just small clusters or swoops so the center still shows off that gorgeous creamy filling. If you want a little elegance, use a knife to create rustic swirls on top of the pie before chilling. The filling stiffens as it sets, so those swirls look beautifully defined once the pie is fully chilled.
And if you’re serving it at a dinner or gathering, garnish each slice individually with crushed peanuts or a pinch of shaved chocolate. It adds texture, color, and that restaurant-style flourish that makes guests feel extra special.
Tips and Tricks to Make This Recipe Better
The beauty of a no bake dessert is that small techniques make a surprisingly big impact. And over time, I’ve learned that this pie really rewards the extra five seconds you spend doing things the right way.
One of the best tips I can give is to beat the cream cheese very well before adding anything else. If your cream cheese starts out lumpy, it will stay lumpy, and no amount of mixing will fix it later. Smooth cream cheese equals smooth pie.
Another trick is to fold in the whipped cream gently. Don’t rush this step. The lighter you keep this mixture, the more mousse-like the final texture becomes. If you fold too aggressively, the pie will be denser.
If the filling seems too soft before adding it to the crust, give it a few minutes in the refrigerator. Slightly chilled filling spreads more evenly and holds its shape better.
Also, don’t skip the chill time. I know it’s tempting to slice into it early, but this pie becomes firmer, cleaner, and easier to cut when fully chilled—ideally overnight.
Finally, store your crust in the fridge (even if store-bought) while you make the filling. A cold crust grabs onto the filling and prevents sliding, especially when slicing.
Little tricks, big results.
Common Mistakes to Avoid
No bake recipes feel effortless, but a few small missteps can affect the texture or appearance. Here are the ones I see most often:
Using cold cream cheese. This makes the filling grainy because it won’t blend smoothly. Always soften it first.
Overmixing the whipped topping. If you mix too vigorously, the filling becomes heavy and loses its airy texture.
Not chilling long enough. Cutting the pie early will lead to sloppy slices, soft filling, and disappointment. Patience pays off.
Using natural peanut butter without adjusting. Natural peanut butter is looser and can make the filling too soft unless you chill it longer or increase the peanut butter slightly.
Warm crust. If the crust isn’t chilled before adding the filling, slices can slide apart or crumble.
Avoiding these mistakes makes all the difference between a pie that’s “good” and one that’s beautifully smooth and sliceable.
How to Store It
This pie stores exceptionally well, which is one of the reasons I make it so often. If you’re keeping it in the refrigerator, cover it loosely with plastic wrap or place it inside a pie container. It will stay fresh for up to five days.
For longer storage, you can freeze it. Wrap the entire pie tightly in plastic, followed by a layer of foil. When you’re ready to serve, thaw it in the refrigerator—never at room temperature—so it keeps its shape. Frozen, it will last about six weeks.
If you’re freezing individual slices, place parchment between slices so they don’t stick together. It makes pulling out a single serving much easier.
FAQ
Can I make this pie ahead of time?
Yes, in fact it’s ideal. Make it the night before for the best texture and the cleanest slices.
Can I use homemade whipped cream instead of store-bought?
Absolutely. Just whip heavy cream until stiff peaks form. It gives a lighter, richer texture.
What if I want it less sweet?
Reduce the powdered sugar or use natural peanut butter. Both lower the sweetness without changing the texture too much.
Can I use crunchy peanut butter?
You can, but it will create a textured filling. If you enjoy the crunch, go for it—it’s a fun variation.
Can I use a different crust?
Yes. Graham cracker is classic, but Oreos, pretzels, or vanilla wafers work beautifully.

No Bake Peanut Butter Pie Recipe
- Total Time: 4 hours 15 minutes
- Yield: 8 1x
- Diet: Vegetarian
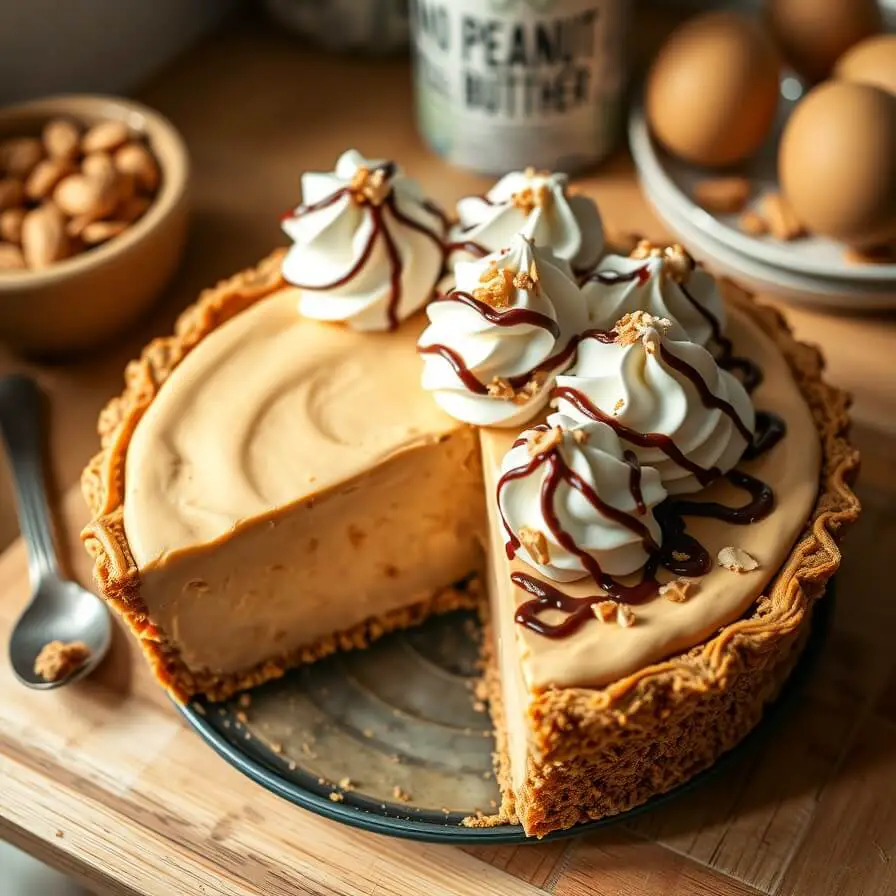
Description
This no bake peanut butter pie is a creamy, dreamy dessert that delivers big flavor with surprisingly little effort. The filling is silky and rich, blending peanut butter, cream cheese, and whipped cream into a mousse-like texture that sets beautifully in a chilled crust. It’s the kind of dessert you can make with pantry staples and minimal prep, yet somehow it tastes like something you’d order at a restaurant. Perfect for potlucks, weeknights, and holidays, this pie is easy, crowd-pleasing, and endlessly customizable with different crusts and toppings. If you want a dessert that feels nostalgic and indulgent without turning on the oven, this pie is the answer.
Ingredients
- Creamy peanut butter
- Softened cream cheese
- Powdered sugar
- Whipped topping or fresh whipped cream
- Graham cracker, Oreo, or pretzel crust
- Optional toppings: peanuts, chocolate, whipped cream
Instructions
- Beat softened cream cheese until completely smooth.
- Mix in the peanut butter and powdered sugar until silky and well combined.
- Fold in the whipped topping gently to keep the filling light.
- Spread into a chilled crust and smooth the top.
- Chill for at least 4 hours before adding toppings and slicing.
Notes
- Use cold crust for the cleanest slices.
- Chill overnight for the best texture.
- Add toppings right before serving for the freshest appearance.
- Prep Time: 15 minutes
- Cook Time: 0 minutes
- Category: Dessert
- Method: No Bake
- Cuisine: American
Nutrition
- Serving Size: 8
- Calories: 440
- Sugar: 22g
- Sodium: 310mg
- Fat: 30g
- Saturated Fat: 12g
- Unsaturated Fat: 15g
- Trans Fat: 0g
- Carbohydrates: 35g
- Fiber: 2g
- Protein: 8g
- Cholesterol: 35mg