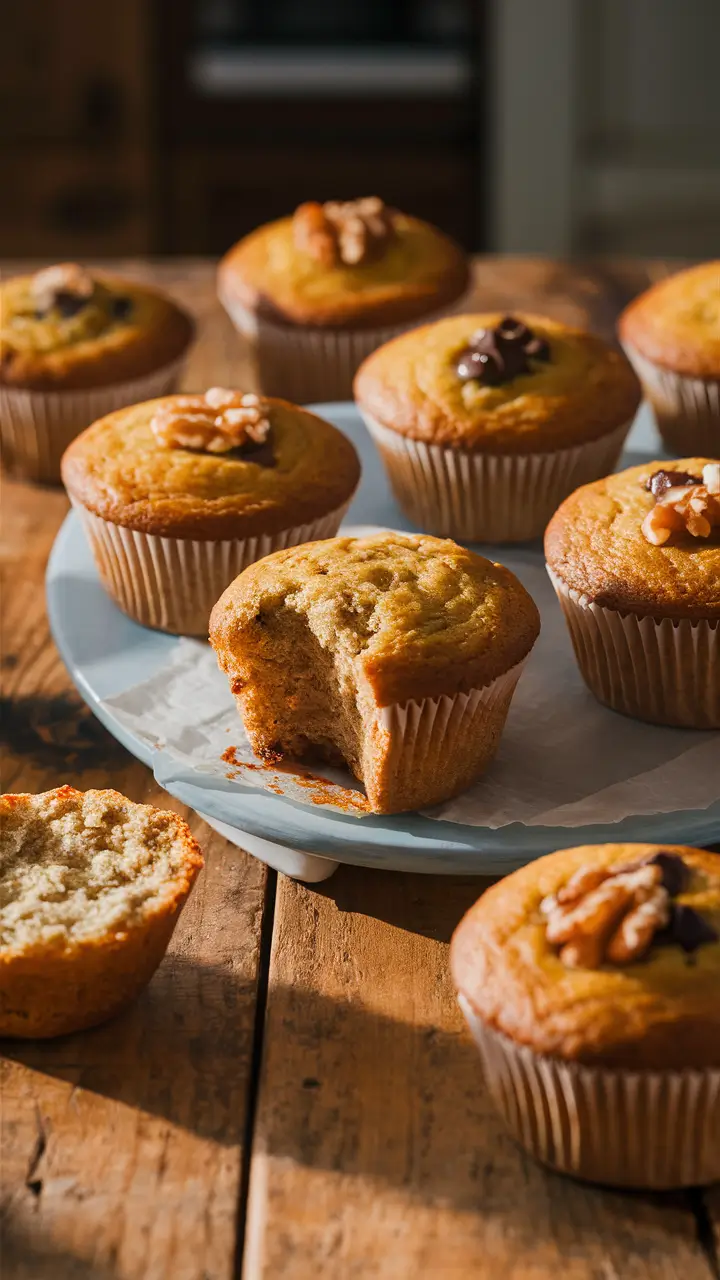
There’s something truly comforting about the scent of fresh muffins baking in the oven. For me, mini muffins became a go-to during busy mornings and afternoon tea breaks when I needed just a little something sweet without overindulging. They’re small enough to pop in your mouth but flavorful enough to satisfy any craving. This mini muffin recipe was born from those in-between moments—when I wanted something homemade, warm, and utterly delicious but didn’t want the commitment of a full-sized muffin.
Maybe you’ve experienced it too: you open the pantry and find bits of ingredients—just enough for a small batch. That’s exactly how this recipe came about. It’s quick, simple, and perfect for families, kids, or anyone who loves a soft bite of comfort. Keep reading, because this isn’t just another muffin recipe—it’s the one you’ll find yourself making over and over again.
Why I Love This Recipe?

Mini muffins are like the best of both worlds—they’re fun-sized yet pack all the flavor of their bigger counterparts.
There’s something irresistibly cute and functional about them. You can eat a couple without guilt, pack them into lunchboxes, or serve them at brunches and parties without the mess of slicing or crumbs. What really makes them special is how easily customizable they are. You can go classic with vanilla or chocolate chip, or dress them up with fruits, nuts, or even a swirl of cinnamon and sugar.
I love how this recipe brings people together. Kids love helping mix the batter or sneak a few chocolate chips, and adults appreciate the rich flavor and moist texture. These mini muffins are light, fluffy, and just the right level of sweet, making them ideal for both everyday snacking and special occasions.
Another reason I keep coming back to this recipe? It’s versatile. Whether you’re craving something cozy with a cup of tea or need a last-minute treat for unexpected guests, this one delivers—quickly and reliably.
Ingredients for Mini Muffins
When it comes to mini muffins, the ingredients are simple, but each plays an important role in getting that perfect bite—soft on the inside, golden on the outside.
The beauty of this recipe is that you probably already have everything in your kitchen. Let’s walk through what you’ll need and why it matters:
- All-purpose flour – This is the foundation of your muffins. It gives them structure while keeping them tender. For extra fluff, you can sift it first.
- Granulated sugar – Adds sweetness, but also helps in giving the muffins that lightly golden crust.
- Baking powder – Your rise agent. It helps the muffins puff up perfectly into those beautiful domed tops.
- Salt – Just a pinch balances the sweetness and enhances flavor.
- Egg – This acts as a binder and helps the muffins stay moist and rich.
- Milk – Adds moisture and softness. Whole milk gives the best results, but you can also use almond or oat milk for a dairy-free twist.
- Melted butter – Adds richness and a slight crisp edge. You can swap this with oil if you prefer a softer crumb.
- Vanilla extract – Gives that warm, sweet bakery smell and flavor.
- Optional Add-ins – Chocolate chips, blueberries, chopped nuts, or cinnamon—whatever your heart desires.
Each ingredient has a purpose, and when they all come together, magic happens.
How Much Time Will You Need?
The whole process from start to finish takes less than 30 minutes, making it an ideal go-to when time is short but cravings are high.
- Prep time: Around 10 minutes
- Baking time: 12–15 minutes
- Cooling time: 5 minutes
So in less than half an hour, you’ll have a tray of warm, bite-sized muffins ready to serve.
How to Make This Mini Muffin Recipe
This recipe is incredibly straightforward—even beginner bakers can master it on the first try. Here’s how to make them:
Step – 1: Preheat your oven
Set your oven to 350°F (175°C). Preheating ensures your muffins start cooking immediately, which gives them that nice, rounded top.
Step – 2: Prepare your mini muffin tin
Grease your mini muffin pan with nonstick spray or line with mini paper liners. This will prevent sticking and make cleanup easier.
Step – 3: Mix the dry ingredients
In a medium bowl, whisk together 1 ½ cups of all-purpose flour, ½ cup granulated sugar, 1 ½ teaspoons baking powder, and ¼ teaspoon salt. Set aside.
Step – 4: Whisk the wet ingredients
In another bowl, beat one large egg. Add ½ cup milk, ⅓ cup melted butter, and 1 teaspoon vanilla extract. Mix until fully combined.
Step – 5: Combine wet and dry ingredients
Slowly pour the wet mixture into the dry ingredients, gently stirring until just combined. Don’t overmix—it’s okay if the batter is a little lumpy. Overmixing makes muffins dense.
Step – 6: Add your mix-ins
Fold in ½ cup of your choice of chocolate chips, blueberries, or other add-ins. Don’t overdo it—just enough to scatter the flavor evenly.
Step – 7: Fill the muffin cups
Use a spoon or small cookie scoop to fill each cup about ¾ full. This gives them enough room to rise without overflowing.
Step – 8: Bake
Place the tray in the oven and bake for 12–15 minutes or until a toothpick inserted in the center comes out clean.
Step – 9: Cool and enjoy
Let the muffins cool in the pan for 5 minutes before transferring them to a wire rack. They’re best served warm, but also keep well.
Substitutions
Sometimes you need to adapt based on what’s in your pantry. Here’s how you can switch things up without sacrificing flavor.
- Milk – Swap with almond, oat, or soy milk for a dairy-free version. Buttermilk can also be used for a tangier taste and softer texture.
- Butter – You can substitute with vegetable oil or coconut oil. This will make the muffins even more moist.
- Sugar – Replace white sugar with brown sugar for a deeper, caramel-like flavor. Coconut sugar is also a great alternative.
- Flour – Use a 1:1 gluten-free flour blend if you need a gluten-free option.
- Egg – Replace with a flax egg (1 tbsp ground flaxseed + 3 tbsp water) if you’re going egg-free.
The key is to keep the ratios balanced, and you’ll still get that perfect muffin every time.
Best Side Dish of Mini Muffins
Mini muffins go great with both sweet and savory pairings. Here are three sides that turn snack time into a full experience:
- Greek yogurt with honey – The tangy creaminess of yogurt pairs perfectly with a sweet mini muffin.
- Scrambled eggs with herbs – If you’re serving these for breakfast, a protein-rich side balances the meal.
- Fresh fruit salad – Adds freshness and color to the plate, making it feel like a full brunch.
Serving and Presentation Tips
When it comes to serving mini muffins, presentation plays a huge role—especially if you’re serving guests or preparing them for a party.
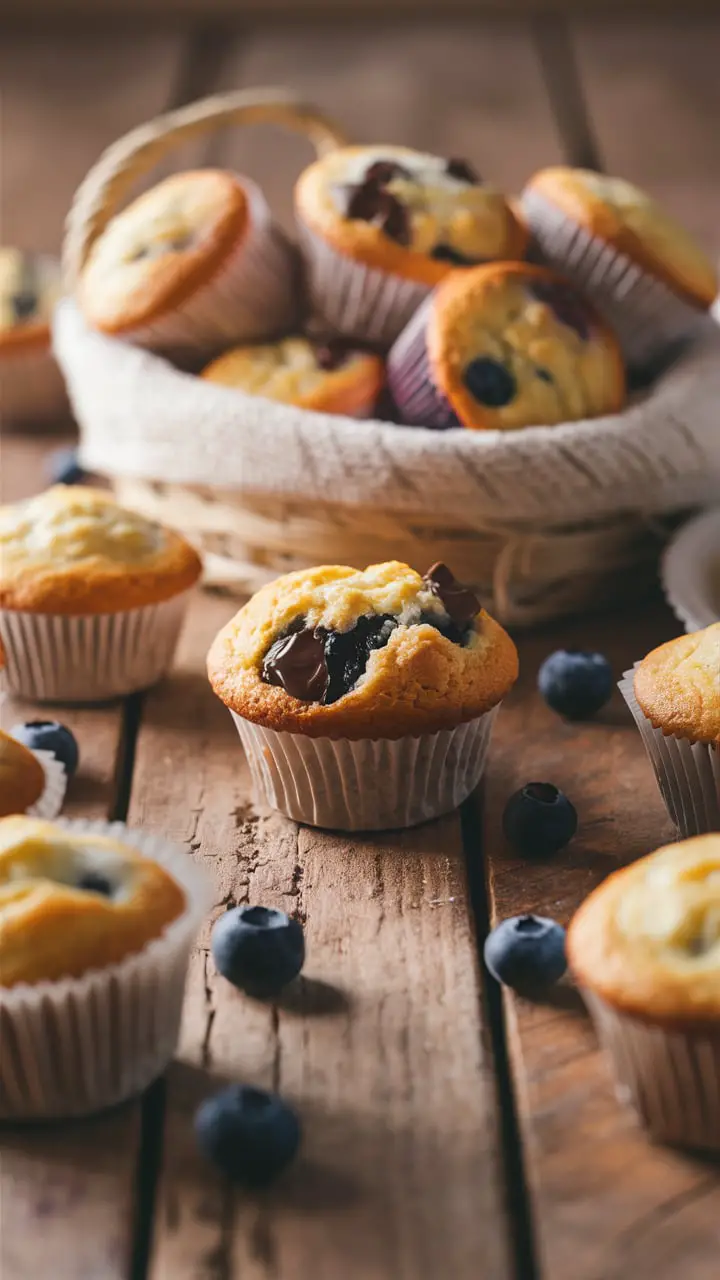
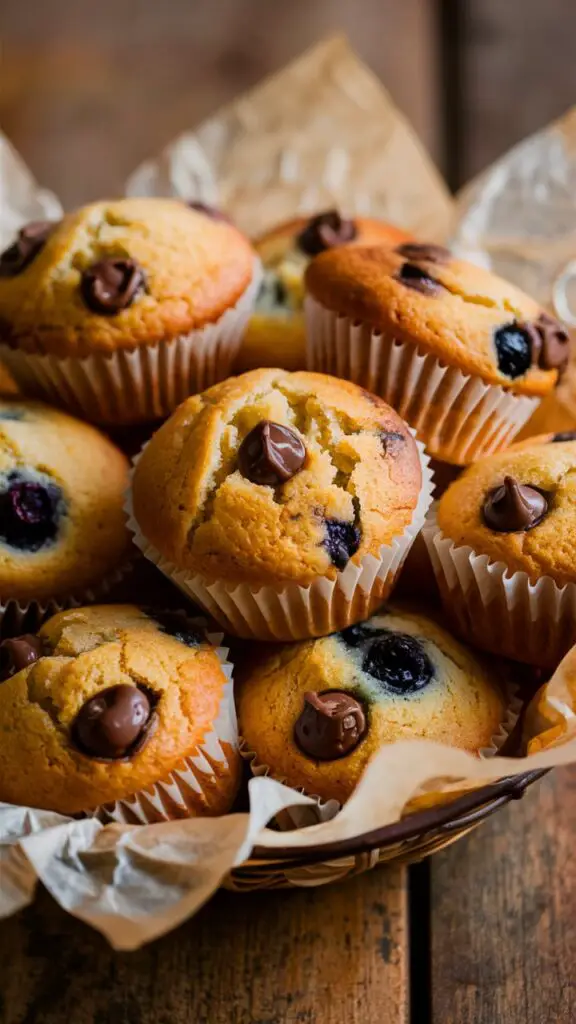
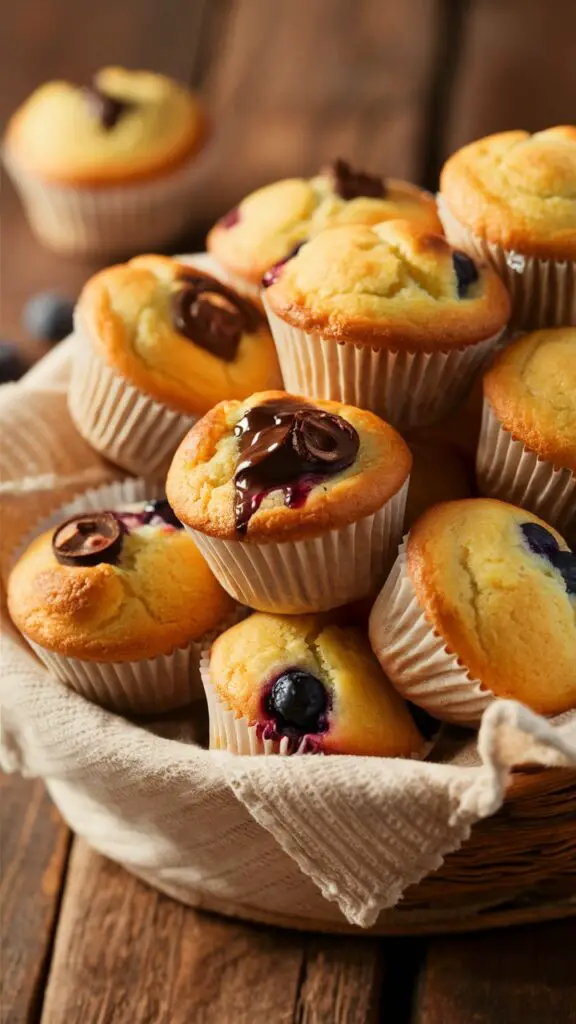
Mini muffins look best when placed on a tiered dessert stand or in a rustic basket lined with a linen napkin. Group them in small clusters instead of lining them up too neatly—this gives a cozy, homemade feel. If you’re adding glaze, drizzle it after arranging for a fresher look.
For an extra pop of elegance, sprinkle a pinch of powdered sugar right before serving, especially if they contain fruit like blueberries or raspberries. And if it’s a brunch table, serve with a small bowl of whipped butter or flavored cream cheese on the side. The little details elevate the experience.
Tips and Tricks to Make This Recipe Better
The beauty of mini muffins is how forgiving they are, but with the right tweaks, you can take them from “good” to “bakery-quality.”
- Room temperature ingredients – Let your eggs and milk sit out for a few minutes before baking. This helps them mix better and results in a more even texture.
- Don’t overmix the batter – Overmixing is the number one reason muffins turn out dense. Stir just until the ingredients are combined.
- Use a mini cookie scoop – For uniform sizes and even baking, a cookie scoop is your best friend.
- Rest your batter (optional but effective) – Letting the batter sit for 10–15 minutes before baking can create softer muffins with a better rise.
- Rotate the pan halfway – This ensures even browning, especially if your oven has hot spots.
Common Mistakes to Avoid
A lot can go wrong even with a simple mini muffin recipe—so here’s what to watch for:
- Filling the cups too much – This leads to overflow and misshapen tops. Stick to ¾ full.
- Opening the oven too early – It’s tempting to check, but this can cause your muffins to collapse. Wait until at least the 12-minute mark.
- Using cold melted butter – If your butter solidifies after melting, it won’t mix properly. Make sure it’s lukewarm, not hot or cold.
- Skipping the liners or greasing poorly – If you forget to grease the pan or use low-quality liners, your muffins may stick and crumble.
- Not testing with a toothpick – Don’t rely on time alone. Always check doneness by inserting a toothpick in the center—if it comes out clean, you’re good.
How to Store It
Mini muffins store surprisingly well if done right.
- Room Temperature: Place them in an airtight container lined with paper towels. They’ll stay fresh for up to 3 days.
- Refrigeration: You can refrigerate them for up to a week, but they might dry out slightly. A quick microwave warm-up brings them back.
- Freezing: These muffins freeze beautifully. Let them cool completely, then wrap in foil or place in a freezer-safe bag. They’ll last up to 3 months. To reheat, just microwave for 20–30 seconds or toast in a low oven.
FAQ
Can I make the batter ahead of time?
Yes, you can refrigerate the batter overnight. Let it come to room temp for 15–20 minutes before baking.
Can I use whole wheat flour?
Yes, replace up to half of the flour with whole wheat. It’ll give the muffins a denser, nuttier texture.
How do I keep mini muffins moist?
Avoid overbaking, and store with a slice of bread or a paper towel in the container to absorb moisture.
Can I double the recipe?
Absolutely. Just make sure you mix in batches to avoid overworking the batter.
What’s the best muffin liner to use?
Parchment or silicone liners work best. Avoid paper liners with a waxy finish—they often stick to the muffin.

Mini Muffins
- Total Time: 25 minutes
- Yield: 24 mini muffins 1x
- Diet: Vegetarian
Description
These soft, fluffy mini muffins are your new go-to for quick snacks, kids’ lunchboxes, or casual brunch gatherings. Made with simple pantry ingredients and packed with customizable options, they’re ready in under 30 minutes. Whether you love them plain, fruity, or loaded with chocolate chips, these muffins are sure to hit the spot. Their small size makes them perfect for portion control, but don’t be surprised if you reach for a second (or third!). Ideal for freezing and great with a cup of tea or coffee, this is one of those recipes you’ll want to bookmark forever.
Ingredients
- 1 ½ cups all-purpose flour
- ½ cup granulated sugar
- 1 ½ tsp baking powder
- ¼ tsp salt
- 1 large egg
- ½ cup milk (whole or dairy-free)
- ⅓ cup melted butter
- 1 tsp vanilla extract
- ½ cup chocolate chips or fruit (optional)
Instructions
-
Preheat oven to 350°F (175°C) and grease or line a mini muffin pan.
-
In a medium bowl, whisk together flour, sugar, baking powder, and salt.
-
In another bowl, beat the egg and mix in milk, melted butter, and vanilla.
-
Combine wet and dry ingredients gently until just mixed.
-
Fold in any add-ins like chocolate chips or blueberries.
-
Fill muffin cups about ¾ full and bake for 12–15 minutes.
-
Let cool in the pan for 5 minutes, then transfer to a wire rack.
Notes
- For fluffier muffins, let the batter rest for 10 minutes before baking.
- Always test with a toothpick to ensure they’re fully baked.
- For added flavor, sprinkle cinnamon sugar on top before baking.
- Prep Time: 10 minutes
- Cook Time: 15 minutes
- Category: Snack / Breakfast
- Method: Baking
- Cuisine: American
Nutrition
- Serving Size: 1 mini muffin
- Calories: 85