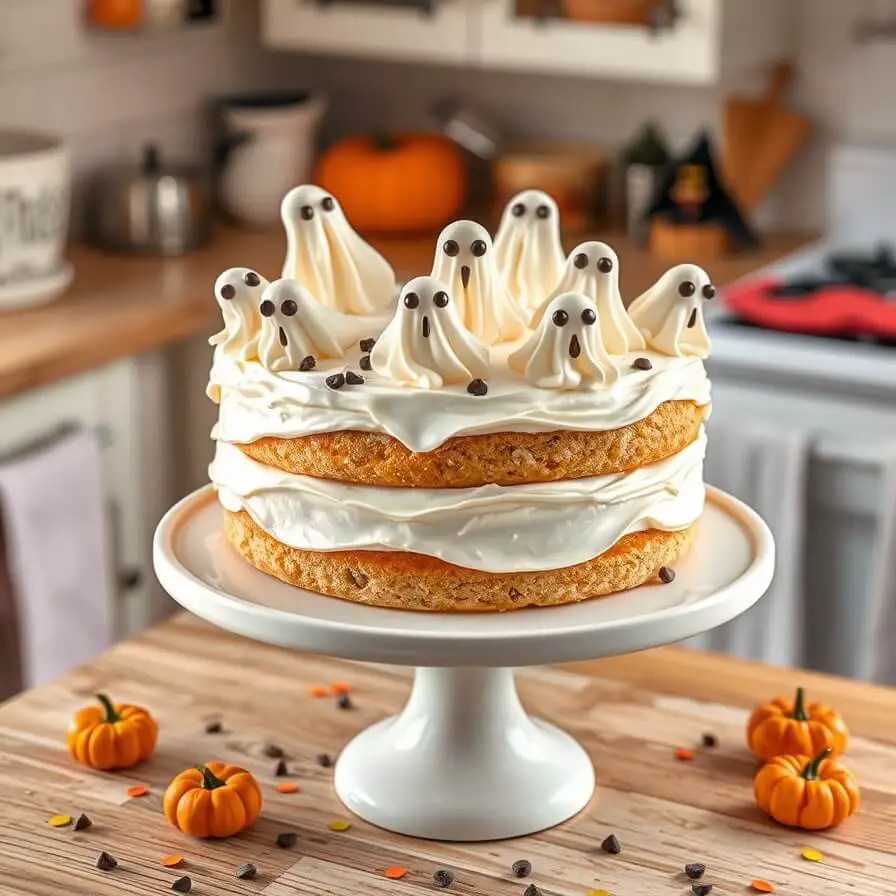
I still remember the first time I made a ghost cake—it was a chilly October evening, and my kitchen smelled like cinnamon and pumpkin spice. My kids were bouncing around, eagerly waiting for a Halloween treat, and I wanted something that was fun, spooky, but also irresistibly delicious. I didn’t want a simple store-bought cake with a ghost sticker slapped on top. I wanted a cake that felt magical, like it had come straight out of a Halloween storybook.
This ghost cake is not just about appearances; it’s soft, fluffy, and layered with a creamy frosting that’s just the right amount of sweet. It’s perfect for Halloween parties, school events, or even just a cozy night at home where dessert takes center stage. Over the years, I’ve tweaked the recipe to get that perfect balance of spooky and scrumptious. Every time I make it, it feels like Halloween magic has found its way into my kitchen.
If you’re looking for a cake that’s both playful and indulgent, this ghost cake might just become your new favorite tradition. It’s easy enough for a weekday treat but special enough to impress guests.
Why I Love This Recipe

What makes this ghost cake so special isn’t just its cute appearance—it’s the layers of flavor, texture, and creativity that make it a showstopper. The cake itself is incredibly soft and moist, but not overly sweet, which balances beautifully with the creamy, fluffy frosting. The ghost decorations are a playful touch, but they also give you room to get creative—you can make mini ghost cupcakes, or one big ghost cake with expressive eyes and a whimsical smile.
I love that this cake brings a sense of fun into baking. It’s one of those recipes where you can let your imagination run wild while still keeping it simple and approachable. Whether you’re baking with kids or hosting a Halloween party, it’s a recipe that creates smiles long before anyone even takes a bite. Plus, it’s versatile—you can add chocolate chips for extra indulgence, sprinkle edible glitter for a magical effect, or even experiment with different frostings to suit your taste.
The specialty of this ghost cake is its combination of light, airy cake, creamy frosting, and the playful Halloween theme. It’s a recipe that transforms baking from a routine task into a joyful experience, and that’s exactly why it has a permanent spot in my recipe collection.
Ingredients for Ghost Cake
For this ghost cake, you’ll need a mix of classic baking ingredients and a few fun extras to make it festive. I like to gather everything first—it makes the process smoother and less stressful. Here’s what I usually have on hand:
- All-purpose flour: This forms the structure of the cake. Make sure to sift it to keep the cake light and airy.
- Sugar: Granulated sugar works best, giving the cake just the right sweetness.
- Baking powder and baking soda: These are essential for a soft, fluffy cake. Don’t skip them!
- Salt: Just a pinch enhances the flavors.
- Butter: I use unsalted, at room temperature. It adds richness and moisture.
- Eggs: Large eggs are perfect for binding and adding structure.
- Vanilla extract: A high-quality vanilla extract makes a noticeable difference in flavor.
- Milk or buttermilk: Buttermilk is my personal favorite because it adds tenderness and a slight tang.
- Powdered sugar: For the frosting, this creates a smooth, sweet texture.
- Cream cheese or butter: Depending on whether you want a cream cheese frosting or classic buttercream. I usually stick with butter for this cake—it pairs beautifully with the light sponge.
- Food coloring (optional): White for ghost frosting, or black for eyes and details.
- Chocolate chips or edible markers: For decorating the ghost faces.
The ingredients are simple, but the way they come together creates magic. Every time I bake this cake, the smell of vanilla and butter filling the kitchen is an instant mood-lifter.
How Much Time Will You Need
This ghost cake isn’t a quick microwave cake—it takes a bit of love and attention, but it’s worth it. From start to finish, you’re looking at roughly 1 hour and 30 minutes.
- Prep time: 30 minutes
- Cook time: 25–30 minutes
- Cooling and decorating: 30–40 minutes
The beauty of this cake is that while it’s baking, you can prep the frosting, and once it’s cooled, the decorating process is half the fun. I like to carve out a quiet evening for it so I can enjoy every step instead of rushing.
How to Make Ghost Cake
Step – 1: Preheat your oven to 350°F (175°C). Grease and flour your cake pan, or line it with parchment paper to prevent sticking.
Step – 2: In a large bowl, whisk together the flour, baking powder, baking soda, and salt. This ensures even distribution and a fluffy texture.
Step – 3: In another bowl, cream the butter and sugar together until light and fluffy. Add the eggs one at a time, mixing well after each addition. Stir in the vanilla extract.
Step – 4: Gradually add the dry ingredients to the wet mixture, alternating with milk or buttermilk. Start and end with the dry ingredients. Mix gently until just combined—overmixing can make the cake dense.
Step – 5: Pour the batter into the prepared pan and smooth the top with a spatula. Bake for 25–30 minutes or until a toothpick inserted into the center comes out clean. Let it cool completely before frosting.
Step – 6: For the frosting, beat the butter until smooth. Gradually add powdered sugar, a little at a time, then add vanilla extract. If using, mix in a small amount of milk to reach the desired consistency.
Step – 7: Frost the cake evenly, smoothing the edges. Use a piping bag or spoon to create ghost shapes. Add chocolate chips or edible markers for eyes and mouths.
Step – 8: Chill the cake briefly in the refrigerator if needed to set the frosting. Then, it’s ready to serve!
Substitutions
You can customize this ghost cake in several ways without compromising taste or texture:
- Butter alternatives: If you want a lighter option, use margarine or a vegan butter substitute.
- Dairy alternatives: Almond, oat, or soy milk works perfectly in place of regular milk.
- Gluten-free option: Swap all-purpose flour for a 1:1 gluten-free baking flour.
- Frosting variation: Cream cheese frosting adds a tangy flavor that pairs beautifully with the sweet cake.
These substitutions allow you to make the recipe your own while keeping it approachable and delicious.
Best Side Dishes for Ghost Cake
While this cake is fantastic on its own, pairing it with complementary treats elevates the experience:
- Vanilla ice cream: The creamy coldness contrasts beautifully with the soft cake.
- Fresh berries: Strawberries, raspberries, or blueberries add a pop of color and freshness.
- Whipped cream: Light and airy, it complements the sweet frosting without overpowering it.
These simple sides turn your ghost cake into a complete dessert experience, perfect for family gatherings or parties.
Serving and Presentation Tips
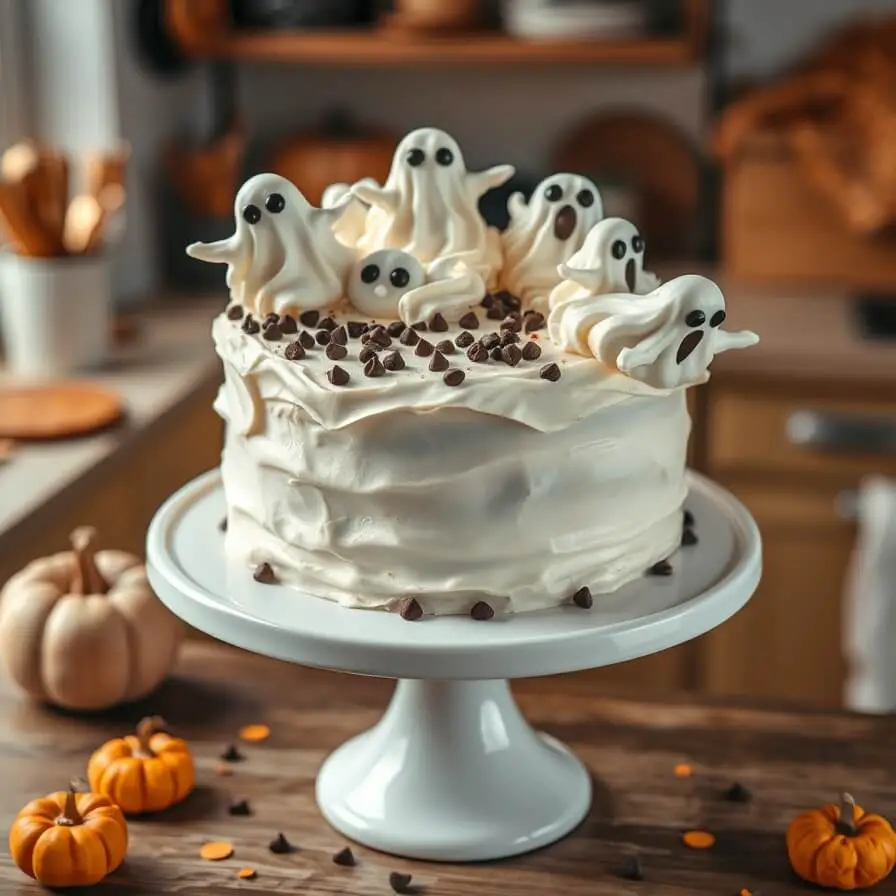
When it comes to serving this ghost cake, presentation makes all the difference. I love to add a little theatrical flair to my Halloween desserts—it’s all about creating that “wow” moment. One of my favorite tricks is to place the cake on a decorative cake stand, preferably white or black, which makes the ghost frosting pop. Adding a few scattered edible confetti, candy pumpkins, or chocolate bats around the cake gives it an instant festive feel.
For the frosting, I like to pipe the ghosts slightly raised off the cake surface. This gives them a 3D effect, making them look like they’re floating. If you have younger kids, let them help with the eyes and mouths using chocolate chips or edible markers. Their creativity always adds an adorable touch!
If you’re hosting a party, slice the cake into generous portions and serve with a small scoop of vanilla ice cream or a drizzle of chocolate sauce. I find that layering the cake on a dessert plate with a few berries or whipped cream not only looks appealing but also elevates the overall dessert experience. The key is to make it fun—Halloween is all about enjoying the little spooky details.
Tips and Tricks to Make This Recipe Even Better
Even though this ghost cake is simple, a few extra touches can make it spectacular.
- Room temperature ingredients: Make sure your eggs and butter are at room temperature before baking. This helps the batter mix evenly, resulting in a lighter, fluffier cake.
- Don’t overmix: Once you combine the dry ingredients with the wet, mix gently. Overmixing can make the cake dense and heavy.
- Frosting consistency: If your frosting is too soft, chill it for 10–15 minutes before decorating. If it’s too stiff, add a teaspoon of milk to loosen it.
- Decorating tips: Use a piping bag for the ghosts to make clean shapes. For a playful effect, slightly tilt the piping tip for wobbly “floating” ghosts.
- Flavor boosters: Add a pinch of cinnamon or nutmeg to the cake batter to give it a subtle autumn warmth. A tiny splash of almond extract in the frosting can also add depth.
These small adjustments can take a simple ghost cake to a show-stopping centerpiece for any Halloween gathering.
Common Mistakes to Avoid
Even experienced bakers can stumble on ghost cake. Here are some common mistakes I’ve learned to watch out for:
- Cake collapsing: This often happens if you open the oven too early or overmix the batter. Always check for doneness with a toothpick.
- Too sweet frosting: Avoid adding all the powdered sugar at once. Taste as you go to maintain a balanced sweetness.
- Frosting sliding off: This usually happens if the cake is warm. Always cool the cake completely before frosting.
- Flat ghosts: If your frosting is too thin, the ghost shapes won’t hold. Chill the frosting slightly or adjust consistency.
- Uneven layers: When slicing the cake, use a serrated knife and take your time to create even layers.
Learning from these mistakes ensures your ghost cake comes out perfect every time.
How to Store It
This ghost cake is best enjoyed fresh, but if you need to store it:
- Short-term storage: Keep the cake covered in the refrigerator for up to 3 days. I like to place it in a cake dome or wrap it gently in plastic wrap.
- Freezing: You can freeze the unfrosted cake layers for up to 2 months. Wrap tightly in plastic wrap and then foil. Thaw in the refrigerator before frosting.
- Frosted cake: If you need to freeze the frosted cake, place it in the freezer uncovered for 30 minutes to harden the frosting, then wrap it carefully to avoid smudging.
Proper storage keeps the cake moist and ensures the frosting stays intact, ready for your next spooky celebration.
FAQ
What makes this cake a ghost cake?
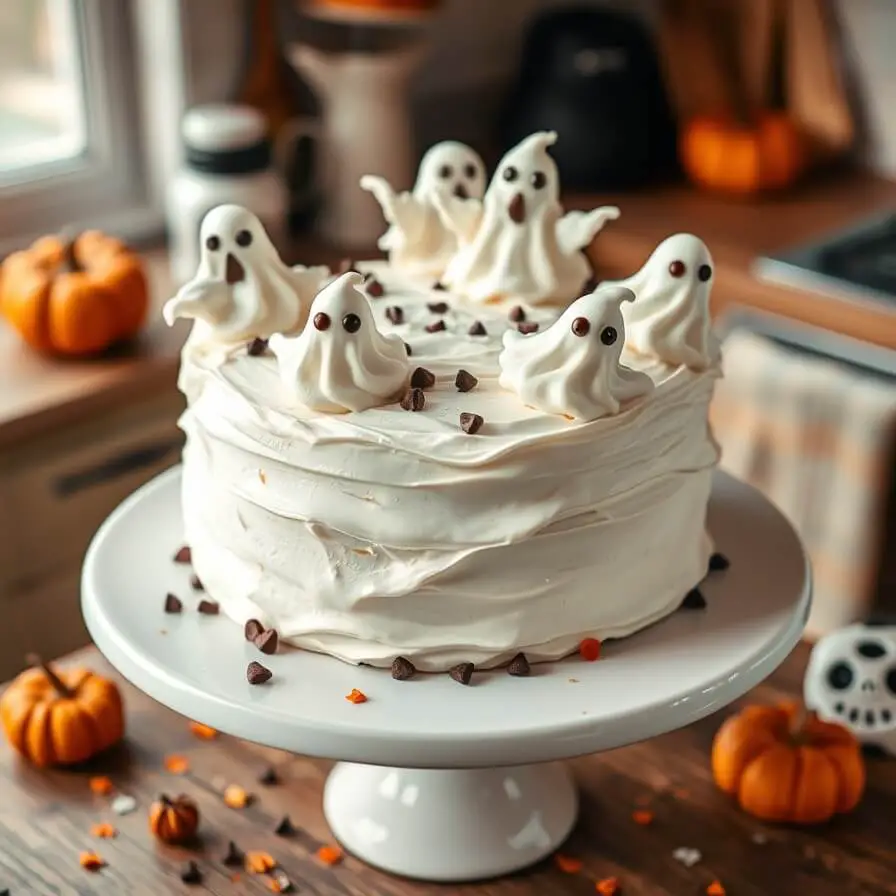
The ghost cake is defined by its playful frosting decoration. Using white frosting, chocolate chips, or edible markers, you can create ghost shapes that float on the cake surface.
Can I make mini ghost cupcakes instead?
Absolutely! The same batter and frosting work perfectly for cupcakes. Adjust the baking time to 18–22 minutes for cupcakes.
Can I use chocolate cake instead of vanilla?
Yes! A chocolate ghost cake is equally delicious. Just swap the flour and vanilla for cocoa powder, and the rest of the recipe remains the same.
Is this recipe suitable for kids?
Yes, it’s kid-friendly both in taste and fun. Children can help with decorating, which adds to the enjoyment.
Can I make this cake dairy-free?
Yes, swap the milk with almond, oat, or soy milk, and use dairy-free butter or margarine. The cake remains moist and fluffy.

Ghost Cake Recipe
- Total Time: 1 hour 30 minutes
- Yield: 8–10 1x
- Diet: Vegetarian
Description
This ghost cake is soft, fluffy, and topped with creamy frosting shaped into playful ghosts. Perfect for Halloween or any spooky celebration, it’s as fun to decorate as it is to eat. The light vanilla cake pairs beautifully with a sweet, smooth frosting, making it a showstopper dessert that everyone will love.
Ingredients
- 2 ½ cups all-purpose flour, sifted
- 2 ½ tsp baking powder
- ½ tsp baking soda
- ¼ tsp salt
- 1 cup unsalted butter, room temperature
- 2 cups granulated sugar
- 4 large eggs, room temperature
- 1 tsp vanilla extract
- 1 cup buttermilk
- 3 cups powdered sugar
- ½ cup unsalted butter (for frosting)
- 1–2 tsp milk (for frosting consistency)
- Food coloring or edible markers (optional)
- Chocolate chips for ghost eyes
Instructions
- Preheat oven to 350°F (175°C). Grease and flour your cake pan or line with parchment paper.
- Whisk flour, baking powder, baking soda, and salt in a bowl.
- Cream butter and sugar until light and fluffy. Add eggs one at a time, then vanilla.
- Alternate adding dry ingredients and buttermilk, starting and ending with dry ingredients. Mix gently.
- Pour batter into pan, smooth top, and bake 25–30 minutes or until a toothpick comes out clean. Cool completely.
- Beat butter for frosting, gradually add powdered sugar, and vanilla. Adjust with milk if needed.
- Frost the cake evenly, pipe ghost shapes, and add eyes with chocolate chips or edible markers. Chill if necessary before serving.
Notes
- Ensure room temperature ingredients for best results.
- Frost after the cake is completely cooled to prevent sliding.
- Customize with chocolate chips, colored sprinkles, or additional flavors in the frosting.
- Prep Time: 30 minutes
- Cook Time: 25–30 minutes
- Category: Dessert
- Method: Baking
- Cuisine: American
Nutrition
- Serving Size: 8–10
- Calories: 320
- Sugar: 28g
- Sodium: 180mg
- Fat: 15g
- Saturated Fat: 9g
- Unsaturated Fat: 5g
- Trans Fat: 0g
- Carbohydrates: 42g
- Fiber: 1g
- Protein: 4g
- Cholesterol: 65mg