I’ll never forget the first time I made homemade bread. I was intimidated—just me, a bag of flour, some yeast I wasn’t sure was alive, and a whole lot of hope. But when that first loaf came out of the oven, warm and golden with the unmistakable scent of fresh-baked comfort… I was hooked.
This beginner-friendly bread recipe is exactly where I started. It’s foolproof, requires no fancy equipment, and will give you the confidence to bake loaf after loaf. Whether you’ve never touched yeast in your life or you’ve tried and failed before, this easy bread recipe is for you.
Stick around—I’ll walk you through every step, explain why it works, and show you how a few simple ingredients can transform into something deeply satisfying.
Why I Love This Recipe

What I love most about this recipe is how approachable it is. There’s no kneading for hours, no complicated timing, no sourdough starter sitting on the counter for days. Just straightforward steps that bring you straight to success.
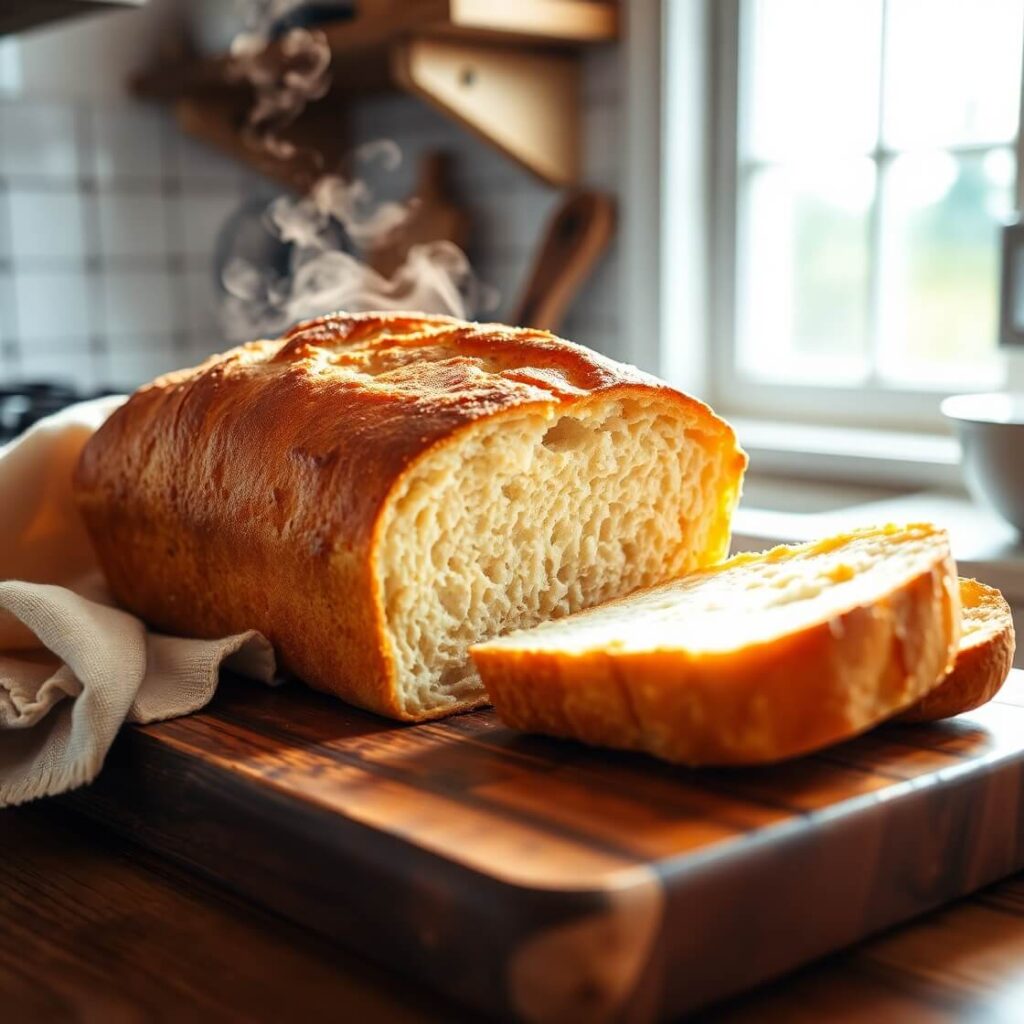
This bread has the perfect balance: a soft, airy interior and a crisp, golden crust. It’s ideal for sandwiches, toasting with butter, or serving alongside soup. And the best part? You don’t need a stand mixer, bread machine, or even bread-baking experience. It’s completely beginner-friendly and practically guarantees a win on your first try.
Another thing—baking bread at home is more than just cooking. It’s grounding. Therapeutic. When you shape that dough with your hands and smell it baking, it connects you to something old and simple in the best way.
If you’ve ever wanted to bake your own bread but weren’t sure where to start, this is your moment.
Ingredients for Easy Bread Recipes for Beginners
Before we dive in, let’s talk ingredients. One of the best things about this recipe is that it uses pantry staples. You likely already have everything you need:
- All-purpose flour – The backbone of your loaf. You don’t need bread flour here; regular flour works beautifully and yields a soft, light crumb.
- Active dry yeast – This is what gives your bread that wonderful rise. Make sure it’s not expired. You can also use instant yeast (I’ll explain the swap in the substitutions section).
- Warm water – Not hot, not cold. Think bathwater warm—between 105°F and 110°F. This helps activate the yeast.
- Salt – Essential for flavor. Without it, your bread will taste flat.
- Sugar – Just a teaspoon to help feed the yeast. It also encourages a lovely golden crust.
- Olive oil – Adds softness and richness to the bread.
You can absolutely add herbs or cheese later on for variations, but this basic list is your core. It’s amazing what a few humble ingredients can become when treated with a little patience and love.
How Much Time Will You Need
This recipe isn’t super fast, but the active work is minimal. Most of the time is spent waiting for the dough to rise.
Here’s the time breakdown:
- Prep time: 15 minutes
- First rise: 1 to 1.5 hours
- Second rise (after shaping): 30–45 minutes
- Bake time: 30–35 minutes
- Cooling time: 15–20 minutes
From start to finish, you’re looking at about 2.5 to 3 hours, but trust me—it’s so worth it. Plus, most of that time is hands-off.
How to Make This Easy Bread Recipe
Here’s your complete step-by-step guide. I’ve broken it down in a way that’s easy to follow, even if this is your first time baking bread.
Step – 1: Activate the yeast
In a large bowl, combine 1 ½ cups of warm water, 1 teaspoon of sugar, and 2 ¼ teaspoons of active dry yeast (that’s one standard packet). Give it a gentle stir and let it sit for 5–10 minutes. It should become foamy and bubbly—this means your yeast is alive and ready to work.
If you don’t see any foam, your water may have been too hot or the yeast expired. Start over with new yeast and lukewarm water.
Step – 2: Add the flour and salt
Once the yeast is bubbly, add 3 ½ cups of all-purpose flour and 1 ½ teaspoons of salt. Stir with a wooden spoon or silicone spatula until it comes together in a shaggy dough. It will look rough and sticky—that’s okay.
Add 1 tablespoon of olive oil and mix again.
Step – 3: Knead the dough
Lightly flour your clean countertop and turn the dough out onto it. Knead for 8–10 minutes. Use the heel of your hand to push the dough away from you, fold it back over, turn, and repeat.
The dough will start out sticky but will become smoother and more elastic as you go. Add a little flour if it’s sticking too much, but avoid adding too much—it should be soft and slightly tacky.
When it’s ready, the dough will spring back when you poke it.
Step – 4: First rise
Lightly oil a clean bowl and place the dough inside, turning it once to coat with oil. Cover the bowl with a clean kitchen towel or plastic wrap.
Let the dough rise in a warm spot for 1 to 1.5 hours, or until it has doubled in size. If your kitchen is chilly, place the bowl in a turned-off oven with the light on—it creates a cozy proofing environment.
Step – 5: Shape the dough
Punch down the dough gently to release the air. Turn it out onto a floured surface and shape it into a loaf. You can keep it freeform (rustic round or oval) or place it into a lightly greased 9×5-inch loaf pan for a classic shape.
Cover it again with a towel and let it rise for another 30–45 minutes. It should look puffy and nearly doubled.
Step – 6: Bake
Preheat your oven to 375°F (190°C). If you’re using a loaf pan, place it directly on the center rack. For a freeform loaf, place it on a baking sheet lined with parchment paper.
Bake for 30–35 minutes, or until the top is golden brown and the loaf sounds hollow when tapped. You can also use a thermometer—the internal temperature should be around 200°F (93°C).
Step – 7: Cool
Remove the bread from the oven and let it cool in the pan for 5–10 minutes. Then transfer it to a wire rack to cool completely. This step helps prevent a soggy bottom crust and allows the bread to finish setting.
Try to wait at least 20 minutes before slicing—it’s hard, I know, but it’s worth it for clean slices and better texture.
Substitutions
What if you don’t have every ingredient or want to tweak the recipe? Here’s what you can swap:
- Yeast: You can use instant yeast in the same amount. No need to proof it—just mix it right in with the flour. However, I recommend proofing the yeast even if it’s instant, especially for beginners, just to ensure it’s working.
- Flour: All-purpose flour is ideal, but bread flour can give you a slightly chewier texture if you prefer. Whole wheat flour can be substituted for up to half the flour in the recipe—just add a little extra water since it absorbs more.
- Olive oil: You can use melted butter, canola oil, or avocado oil. Each brings a slightly different flavor and texture.
- Sugar: Honey or maple syrup can work too. Use the same amount (1 teaspoon). It’s mostly for helping the yeast and encouraging browning.
Substitutions like these let you customize the bread to your taste or dietary preferences without compromising its success.
Best Side Dishes for Easy Bread
Freshly baked bread deserves great company. Here are three of my favorite sides to serve it with:
- Tomato Basil Soup – The classic pairing. The bread soaks up the warm, herby broth beautifully.
- Garlic Herb Butter – Softened butter with garlic, parsley, and a pinch of sea salt makes every slice irresistible.
- Simple Salad with Lemon Vinaigrette – A crisp side salad balances the richness of the bread for a refreshing meal.
When paired with these sides, your homemade bread becomes the centerpiece of a cozy, satisfying spread.
Serving and Presentation Tips
There’s something so comforting and charming about serving a homemade loaf of bread, especially when it looks just as good as it tastes.
Whether you’re serving it to guests or just enjoying a slice yourself, a little presentation goes a long way.
Start by letting the bread cool fully—this helps you get clean, even slices. A serrated bread knife is key. Serve slices slightly warm with a small dish of butter, olive oil with herbs, or even honey for a touch of sweetness.
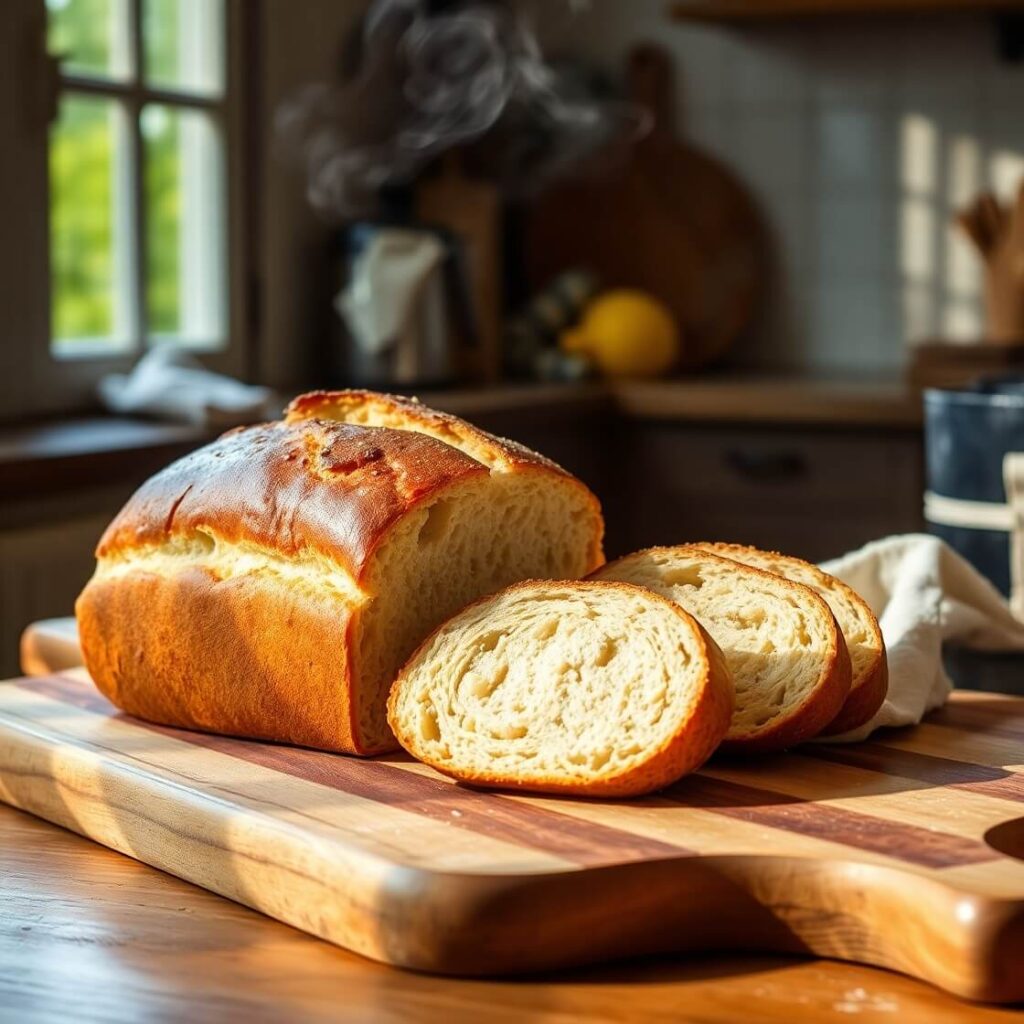
If you’ve made a rustic round or oval loaf, present it on a wooden cutting board with a linen towel loosely draped around the sides. It’s a simple touch that makes it feel straight out of a countryside kitchen.
Hosting? Add a few sprigs of rosemary on the side or a small bowl of seasoned olive oil for dipping—it gives your table an effortlessly elegant vibe.
Tips and Tricks to Make This Recipe Even Better
If you want to make this easy bread recipe not just good but unforgettable, here are a few tried-and-true tricks I’ve learned over the years:
- Use a kitchen scale for measuring flour. It’s more accurate than cups and helps prevent using too much flour, which can make the bread dense.
- Don’t rush the rise. Give the dough time to double. Warmer temperatures help, but don’t force it with high heat—that can kill the yeast.
- Brush with olive oil or melted butter before baking. This enhances the crust and adds a subtle richness.
- Slash the top with a sharp knife or razor blade before baking. It allows controlled expansion and adds a beautiful artisan look.
- Add steam in the oven for a crustier loaf. Place a small oven-safe dish of water on the bottom rack during the first 10–15 minutes of baking.
These small upgrades make a big difference, especially when you’re ready to take your beginner bread to the next level.
Common Mistakes to Avoid
Baking bread for the first time? Here are a few common pitfalls and how to steer clear of them:
- Using water that’s too hot – If the water is hotter than 115°F, it can kill your yeast. Stick to warm water—about the temperature you’d give a baby a bath in.
- Too much flour – It’s tempting to keep adding flour if the dough is sticky, but too much will make the loaf dry. The dough should be slightly tacky but manageable.
- Under-kneading – Proper kneading builds the gluten structure that helps your bread rise and gives it a nice texture. Don’t cut the kneading short.
- Not letting the dough rise enough – If you bake it too soon, your bread may be dense or heavy. Wait until it’s clearly doubled in size.
- Cutting too soon after baking – Warm bread smells amazing, but slicing too early lets the steam escape and messes with the texture. Let it rest at least 20 minutes.
How to Store It
Freshly baked bread is best the day it’s made, but there are plenty of ways to keep it fresh longer.
Short-Term Storage
Once your bread has cooled completely, wrap it in a clean kitchen towel or store it in a paper bag. This allows it to breathe while keeping the crust crisp. If you’re eating it within 2 days, this is the best method.
Medium-Term Storage
For up to 4 days, store the bread in an airtight container or bread box at room temperature. Avoid the fridge—it dries out bread faster than air.
Long-Term Storage
Want to freeze it? Let the bread cool fully, then wrap it tightly in plastic wrap and place it in a freezer-safe bag. It will stay fresh for up to 3 months.
To thaw, let it sit at room temperature for a few hours or heat it in a 300°F oven for 10–15 minutes. It’ll taste like it just came out of the oven.
FAQ
How do I know if my dough has risen enough?
It should roughly double in size and look puffy. You can also use the poke test: gently press your finger into the dough—if the indentation stays and doesn’t spring back immediately, it’s ready.
Can I make this recipe gluten-free?
This specific version isn’t designed to be gluten-free. You’d need a recipe formulated with gluten-free flour blends and binding agents like xanthan gum.
What if I don’t have a loaf pan?
No problem! Just shape the dough into a round or oval and place it on a parchment-lined baking sheet. It will bake beautifully as a rustic freeform loaf.
Can I add herbs or cheese?
Absolutely. Try folding in chopped rosemary, thyme, garlic, or shredded cheddar into the dough after the first rise. It adds flavor and personality to the loaf.
My crust came out too hard—what went wrong?
Overbaking or lack of moisture in the oven can cause a hard crust. Try reducing your bake time by 5 minutes or adding a small pan of water in the oven during the first half of baking to create steam.
Print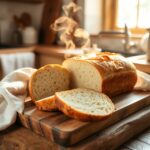
Easy Bread Recipes for Beginners
- Total Time: 2 hours 45 minutes
- Yield: 1 1x
- Diet: Vegetarian
Description
This easy, foolproof bread recipe is perfect for first-time bakers or anyone looking for a simple, satisfying loaf. With just a few pantry staples and no special equipment, you’ll create a soft, fluffy interior and golden crust every time. Perfect for sandwiches, toast, or just warm out of the oven with butter, this bread will become your new go-to.
Ingredients
- 3 ½ cups all-purpose flour
- 1 ½ tsp salt
- 1 tsp sugar
- 2 ¼ tsp active dry yeast (1 packet)
- 1 ½ cups warm water (105°F to 110°F)
- 1 tbsp olive oil
Instructions
- Combine warm water, sugar, and yeast in a bowl. Let it sit for 5–10 minutes until foamy.
- Stir in flour and salt until a rough dough forms. Add olive oil and mix.
- Knead on a floured surface for 8–10 minutes until smooth and elastic.
- Place in an oiled bowl, cover, and let rise for 1–1.5 hours, or until doubled.
- Punch down dough, shape into a loaf, and place in a greased loaf pan or on a baking sheet.
- Let rise again for 30–45 minutes.
- Bake at 375°F for 30–35 minutes, until golden and sounds hollow when tapped.
- Cool before slicing and serving.
Notes
- For added flavor, brush the loaf with melted butter or olive oil before baking. You can also mix in herbs or shredded cheese for variation. If using whole wheat flour, substitute up to half the amount and add a bit more water.
- Prep Time: 15 minutes
- Cook Time: 35 minutes
- Category: Bread
- Method: Baking
- Cuisine: American
Nutrition
- Serving Size: 1
- Calories: 150
- Sugar: 1g
- Sodium: 250mg
- Fat: 2g
- Saturated Fat: 0.3g
- Unsaturated Fat: 1.7g
- Trans Fat: 0g
- Carbohydrates: 28g
- Fiber: 1g
- Protein: 4g
- Cholesterol: 0mg