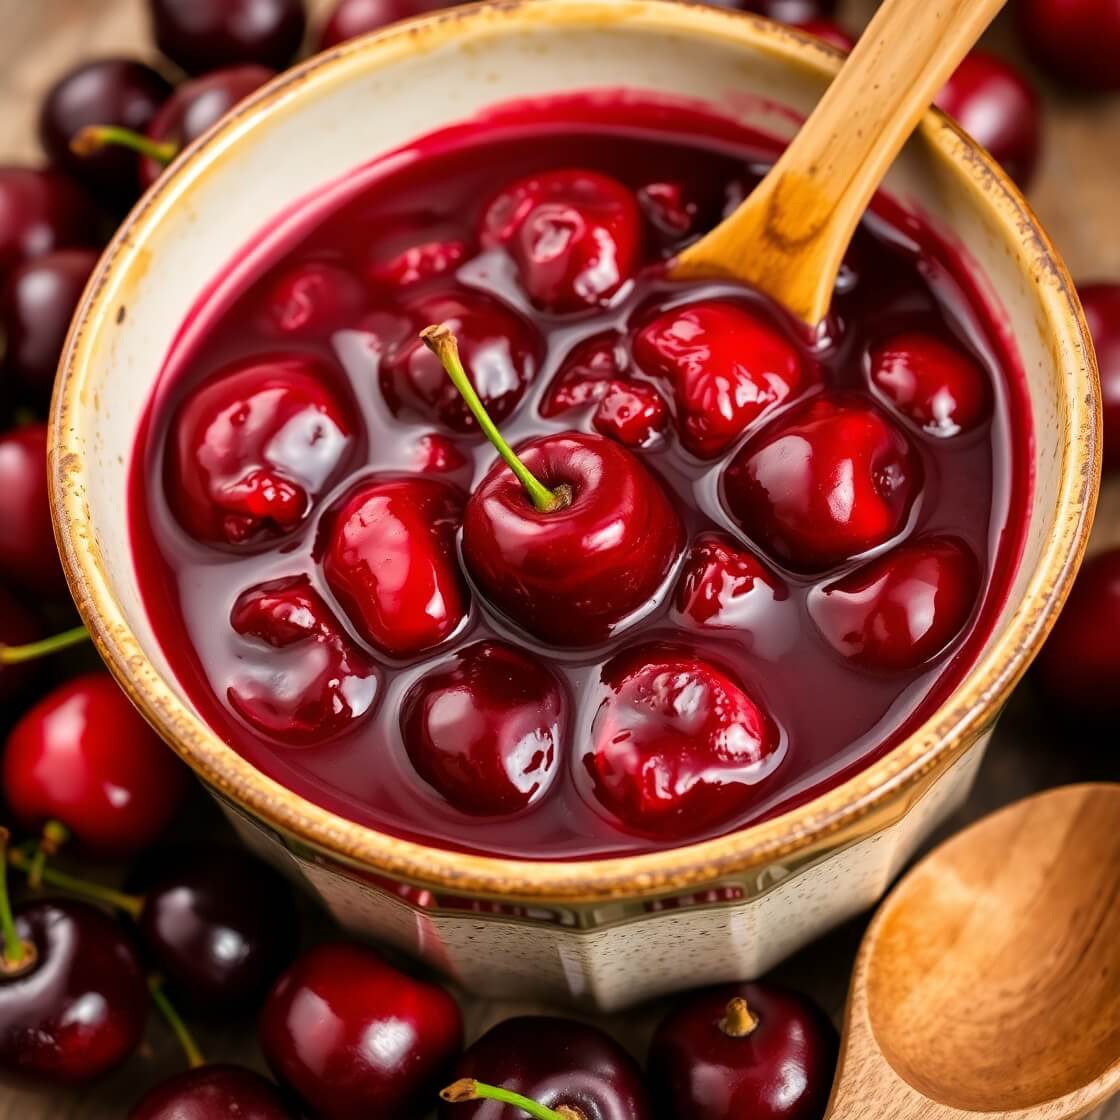
Cherry pie filling is one of those classic comforts that instantly reminds me of cozy kitchens, family gatherings, and the warm scent of homemade desserts wafting through the air. I created this recipe because I wanted a homemade version that’s bursting with vibrant cherry flavor — without all the artificial preservatives and sugars you often find in store-bought fillings. Whether you’re making a traditional cherry pie or want a versatile fruit topping for other treats, this recipe is simple, reliable, and absolutely delicious. If you love that perfect balance of tart and sweet with a luscious, thick texture, you’re going to enjoy learning how to make your own cherry pie filling from scratch.
The best part? It’s easier than you might think, and once you have this recipe down, you’ll want to use it in all sorts of desserts — from tarts to parfaits, or even as a sweet surprise in your morning oatmeal. Keep reading and I’ll guide you through every step!
Why I Love This Recipe

Cherry pie filling has a special place in my heart because it captures the essence of summer in every bite. What makes this recipe stand out is how fresh and vibrant the cherries taste, coupled with just the right amount of sweetness and natural thickening to hold everything together beautifully.
People make this homemade filling because it offers control over ingredients — you can avoid artificial thickeners, excess sugar, and preservatives common in canned varieties. Plus, it’s versatile! You can adjust sweetness, tweak the thickness, and even infuse it with subtle flavors like vanilla or almond extract.
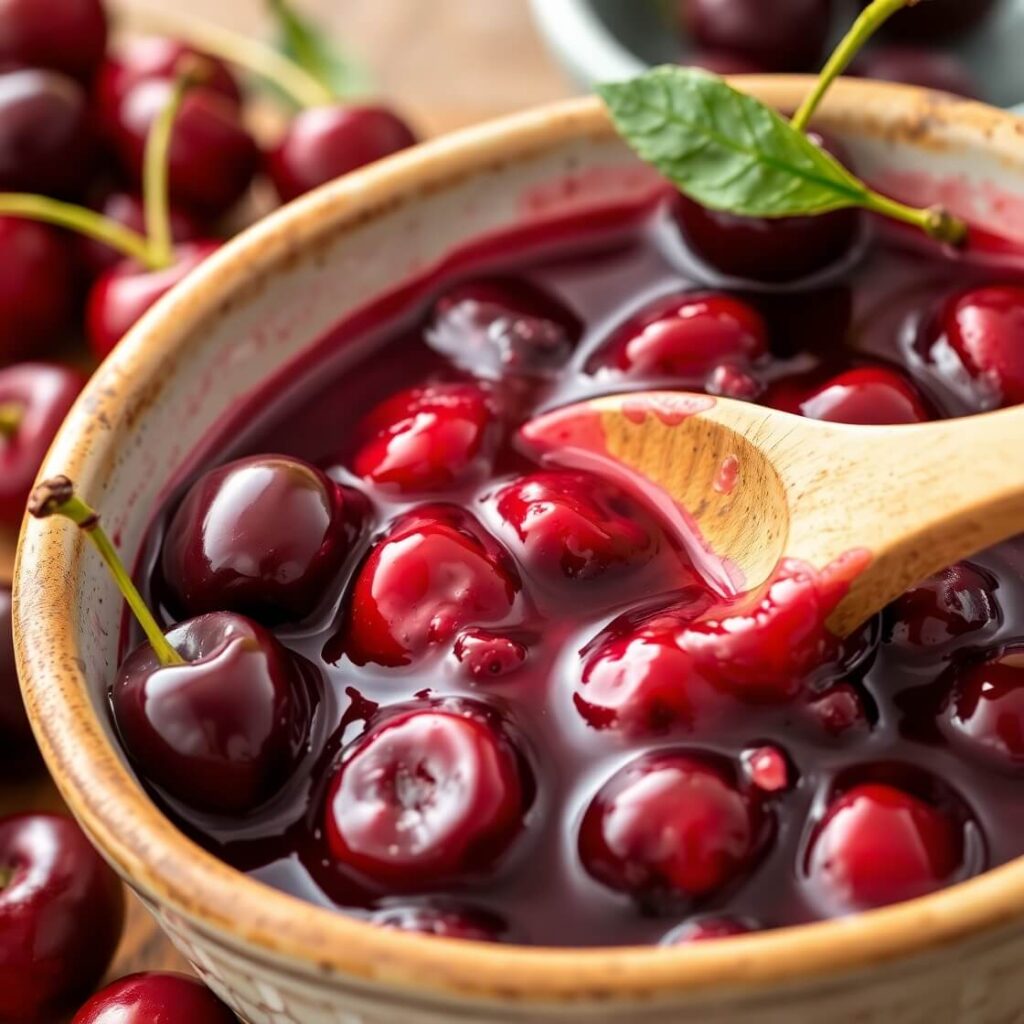
This recipe is perfect if you want something classic yet customizable, easy to prepare yet impressive in flavor. The natural tartness of the cherries blends seamlessly with the smooth, slightly glossy filling that’s just begging to be spooned into a flaky pie crust or dolloped over ice cream. It’s a small kitchen project that delivers big on satisfaction.
Ingredients for Cherry Pie Filling Recipes
To make this cherry pie filling, you don’t need a laundry list of fancy ingredients — just simple, wholesome ones that come together to create magic.
You’ll need:
- Fresh or frozen cherries (sweet or tart depending on your preference; tart cherries give a more authentic pie flavor)
- Granulated sugar to balance the tartness
- Cornstarch or arrowroot powder to thicken the filling naturally without adding a gummy texture
- Fresh lemon juice to brighten the flavor and add a hint of zing
- Almond extract or vanilla extract (optional) for a subtle, aromatic depth
- A pinch of salt to enhance all the other flavors
- Water to help dissolve the thickener and meld ingredients
Each ingredient plays an important role — the cherries provide the star flavor and texture, sugar balances the acidity, and the thickener makes sure the filling isn’t runny but sets perfectly after baking or chilling.
Using fresh cherries will give you the best taste and texture, but frozen cherries work well too, especially when fresh aren’t in season. Just make sure to thaw and drain any excess liquid before cooking.
How Much Time Will You Need
Making this cherry pie filling is fairly quick and straightforward.
- Preparation time: About 10 minutes to pit cherries if using fresh
- Cooking time: Approximately 10 to 15 minutes on the stovetop until the filling thickens and becomes glossy
Overall, you’re looking at roughly 20 to 25 minutes from start to finish. This makes it a great recipe to whip up even on a busy day when you want that homemade touch without spending hours in the kitchen.
The filling can then be used immediately or cooled and stored for later use. It’s fast enough for last-minute desserts but satisfying enough to make ahead for special occasions.
How to Make This Cherry Pie Filling Recipes

Step-by-step, here’s how you can create this luscious cherry pie filling in your own kitchen.
Step – 1: Prepare the cherries
If you’re using fresh cherries, rinse them under cold water and pat dry. Then, carefully pit each cherry using a cherry pitter or a small paring knife. If you’re using frozen cherries, make sure to thaw them completely and drain off any excess liquid to avoid a watery filling.
Step – 2: Combine dry ingredients
In a medium saucepan, whisk together the sugar, cornstarch (or arrowroot powder), and salt. This will ensure the thickener distributes evenly and prevents clumping later on.
Step – 3: Add liquids
Gradually stir in the water and lemon juice into the dry mixture. Stir until smooth with no lumps.
Step – 4: Cook the filling base
Place the saucepan over medium heat and cook, stirring constantly, until the mixture begins to thicken and bubble gently. This usually takes about 3 to 5 minutes. The mixture will look glossy and translucent at this stage.
Step – 5: Add cherries and simmer
Stir in the prepared cherries, and reduce the heat to low. Simmer gently for another 5 to 7 minutes, stirring occasionally, allowing the cherries to soften and the flavors to meld. The filling should thicken further and coat the back of a spoon.
Step – 6: Add flavoring and cool
Remove the pan from heat, stir in the almond or vanilla extract if using. Let the filling cool to room temperature before using in your favorite pie crust or other desserts.
This method ensures you get a perfectly balanced filling — thick, glossy, and bursting with cherry goodness without being overly sweet or gelatinous.
Substitutions
Don’t worry if you don’t have all the ingredients on hand — there are some smart substitutions that can enhance or adjust this recipe to your liking.
- Thickener: Instead of cornstarch, you can use arrowroot powder for a clearer, more glossy finish. Tapioca starch is another great option that adds a slightly chewy texture.
- Sugar: For a less refined option, try coconut sugar or maple syrup, but keep in mind they may change the color and flavor slightly.
- Cherries: If cherries aren’t available, try using fresh or frozen blueberries or raspberries for a similar tangy fruit filling.
- Extracts: Almond extract pairs beautifully with cherry, but if you prefer, vanilla or even a splash of brandy or kirsch can add a sophisticated twist.
- Lemon juice: Lime juice can work too, adding a subtle tropical note.
Feel free to experiment with these substitutions to find the perfect flavor profile that suits your taste buds or dietary preferences.
Best Side Dish of Cherry Pie Filling Recipes
Cherry pie filling is wonderfully versatile and pairs beautifully with a variety of sides. Here are three favorites to elevate your cherry-filled desserts:
- Vanilla ice cream: The cold creaminess contrasts perfectly with the warm, tart cherry filling.
- Whipped cream: Light and airy, it adds a silky texture without overpowering the fruit.
- Pound cake or angel food cake: These mild, buttery cakes soak up the filling’s juices wonderfully, making every bite indulgent yet balanced.
These side dishes help highlight the cherry flavor and add layers of texture and taste, making your dessert moments truly memorable.
Serving and Presentation Tips
When it comes to serving your homemade cherry pie filling, presentation can make all the difference in how memorable and enticing your dessert feels. One of my favorite ways to serve it is right out of a rustic, golden-brown pie crust that’s been baked until flaky and crisp. The vibrant red filling peeking through the lattice or a simple cut slice instantly invites you in.
For a modern twist, consider layering the cherry filling in clear glass parfaits with whipped cream and crumbled cookies or cake. The beautiful contrast of colors and textures creates a visually stunning dessert that’s just as delicious as it looks.
If you’re serving it as a topping, spoon the filling generously over a scoop of vanilla ice cream or a warm slice of pound cake. Add a sprig of fresh mint or a light dusting of powdered sugar to elevate the presentation. Using white or neutral-colored plates or bowls helps the deep cherry color pop, making every serving look irresistible.
Tips and Tricks to Make This Recipe Even Better
To take your cherry pie filling to the next level, here are some of my tried-and-true tips:
- Choose the right cherries: Tart cherries provide that classic pie flavor, but a mix of sweet and tart cherries can balance flavor beautifully. If using frozen, avoid those with added sugars or syrup.
- Don’t rush the thickening: Cooking the filling long enough on medium heat ensures the thickener activates properly, giving you that perfect, glossy, and thick texture.
- Use fresh lemon juice: The acidity brightens the flavor and balances the sweetness. Avoid bottled lemon juice as it can sometimes taste bitter or artificial.
- Add a little almond extract: Just a few drops deepen the cherry flavor and add an aromatic note that makes the filling taste more homemade and special.
- Cool before baking into pie crust: If you’re using this filling for a pie, let it cool slightly before filling the crust. This prevents the crust from becoming soggy and helps the filling set better while baking.
- Make ahead and store: The flavors meld beautifully if you make the filling a day ahead and refrigerate it before baking or serving.
These simple adjustments ensure your cherry pie filling has the best flavor, texture, and versatility for all your dessert needs.
Common Mistakes to Avoid
Even experienced bakers can trip up when making cherry pie filling. Here are some common pitfalls and how to avoid them:
- Using too much thickener: Over-thickening can make the filling gummy or gluey. Follow the recipe amounts carefully and add thickeners gradually if needed.
- Skipping the lemon juice: Without acidity, the filling can taste flat or overly sweet. Don’t underestimate the power of fresh lemon juice.
- Not pitting cherries properly: Leaving pits can ruin the eating experience and is a safety hazard.
- Adding cherries too early: Adding fruit before the thickener sets can cause excess liquid and a runny filling. Always let the thickener base cook before stirring in cherries.
- Not stirring constantly while thickening: This can cause lumps or burning at the bottom. Keep the mixture moving for a smooth result.
Avoiding these mistakes helps you create a cherry filling that’s perfectly balanced in taste and texture every time.
How to Store It
If you have leftovers or want to make your cherry pie filling ahead of time, storage is simple but important to maintain freshness and quality.
Store the cooled filling in an airtight container in the refrigerator for up to 5 days. Before using, give it a gentle stir to reincorporate any separated juices.
For longer storage, freeze the filling in a freezer-safe container for up to 3 months. Thaw overnight in the fridge and warm gently on the stovetop, stirring to restore consistency before serving or baking.
Avoid storing the filling at room temperature for long periods as it contains fresh fruit and no preservatives. Proper storage ensures you can enjoy homemade cherry pie filling whenever the craving hits.
Frequently Asked Questions About Cherry Pie Filling Recipes
Can I use frozen cherries instead of fresh?
Absolutely! Frozen cherries work very well. Just make sure to thaw and drain any excess liquid before cooking to avoid a watery filling.
Can I make this recipe sugar-free?
Yes, you can substitute sugar with a sugar substitute like erythritol or stevia. Keep in mind that it may slightly alter the texture and flavor.
What if I don’t have cornstarch?
Arrowroot powder or tapioca starch are great alternatives that also provide a nice glossy finish and good thickening.
Can I add spices like cinnamon or nutmeg?
Definitely! A pinch of warm spices like cinnamon or nutmeg adds a cozy depth and works wonderfully with cherry flavors.
Is this recipe suitable for a vegan diet?
Yes, all ingredients used are plant-based, so this cherry pie filling is vegan-friendly.

Cherry Pie Filling Recipes
- Total Time: 25 minutes
- Yield: 4 1x
- Diet: Vegan
Description
A luscious, homemade cherry pie filling that’s bursting with fresh cherry flavor, balanced sweetness, and a perfectly thickened texture. This recipe is simple and quick, letting you enjoy the taste of summer any time of year. Use it for pies, tarts, parfaits, or as a delicious topping for cakes and ice cream. Made with fresh or frozen cherries, a touch of lemon juice, and a natural thickener, this filling is free from artificial preservatives and can be easily customized to suit your taste.
Ingredients
- 4 cups fresh or frozen cherries, pitted
- 1 cup granulated sugar
- 3 tablespoons cornstarch (or arrowroot powder)
- 1 cup water
- 1 tablespoon fresh lemon juice
- 1/2 teaspoon almond extract (optional)
- Pinch of salt
Instructions
- Pit and prepare cherries (if frozen, thaw and drain).
- In a saucepan, whisk sugar, cornstarch, and salt.
- Gradually stir in water and lemon juice until smooth.
- Cook over medium heat, stirring constantly until thick and bubbly.
- Stir in cherries and simmer gently for 5-7 minutes until softened and glossy.
- Remove from heat, add almond extract if using, and cool before use.
Notes
- For a clearer filling, use arrowroot powder instead of cornstarch.
- Adjust sugar to taste depending on cherry sweetness.
- Make ahead and refrigerate or freeze for later use.
- Prep Time: 10 minutes
- Cook Time: 15 minutes
- Category: Dessert filling
- Method: Stovetop simmering
- Cuisine: American classic
Nutrition
- Serving Size: 4
- Calories: 150
- Sugar: 30g
- Sodium: 10mg
- Fat: 0g
- Saturated Fat: 0g
- Unsaturated Fat: 0g
- Trans Fat: 0g
- Carbohydrates: 38g
- Fiber: 2g
- Protein: 1g
- Cholesterol: 0mg