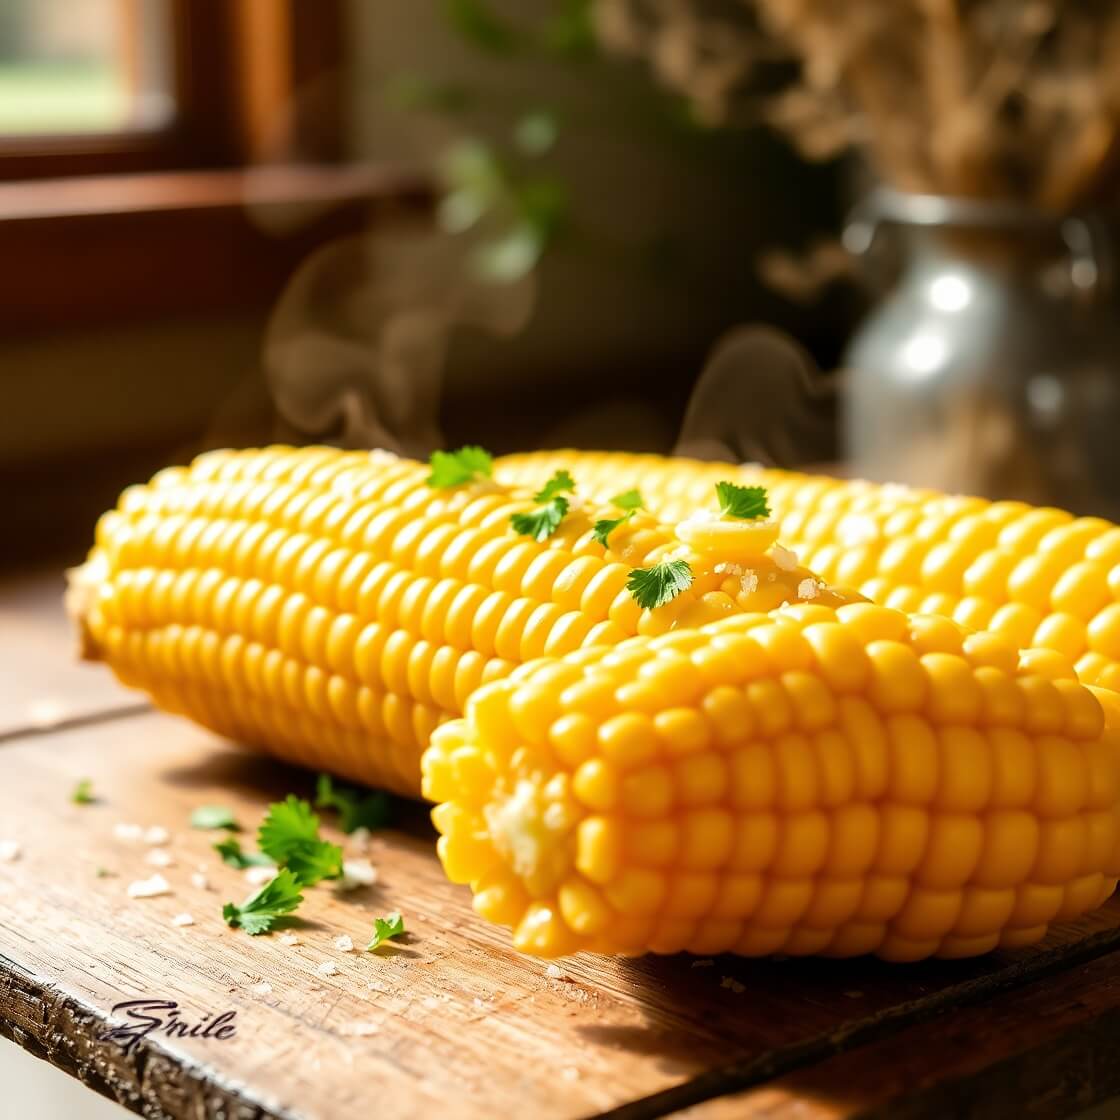
There’s something undeniably nostalgic about the simple joy of biting into a juicy, sweet ear of corn on the cob—especially when it’s freshly boiled, steaming hot, and slathered with butter. This classic dish is a summertime staple, often found at barbecues, picnics, and family dinners across the country. But it’s not just reserved for warm-weather months; it’s a comfort food that deserves a spot on your table year-round.
I created this boiled corn on the cob recipe after countless rushed dinners where I needed a quick, wholesome side that required minimal effort but offered maximum flavor. It’s more than just a back-pocket recipe—it’s a reminder that even the simplest dishes can shine when made right. Whether you’re cooking for a crowd or just craving something cozy, this guide will walk you through how to make perfect boiled corn that’s tender, flavorful, and ready in no time.
Why I Love This Recipe
There’s nothing quite like the smell of corn as it boils—a sweet, earthy aroma that instantly transports you to summer evenings and laughter-filled kitchens.
This recipe is a go-to for several reasons. First, it’s incredibly easy. If you can boil water, you can make this dish. Second, corn on the cob is naturally delicious. It doesn’t need much fussing or seasoning. Just a bit of butter and salt, and it’s perfect. But what makes this recipe special is the method: how long you boil the corn, when you add salt, and how you finish it off matters more than you might think.
Plus, boiled corn on the cob is super versatile. Serve it plain for the purists in your family, or dress it up with compound butters, herbs, or a sprinkle of chili and lime for something bold. It’s budget-friendly, filling, and kid-approved—a win in every category.
This recipe brings people together. That’s its real magic. A big pot of boiling water, a few fresh ears of corn, and a little time is all it takes to turn a side dish into something special.
Ingredients for Boil Corn on the Cob
Great corn starts with just a few essentials. The ingredient list is short, but don’t let that fool you—every element plays an important role in getting the best flavor and texture.
The hook here is freshness. The fresher the corn, the sweeter and more tender it will be. Corn starts converting sugar to starch as soon as it’s picked, so if you can get it from a farmers market or pick-your-own farm, you’re golden.
What you’ll need:
- Fresh corn on the cob – Look for ears with bright green husks, moist silk, and plump kernels. Yellow, white, or bi-color corn all work beautifully.
- Water – Enough to fully submerge your ears in a large pot.
- Salt (optional) – Some people prefer to add salt after cooking. If you salt the water, it can toughen the kernels slightly, so I recommend adding it after boiling.
- Butter (for serving) – Use high-quality salted or unsalted butter. It melts into the corn and adds that classic richness.
- Optional toppings – Chili powder, lime juice, grated Parmesan, chopped herbs like parsley or cilantro, or garlic butter.
That’s it. With just these simple ingredients, you’ll get a corn dish that bursts with flavor and feels like home.
How Much Time Will You Need?
Boiled corn on the cob is the ultimate quick side dish.
Here’s a breakdown of the time commitment:
- Prep time: 5–10 minutes (depending on how many ears you’re husking)
- Cook time: 7–10 minutes
- Total time: 15–20 minutes
From fridge to table, you’ll have a delicious dish ready in under 30 minutes. It’s perfect for busy weeknights, spontaneous BBQs, or last-minute potlucks.
How to Make This Boil Corn on the Cob

Here’s the step-by-step guide to making perfectly boiled corn on the cob. Follow each step closely for the best results—each part matters in creating that sweet, tender, buttery bite.
Step – 1: Choose and prep your corn
Start by selecting the freshest corn you can find. Peel back the husk slightly and check for full, even rows of kernels. Avoid any with shriveled or missing kernels.
Once home, shuck the corn by removing the husk and silky threads. You can use a dry paper towel to rub off the stubborn silk. Rinse the corn under cool water and set aside.
Step – 2: Bring water to a boil
Fill a large pot with enough water to fully cover the corn. Place it over high heat and bring it to a rolling boil. Don’t add salt at this stage—it can toughen the kernels.
If you want extra sweetness, you can add a tablespoon of sugar to the boiling water. This is especially helpful if the corn isn’t as fresh as you’d like.
Step – 3: Boil the corn
Once the water is boiling, carefully add the corn. Use tongs to avoid splashing. Cover the pot and bring it back to a boil.
Boil the corn for 7 to 10 minutes, depending on your texture preference. For firmer kernels, aim for 7 minutes. For a more tender bite, go for the full 10.
Step – 4: Drain and serve
Use tongs to remove the corn from the pot. Let it drain for a few seconds, then place it on a plate or tray lined with a clean towel.
Immediately brush each ear with butter while it’s still hot so the butter melts into every crevice. Add salt and any other toppings you like.
Step – 5: Optional flavor upgrades
If you want to elevate the experience, try flavored butters like garlic herb, chipotle lime, or honey chili. Sprinkle fresh chopped herbs, grated cheese, or spices on top for extra flair.
Serve hot and enjoy every juicy bite!
Substitutions
Corn is a flexible dish, and you can adjust based on what’s in your pantry or fridge.
Want to switch things up? Here are a few tasty options:
- Frozen corn on the cob – Not quite the same as fresh, but a great off-season alternative. No need to thaw—just boil straight from frozen for 8–12 minutes.
- Vegan butter – Swap in your favorite plant-based spread if you’re dairy-free or vegan.
- No butter? Try olive oil or a drizzle of flavored oil like garlic or truffle.
- Add-ins instead of toppings – Boil the corn with herbs (like thyme or bay leaves), garlic cloves, or onion slices in the water to subtly infuse flavor.
These tweaks keep the core of the recipe intact while adding unique touches.
Best Side Dishes for Boil Corn on the Cob
Pairing boiled corn with the right dishes can turn a simple meal into something truly memorable. Here are three perfect sides to serve alongside:
- Grilled Chicken Thighs – The smokiness of the chicken contrasts beautifully with the sweet, juicy corn.
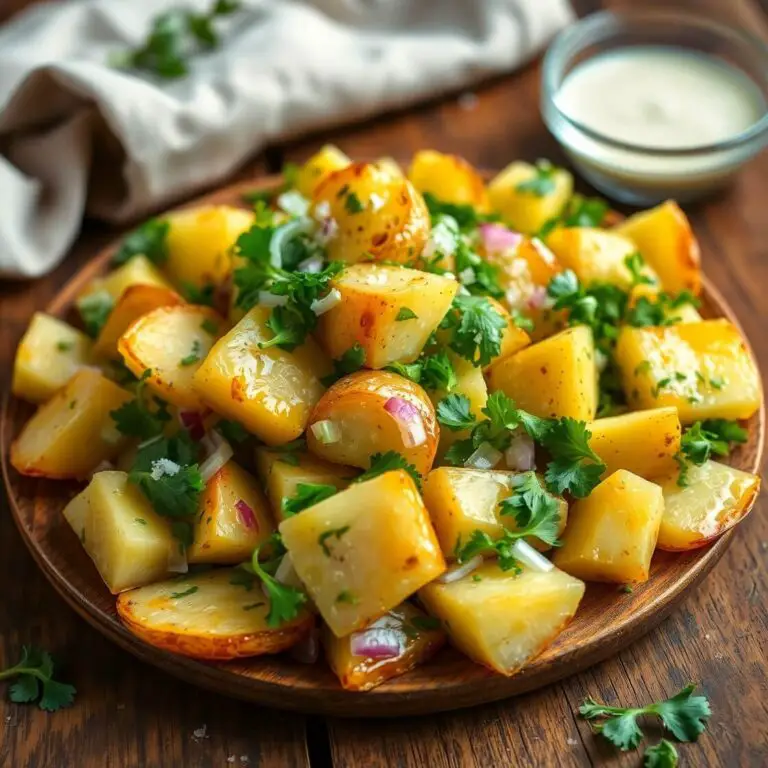
- Classic Potato Salad – Creamy, tangy, and a picnic favorite that complements the corn’s simplicity.
- Tomato Cucumber Salad – Light and refreshing, this side adds a fresh, zesty note that balances the richness of buttery corn.
These combinations make for balanced, satisfying meals whether you’re cooking indoors or enjoying a summer spread outside.
Serving and Presentation Tips
A dish as humble as boiled corn on the cob can look spectacular with just a little attention to presentation.
Here’s how to elevate this classic dish:
Serve corn stacked on a large platter or wooden cutting board. Brush each ear with melted butter just before serving so they glisten invitingly. Add a small bowl of herbed butter or compound butter to the side, sprinkled with flaky sea salt or smoked paprika for extra flair. A sprinkling of finely chopped parsley, cilantro, or chives adds a fresh pop of green.
If you’re hosting a casual gathering, insert corn holders on both ends to make handling easier (and cleaner!). For fancier occasions, serve the corn cut into halves or thirds and stack them neatly.
Presentation matters, even for simple dishes. When corn looks good, people are more excited to dive in.
Tips and Tricks to Make This Recipe Even Better

Boiling corn may seem foolproof, but with a few extra touches, you can make it unforgettable.
Small changes make a big difference:
- Use the freshest corn you can find. It’s the number one factor in flavor. If possible, cook it the same day you buy it.
- Don’t salt the water. Add salt only after cooking. Salting during boiling can harden the kernels.
- Add a little sugar to the water. Just 1 tablespoon brings out the corn’s natural sweetness, especially if it’s not peak season.
- Cover the pot. It traps steam and helps the corn cook more evenly and quickly.
- Infuse the water. Drop in a few sprigs of fresh thyme, garlic cloves, or even a bay leaf to lightly scent the corn during cooking.
These tricks help boost flavor and texture while keeping the process just as simple.
Common Mistakes to Avoid
Even a simple recipe has its pitfalls. Avoid these to ensure your corn turns out perfect every time:
- Overcooking. More than 10 minutes in boiling water can make the kernels tough and mushy.
- Leaving on the husk. Boiling works best when the corn is fully shucked.
- Salting too early. Again, it’s worth repeating—add salt after, not during cooking.
- Not drying before buttering. If water clings to the corn, the butter won’t stick well.
- Serving cold. Corn cools quickly, so serve immediately or keep it warm in a covered dish with a bit of melted butter at the bottom.
Avoid these errors, and your corn will hit the table tender, flavorful, and ready to impress.
How to Store It
Corn on the cob is best eaten fresh, but you can store leftovers easily if needed.
- Short-term storage: Wrap cooked corn in foil or plastic wrap and refrigerate for up to 3 days. Reheat by steaming, microwaving, or dropping into hot water for a minute or two.
- Freezing: Let the corn cool, then cut the kernels off the cob. Spread them on a baking sheet to freeze individually before transferring to a freezer bag. Keeps for up to 3 months.
Proper storage preserves flavor and texture, so nothing goes to waste.
FAQ
Can I boil corn with the husk on?
You can, but it’s better suited for grilling or microwaving. Boiling with the husk can make the corn waterlogged and harder to butter evenly.
How do I know when the corn is done?
The kernels will become brighter in color—vibrant yellow or white—and tender when pierced with a fork. Usually 7–10 minutes does the trick.
What’s the best way to butter corn?
While still hot, use a pastry brush to slather on melted butter, or roll it over a stick of butter on a plate. Sprinkle salt and seasonings after.
Can I make corn ahead of time?
Yes! Boil the corn, then store in a covered dish with a bit of melted butter to keep it moist. Reheat gently when ready to serve.
Can I use this method for frozen corn on the cob?
Absolutely. Just boil frozen ears for 8–12 minutes—no need to thaw.

Boil Corn on the Cob
- Total Time: 15 minutes
- Yield: 4 1x
- Diet: Vegetarian
Description
Juicy, sweet, and incredibly easy—boiled corn on the cob is a timeless side dish that brings summer to your table any time of year. With just a few ingredients and a simple technique, you’ll get perfectly tender ears bursting with flavor. Whether served plain with butter or dressed up with spices and herbs, this recipe is sure to become a staple in your kitchen. It’s quick, satisfying, and endlessly customizable—ideal for everything from weeknight dinners to backyard cookouts.
Ingredients
- 4 ears of fresh corn, husked and silk removed
- Water (enough to cover corn in pot)
- 1 tbsp sugar (optional)
- Butter, for serving
- Salt, to taste
- Optional: herbs, lime juice, Parmesan, chili powder
Instructions
- Fill a large pot with water and bring it to a boil over high heat.
- If using, add sugar to enhance sweetness.
- Carefully add husked corn to boiling water using tongs.
- Cover the pot and bring it back to a boil.
- Boil for 7–10 minutes, depending on desired tenderness.
- Remove corn with tongs and drain briefly.
- Brush with butter immediately and season with salt and any toppings you prefer.
- Serve hot and enjoy!
Notes
- Add a clove of garlic or sprigs of thyme to the boiling water for extra aroma.
- Avoid adding salt to boiling water to prevent tough kernels.
- For a flavor twist, try garlic butter, chili lime seasoning, or fresh chopped herbs.
- Prep Time: 5 minutes
- Cook Time: 10 minutes
- Category: Side Dish
- Method: Boiling
- Cuisine: American
Nutrition
- Serving Size: 4
- Calories: 155
- Sugar: 6g
- Sodium: 100mg
- Fat: 8g
- Saturated Fat: 5g
- Unsaturated Fat: 2g
- Trans Fat: 0g
- Carbohydrates: 22g
- Fiber: 2g
- Protein: 3g
- Cholesterol: 20mg


