There’s something truly magical about baking bunny cupcakes. Whether you’re making them for Easter, a springtime gathering, or just because you love adorable desserts, these cupcakes bring joy to any occasion. Soft, fluffy, and topped with charming bunny ears, they’re not just treats but a delightful experience.
I first made these bunny cupcakes when planning a fun Easter-themed dessert for my family. I wanted something that looked impressive but was still easy enough for home bakers. After testing different recipes, I found the perfect combination of moist vanilla cupcakes, velvety buttercream frosting, and cute edible decorations. The result? A show-stopping treat that everyone adored!
If you’re looking for a fun and delicious way to impress guests, these bunny cupcakes are perfect. Stick around to learn all the details, from ingredients to step-by-step instructions and expert baking tips.
Why I Love This Recipe
Bunny cupcakes are more than just a dessert—they’re an experience.
A Fun and Festive Treat
These cupcakes bring a smile to everyone’s face. Their adorable design makes them perfect for Easter, birthdays, baby showers, or any spring-themed celebration. Plus, they make a fantastic baking project for kids!
Light, Moist, and Flavorful
The cupcakes have a soft and fluffy texture with just the right amount of sweetness. A hint of vanilla enhances the flavor, making them a crowd-pleaser. The buttercream frosting is smooth, creamy, and perfectly balanced, complementing the cupcake’s light texture.
Customizable and Easy to Decorate
One of the best things about this recipe is its versatility. You can switch up the flavors, add fun decorations, or even make them gluten-free with a few adjustments. Whether you go for classic white bunny ears or add a bit of pink sparkle, these cupcakes can be as simple or as elaborate as you like.
Now, let’s dive into what you’ll need to make these adorable treats.
Ingredients for Bunny Cupcakes
Great cupcakes start with great ingredients. Using high-quality ingredients ensures the best texture, taste, and appearance.
For the Cupcakes:
- All-purpose flour – Provides structure and ensures a tender crumb.
- Granulated sugar – Adds sweetness and moisture.
- Unsalted butter – Gives the cupcakes a rich flavor.
- Eggs – Help with structure and make the batter fluffy.
- Vanilla extract – Enhances the flavor.
- Whole milk – Keeps the cupcakes soft and moist.
- Baking powder – Helps them rise beautifully.
- Salt – Balances the sweetness.
For the Buttercream Frosting:
- Unsalted butter – The base for a creamy, smooth frosting.
- Powdered sugar – Sweetens the frosting and adds structure.
- Vanilla extract – Enhances the flavor.
- Heavy cream or milk – Helps achieve a fluffy texture.
For Decoration:
- Marshmallows – Cut in half to make bunny ears.
- Pink sanding sugar – Adds a touch of color inside the ears.
- Mini chocolate chips – Perfect for making cute bunny eyes.
- Pink candy pearls – Used for bunny noses.
How Much Time Will You Need
Making these bunny cupcakes doesn’t take too long, but planning ahead will make the process smoother.
- Prep time: 20 minutes
- Baking time: 18-20 minutes
- Decorating time: 20 minutes
- Total time: About 1 hour
How to Make Bunny Cupcakes
Baking these cupcakes is straightforward, even if you’re a beginner. Follow this step-by-step guide for perfect results.
Step 1: Prepare the Oven and Baking Tools
Preheat your oven to 350°F (175°C). Line a muffin tin with cupcake liners. This prevents sticking and ensures easy cleanup.
Step 2: Mix the Dry Ingredients
In a medium bowl, whisk together flour, baking powder, and salt. Set aside.
Step 3: Cream the Butter and Sugar
In a large mixing bowl, beat butter and sugar until light and fluffy. This step is crucial for achieving soft and airy cupcakes.
Step 4: Add Eggs and Vanilla
Mix in the eggs one at a time, ensuring each is fully incorporated before adding the next. Stir in the vanilla extract for that delicious aroma.
Step 5: Alternate Adding Dry Ingredients and Milk
Gradually add the dry ingredients and milk, alternating between the two. Mix until just combined—don’t overmix, as this can make the cupcakes dense.
Step 6: Fill the Cupcake Liners
Spoon the batter into the liners, filling them about ⅔ full. This gives the cupcakes room to rise.
Step 7: Bake to Perfection
Place the muffin tin in the oven and bake for 18-20 minutes, or until a toothpick inserted into the center comes out clean. Let them cool in the pan for a few minutes, then transfer to a wire rack.
Step 8: Make the Buttercream Frosting
While the cupcakes cool, beat butter and powdered sugar until smooth. Add vanilla extract and heavy cream, and beat until fluffy.
Step 9: Frost the Cupcakes
Use a piping bag to swirl the frosting onto each cupcake. You can also spread it with a spatula for a rustic look.
Step 10: Decorate the Bunny Faces
- Make the ears: Cut marshmallows in half diagonally and dip the sticky side into pink sanding sugar.
- Add the eyes: Place two mini chocolate chips on each cupcake.
- Create the nose: Press a pink candy pearl in the center.
Now you have the most adorable bunny cupcakes, ready to impress!
Substitutions
Not everyone has the same ingredients on hand, and some may need dietary adjustments. Here are some great substitutes:
- Butter → Coconut oil – For a dairy-free option.
- All-purpose flour → Gluten-free flour blend – To make these cupcakes gluten-free.
- Granulated sugar → Honey or maple syrup – For a more natural sweetness.
- Milk → Almond or oat milk – A dairy-free alternative that works well.
Best Side Dishes for Bunny Cupcakes
Pairing these cupcakes with the right side dish makes them even more enjoyable. Here are three great options:
- Fresh Fruit Salad – Light and refreshing, it balances the sweetness of the cupcakes.
- Vanilla Bean Ice Cream – A classic pairing for a rich and indulgent treat.
- Earl Grey or Chamomile Tea – Complements the flavors and makes for a cozy dessert experience.
Serving and Presentation Tips
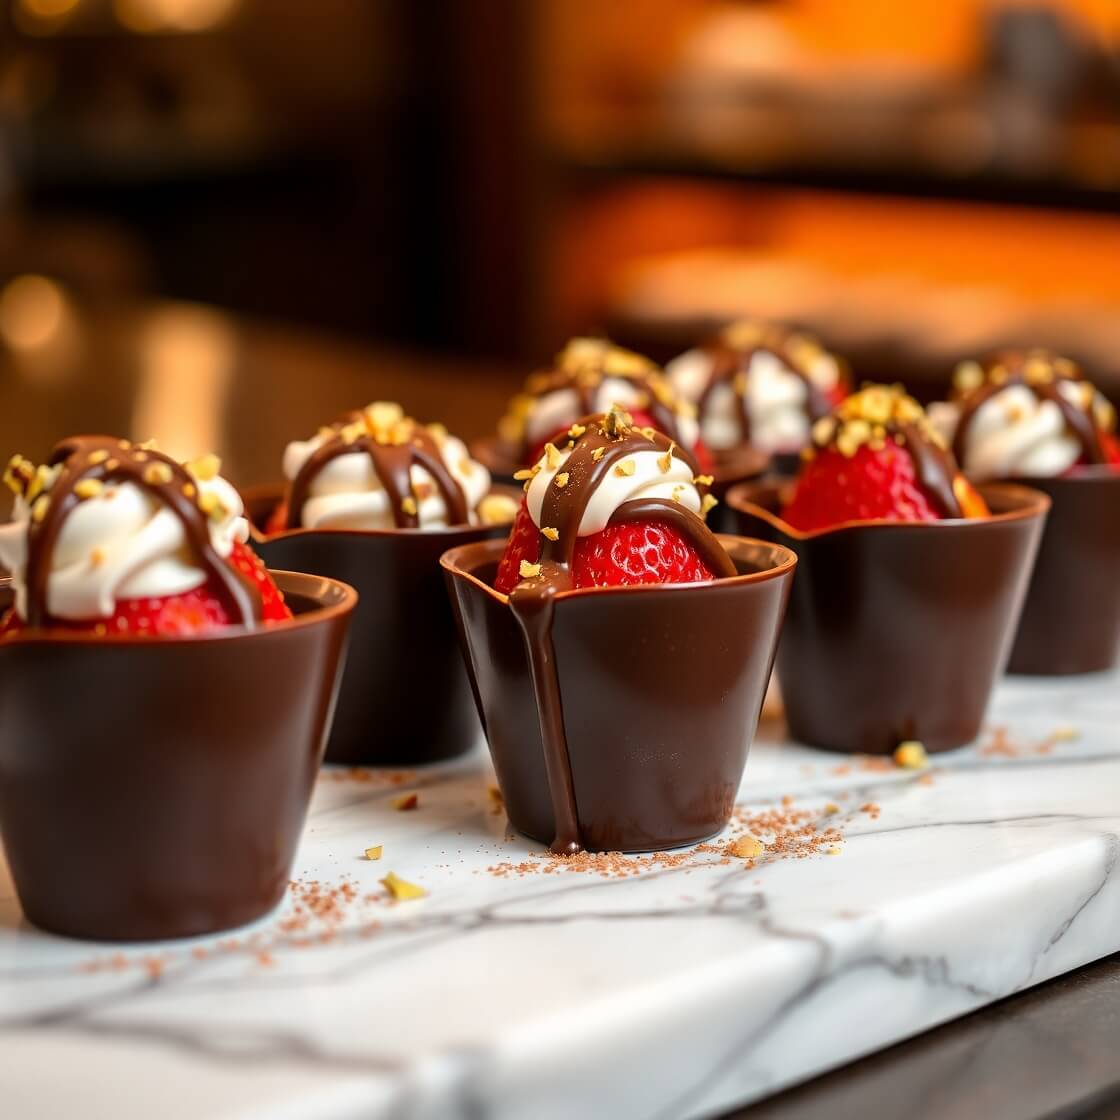
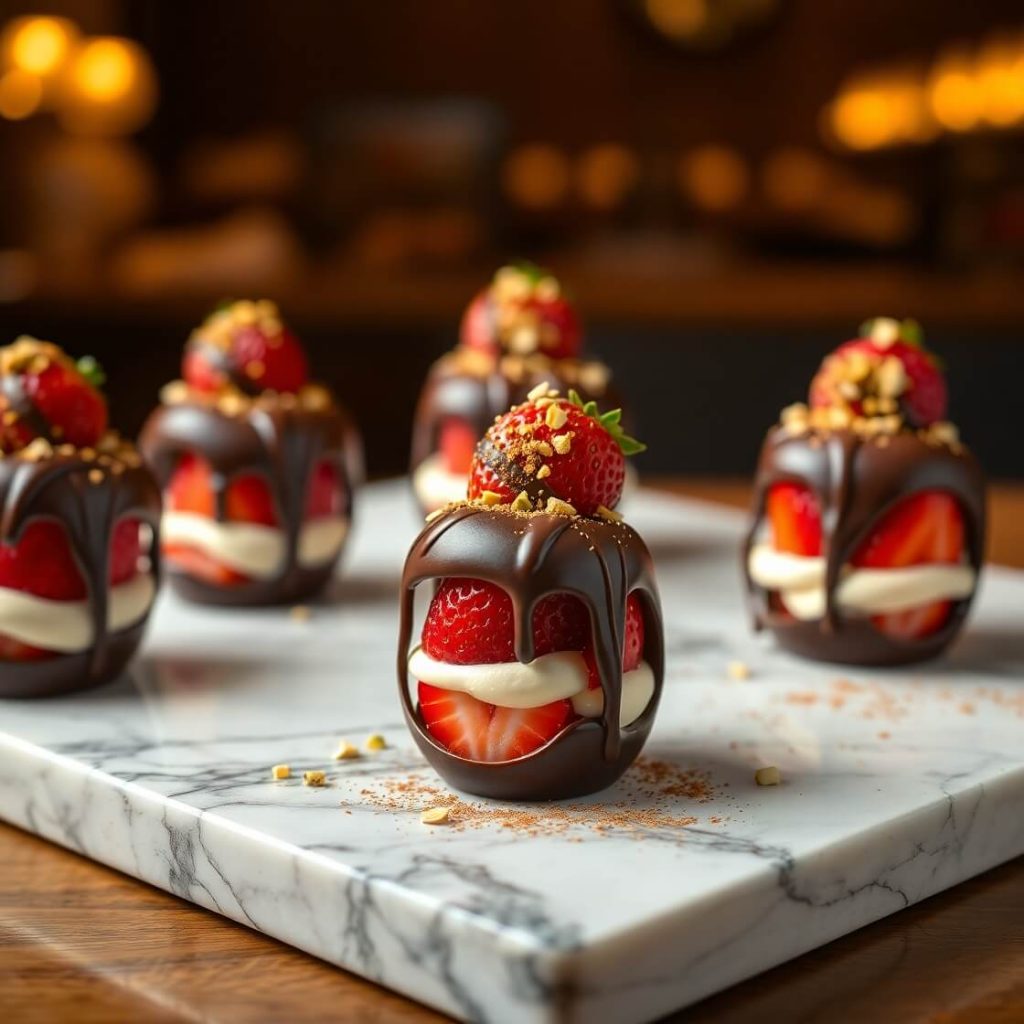
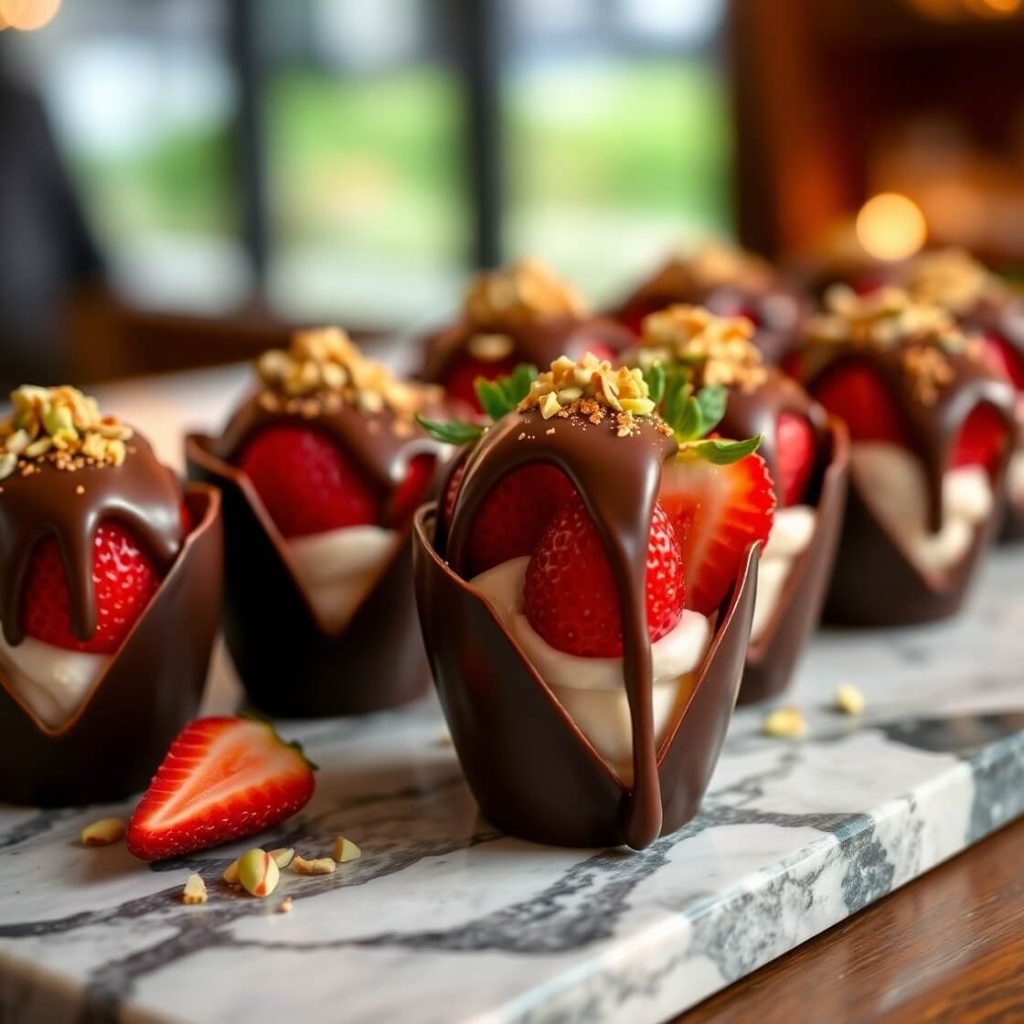
A beautifully presented dessert elevates the dining experience. The Dubai Chocolate Strawberry Cups already look luxurious, but with the right plating and garnish, they’ll look like they came straight from a high-end patisserie.
How to Serve These Desserts Like a Pro
- Use Elegant Dessert Plates: A white, gold-rimmed, or marble plate enhances the visual contrast of the rich chocolate and bright strawberries.
- Arrange in a Circular Pattern: Placing the cups in a circular or semi-circle arrangement makes them look aesthetically pleasing, especially when served at a gathering.
- Drizzle with Extra Ganache: A delicate drizzle of warm chocolate ganache over and around the cups adds a professional touch.
- Garnish for a Gourmet Look: Sprinkle crushed pistachios, edible gold flakes, or cocoa powder over the top for a restaurant-style finish.
- Pair with a Side: Serve with a scoop of vanilla gelato, fresh whipped cream, or a cup of rich Arabic coffee for the ultimate indulgence.
Tips and Tricks to Make This Recipe Even Better
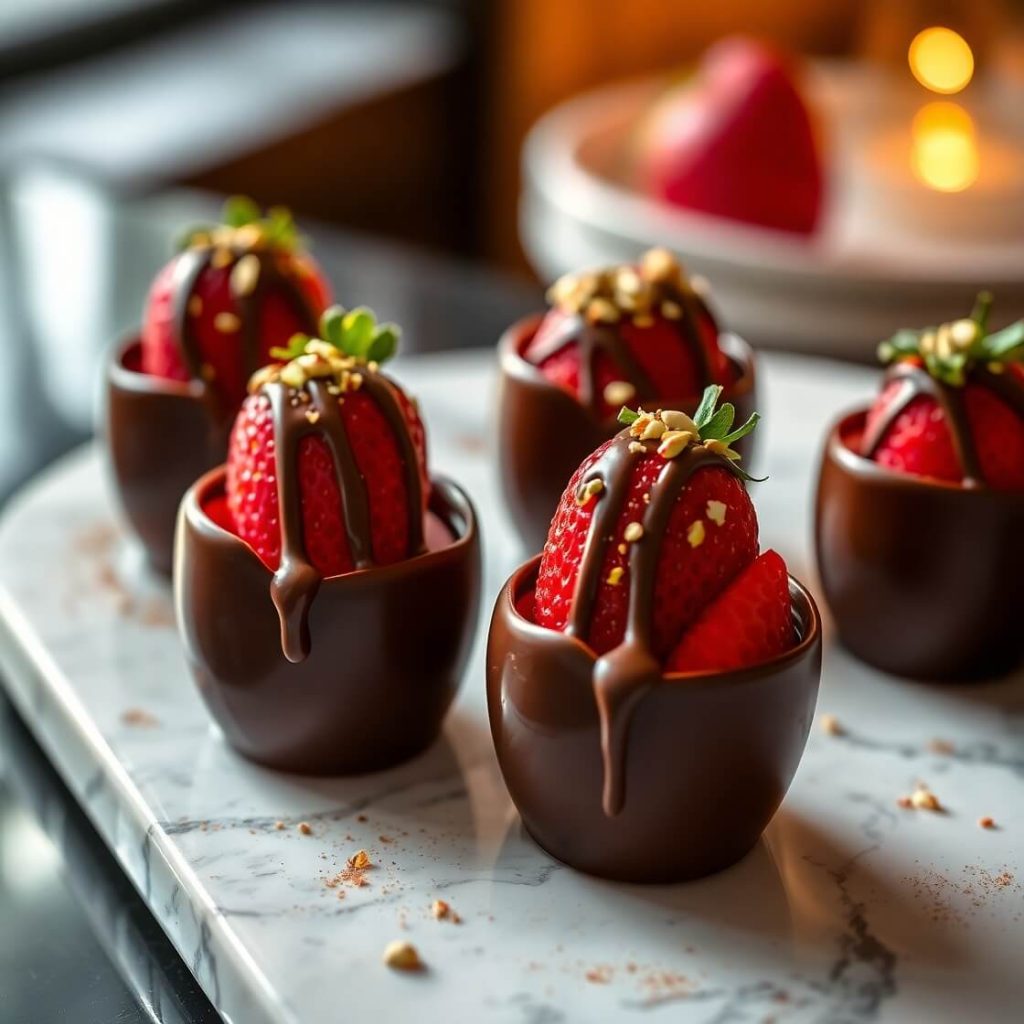
To perfect these Chocolate Strawberry Cups, here are some game-changing tips:
Mastering the Chocolate Shell
- Use High-Quality Chocolate: Opt for couverture chocolate with at least 60% cocoa to achieve a smooth, glossy finish.
- Double Coat for Durability: The first chocolate layer might be too thin, so applying a second coat ensures the cups don’t break easily.
- Let the Chocolate Cool Slightly Before Molding: If the chocolate is too hot when added to the molds, it can create uneven layers.
Perfecting the Filling
- Whip the Cream to Soft Peaks: Overwhipping can make the filling grainy. Stop once it holds its shape but is still creamy.
- Use Fresh Strawberries: Frozen strawberries release too much water, which can make the filling runny.
Garnishing Like a Pro
- For Extra Crunch: Add finely chopped toasted almonds or hazelnuts inside the filling for a contrast in texture.
- For a Floral Note: Garnish with edible dried rose petals for an elegant Middle Eastern-inspired look.
Common Mistakes to Avoid
Even the simplest recipes can have pitfalls. Avoid these mistakes to get flawless results every time.
1. Overheating the Chocolate
Chocolate is delicate and burns easily. Always melt it slowly using a double boiler or at low heat in the microwave, stirring in between.
2. Not Letting the Chocolate Set Properly
If you rush the setting process, the chocolate cups may crack. Refrigerate them for at least 20 minutes to ensure they are sturdy.
3. Overfilling the Cups
Adding too much filling can cause it to spill over, making the cups difficult to eat neatly. Leave a little space at the top for clean presentation.
4. Using Wet Strawberries
If your strawberries aren’t properly dried after washing, they will add moisture to the filling, making the cream watery. Always pat them dry first.
How to Store It
If you need to make these ahead of time or have leftovers, here’s how to store them for freshness:
Short-Term Storage (1-3 Days)
- Store the filled chocolate cups in an airtight container in the refrigerator.
- Keep them separated with parchment paper to prevent sticking.
Freezing (Up to 2 Months)
- Freeze only empty chocolate shells, not filled ones, as the cream filling doesn’t freeze well.
- Store in a sealed container with parchment between each layer.
- When ready to use, let them thaw at room temperature before adding the filling.
FAQ
1. Can I use white chocolate instead of dark chocolate?
Yes! White chocolate makes a sweeter variation. Just be extra careful when melting, as it burns faster than dark chocolate.
2. Can I make these without dairy?
Absolutely! Use dairy-free dark chocolate and swap coconut cream for heavy cream in the filling.
3. What other fillings can I try?
Besides strawberries, you can use raspberries, blueberries, caramelized bananas, or a hazelnut spread for different flavor variations.
4. How can I make these more festive for a party?
Top them with gold sprinkles, mini edible flowers, or drizzle white chocolate for a fancier look.
5. Do I have to use cupcake liners?
No, you can use silicone molds for a smooth, reusable alternative.
Print
Bunny Cupcakes Recipe
- Total Time: 55 minutes
- Yield: 6-8 1x
- Diet: Halal
Description
Indulge in these Dubai Chocolate Strawberry Cups, a decadent dessert featuring silky chocolate shells filled with luscious strawberries and whipped cream. Inspired by the elegance of Middle Eastern desserts, this treat combines rich flavors and luxurious textures, making it perfect for special occasions, parties, or a romantic night in. The contrast between the crisp chocolate shell and the soft, fruity filling creates an irresistible bite-sized delight.
Ingredients
1. For the Chocolate Cups:
- 8 oz (226g) dark chocolate (chopped)
- Mini cupcake liners or silicone molds
2. For the Filling:
- 1 cup fresh strawberries (diced)
- ½ cup heavy cream
- 2 tbsp powdered sugar (optional)
- ½ tsp vanilla extract
3. For the Chocolate Ganache Drizzle:
- 4 oz (113g) dark chocolate
- ¼ cup heavy cream
4. Optional Garnishes:
- Edible gold flakes
- Chopped pistachios
- Cocoa powder
Instructions
- Melt the Chocolate: Gently melt chopped chocolate in a double boiler or microwave in 15-second intervals, stirring frequently.
- Prepare the Chocolate Cups: Spoon melted chocolate into cupcake liners or silicone molds, coating the sides evenly. Refrigerate for 15-20 minutes to set.
- Double Coat for Strength: If needed, apply a second chocolate layer for extra thickness. Refrigerate again.
- Prepare the Filling: In a mixing bowl, whip heavy cream, powdered sugar, and vanilla extract until soft peaks form. Gently fold in diced strawberries.
- Remove Chocolate Cups: Carefully peel away the cupcake liners or pop the chocolate shells out of the molds.
- Fill the Cups: Spoon the strawberry cream mixture into each cup, leaving a small gap at the top.
- Make the Ganache: Heat heavy cream until warm, then pour over chopped chocolate. Stir until smooth.
- Drizzle with Ganache: Pour a small amount of chocolate ganache over the filled cups.
- Garnish and Chill: Sprinkle with pistachios, gold flakes, or cocoa powder, then refrigerate for 10-15 minutes before serving.
Notes
- Use tempered chocolate for a shinier, professional finish.
- Refrigerate before serving to keep the chocolate firm.
- Experiment with different fillings like mango, caramel, or coffee mousse.
- Prep Time: 15 minutes
- Cook Time: 30 minutes
- Category: Dessert
- Method: No-bake
- Cuisine: Middle Eastern-inspired
Nutrition
- Serving Size: 6-8
- Calories: 210
- Sugar: 12g
- Sodium: 15mg
- Fat: 14g
- Saturated Fat: 9g
- Unsaturated Fat: 0g
- Trans Fat: 0g
- Carbohydrates: 18g
- Fiber: 2g
- Protein: 2g
- Cholesterol: 18mg

