There’s something deeply comforting about the smell of sizzling kielbasa and buttery pierogies filling the kitchen. It takes me straight back to Sunday evenings at my grandmother’s house—when she’d stand by the stove, humming softly while flipping each pierogi to a perfect golden brown. The whole house smelled like warmth and family.
Over the years, I’ve made this recipe my own. I’ve simplified some steps, added caramelized onions for depth, and sometimes even toss in a handful of cabbage for a bit of sweetness. But the heart of this dish stays the same—crispy pierogies, smoky kielbasa, and that irresistible buttery onion aroma that feels like home.
This recipe is perfect for busy weeknights when you crave something hearty yet easy, or for weekends when you want to linger over a comforting, soul-satisfying meal. Whether you’re Polish by heritage or just a fan of cozy, flavorful food, this pierogies and kielbasa dish will quickly become a staple at your table.
Why I Love This Recipe

I’ve made countless comfort dishes over the years, but pierogies and kielbasa hold a special spot in my heart because of how simple yet satisfying it is. There’s something magical about combining two humble ingredients—pillowy potato pierogies and smoky sausage—and turning them into a meal that feels so complete.
The real charm lies in the contrast: the soft, buttery pierogies meeting the crisp edges of pan-seared kielbasa. And when you toss them together with sautéed onions and maybe a few caramelized bits of garlic, the flavors melt into something beautifully rustic.
What makes this recipe stand out is how flexible it is. You can use fresh or frozen pierogies, choose any variety of kielbasa—smoked, beef, pork, or turkey—and even dress it up with extras like cabbage, peppers, or bacon.
It’s a meal that doesn’t demand perfection. It welcomes shortcuts, substitutions, and personal touches. The only rule? Use real butter. It makes all the difference in giving the pierogies that golden crust and rich, comforting flavor.
If you’re like me, you’ll love that this dish takes under 30 minutes to pull together but tastes like it simmered all day. It’s the kind of recipe that brings everyone to the kitchen, asking, “What smells so good?”—and that’s always the best sign of a winning meal.
Ingredients for Pierogies and Kielbasa
To make this recipe, you’ll need simple, easy-to-find ingredients that blend beautifully to create that hearty, homestyle flavor.
Here’s what I typically use:
- Pierogies – I usually reach for frozen potato and cheese pierogies because they crisp beautifully and have that classic flavor. If you can find homemade or store-fresh pierogies, even better.
- Kielbasa – A good smoked kielbasa is essential. I like the kind with a natural casing—it gets perfectly crisp when browned. You can go with pork for rich flavor, turkey for a lighter touch, or beef if you prefer a bolder taste.
- Butter – Don’t skimp on this. Butter adds richness and helps the pierogies turn that beautiful golden brown.
- Onions – Sweet or yellow onions are perfect. When sautéed slowly, they caramelize and give the dish that signature sweetness.
- Garlic – Just a clove or two, finely minced, brings an aromatic depth.
- Olive oil – A drizzle helps keep the butter from burning during high heat cooking.
- Salt and pepper – Keep it simple; you don’t need much because the kielbasa carries plenty of flavor.
- Fresh parsley (optional) – For a touch of freshness and color at the end.
- Cabbage or bell peppers (optional) – If you want to bulk it up with some veggies, these are my favorites.
It’s the kind of ingredient list you might already have in your kitchen, which makes this a perfect last-minute dinner.
How Much Time Will You Need?
One of the best things about this recipe is how quickly it comes together. If you’re using frozen pierogies, you’ll need to boil them first, which takes about 5 minutes. From there, everything happens in one skillet.
Here’s the breakdown:
- Prep time: 10 minutes (slicing onions, garlic, and kielbasa)
- Cook time: 20 minutes
- Total time: About 30 minutes
In half an hour, you’ll have a golden, buttery, hearty dish that tastes like you spent hours over the stove. Perfect for a quick family dinner or a comforting meal at the end of a long day.
How to Make Pierogies and Kielbasa
Now comes the fun part—let’s cook!
Step 1: Prep your ingredients
Slice your kielbasa into bite-sized rounds, about ¼-inch thick. Thinly slice the onion and mince the garlic. If you’re using cabbage or peppers, chop them into small strips so they cook evenly.
Step 2: Cook the pierogies
If you’re using frozen pierogies, start by boiling a large pot of water. Drop them in and cook until they float to the top—about 5 minutes. Drain them and pat them dry so they crisp up nicely later. If you’re using fresh pierogies, you can skip this step and go straight to sautéing.
Step 3: Brown the kielbasa
In a large skillet, heat about a tablespoon of butter and a drizzle of olive oil over medium-high heat. Add the sliced kielbasa in a single layer. Let it brown without stirring too much—those caramelized edges are full of flavor. After about 4–5 minutes, flip the slices and cook another 2–3 minutes until both sides are golden. Transfer them to a plate and set aside.
Step 4: Sauté the onions and garlic
In the same skillet (don’t wipe it out—the browned bits add flavor), melt another tablespoon of butter. Add the sliced onions and a pinch of salt. Sauté slowly, stirring occasionally, until the onions become soft and golden, about 6–8 minutes. Add the garlic and cook for another 30 seconds, just until fragrant.
Step 5: Pan-fry the pierogies
Add the boiled (or fresh) pierogies to the skillet with another pat of butter. Let them cook undisturbed for about 3–4 minutes per side until golden and crisp. You might need to do this in batches to avoid crowding the pan.
Step 6: Combine everything
Once the pierogies are crisp and golden, add the browned kielbasa back to the pan. Toss everything together gently so the onions coat the pierogies and sausage. If the skillet feels dry, add another small knob of butter—it’s worth it.
Step 7: Taste and finish
Season lightly with salt and freshly cracked black pepper. If you like, sprinkle with chopped parsley or even a squeeze of lemon juice for brightness.
Serve immediately while it’s hot and buttery, right out of the pan.
Substitutions
One of the reasons I love this recipe so much is its flexibility. You can adjust it to fit what you have in your fridge or pantry and still end up with a delicious meal.
- Pierogies: Don’t have potato and cheese? Try sauerkraut or mushroom pierogies for a tangier, earthier flavor. Even ravioli can work in a pinch—just treat them the same way.
- Kielbasa: Smoked sausage, bratwurst, or even chicken sausage make great substitutes. If you prefer something lighter, turkey kielbasa keeps the flavor but cuts the fat.
- Butter: If you need a dairy-free option, use olive oil or plant-based butter. The texture will still turn out lovely.
- Onions: No onions? Use shallots or leeks for a milder, more refined flavor.
- Garlic: If you’re not a garlic fan, you can skip it or add a dash of garlic powder for a subtle note.
- Add-ins: Bell peppers, green beans, or even spinach can be tossed in for color and nutrition.
The best part of cooking is making a recipe yours. Every time you make it, you can tweak something new—just don’t forget the butter and that golden sear.
Best Side Dishes for Pierogies and Kielbasa
This meal is hearty on its own, but pairing it with the right sides makes it even better. Here are three of my go-to combinations:
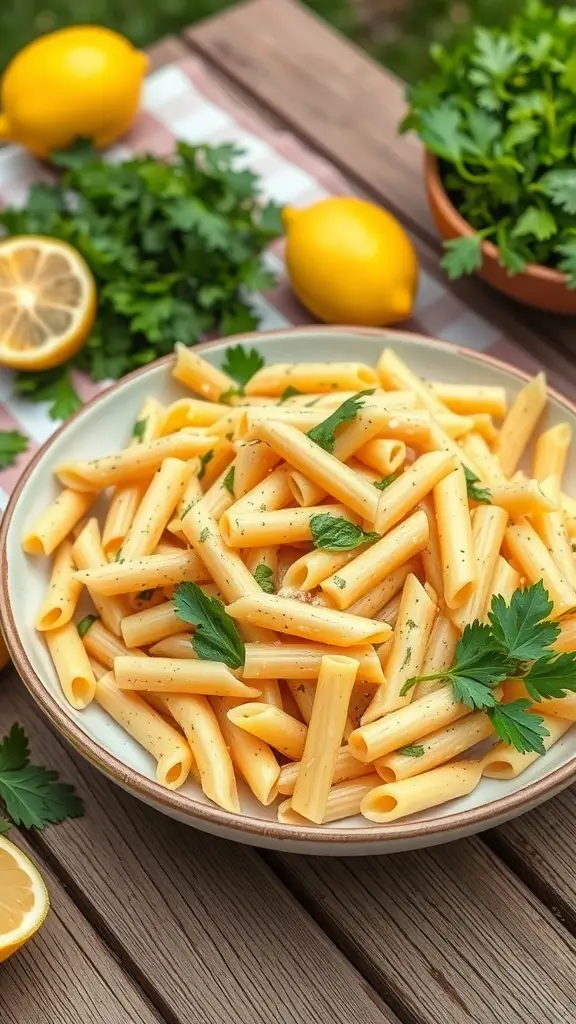
1. Simple Green Salad – The buttery pierogies and smoky sausage pair beautifully with something crisp and fresh. I like tossing mixed greens with lemon vinaigrette to balance the richness.
2. Roasted Vegetables – Roasted Brussels sprouts, carrots, or asparagus work wonderfully here. They add color and texture without competing with the main dish’s flavor.
3. Sour Cream and Dill Cucumber Salad – This cool, tangy salad is a nod to Polish flavors. It’s creamy yet refreshing, and the dill complements the kielbasa perfectly.
If you’re serving a crowd, you can even add a loaf of crusty bread or a side of sauerkraut for that extra traditional touch.
Serving and Presentation Tips
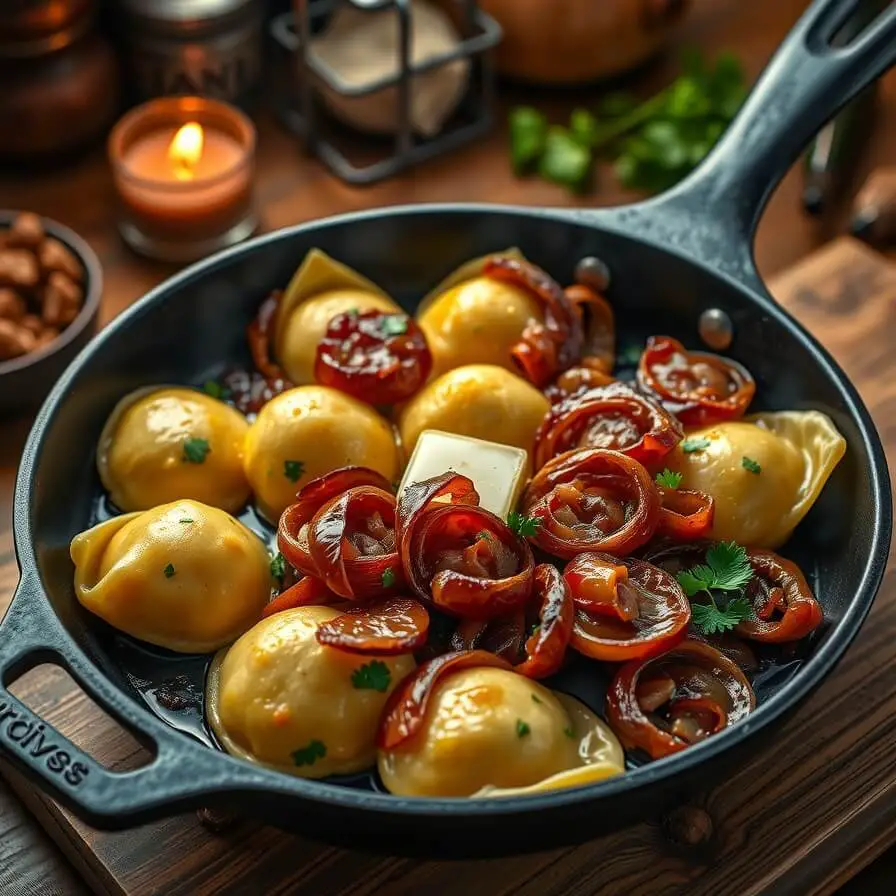
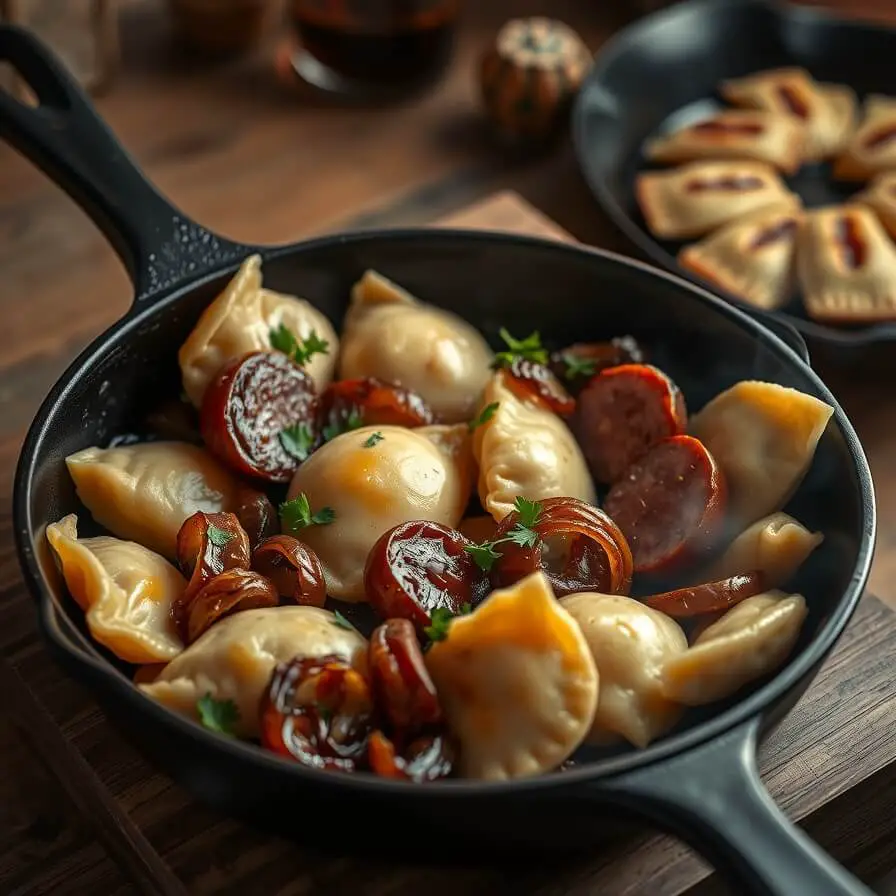
There’s something special about serving pierogies and kielbasa straight from the skillet. The sizzling sound, the glistening butter coating, and those golden edges make it irresistible. But with a few simple presentation touches, you can take it from a humble family meal to a dish that feels restaurant-worthy.
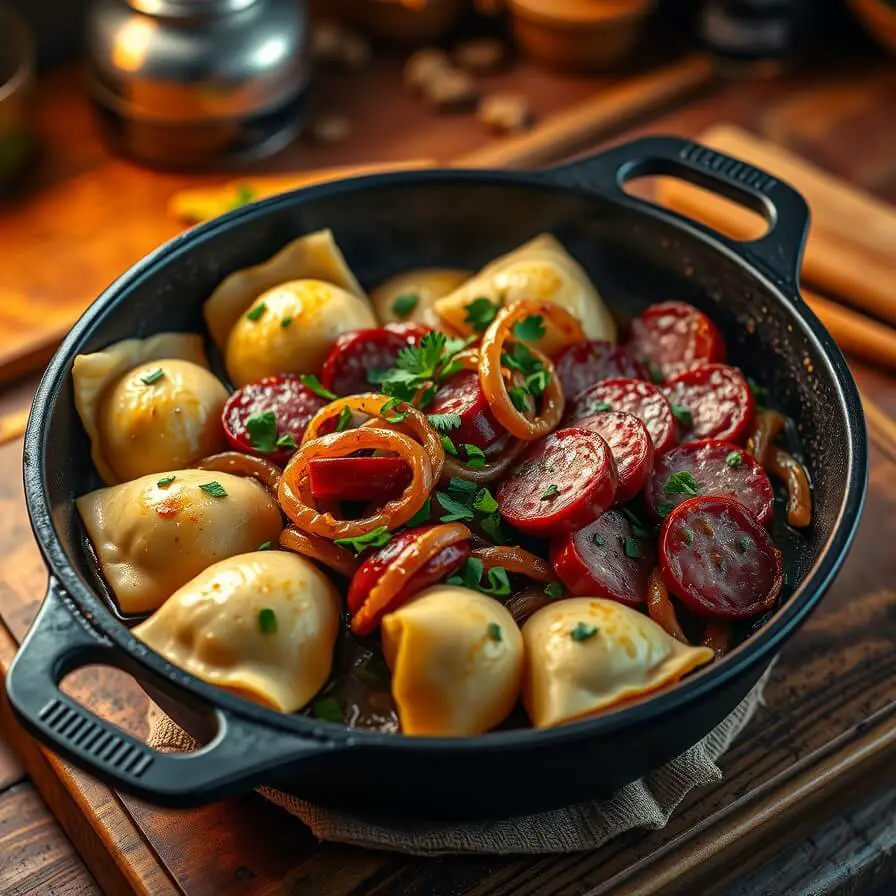
I like to start by using a large cast-iron skillet as my serving dish—it keeps everything hot while looking rustic and inviting. Arrange the pierogies in a slightly overlapping pattern, tucking slices of kielbasa and caramelized onions in between. That way, every scoop has a little of everything.
If you want to make it look extra appetizing, sprinkle a handful of freshly chopped parsley or chives across the top. It adds a bright green pop that contrasts beautifully with the rich golden tones of the dish. For a little flair, serve a small bowl of sour cream or mustard sauce on the side for dipping.
And if you’re entertaining, consider setting the table family-style—let guests serve themselves straight from the pan. It’s casual, cozy, and creates that shared, homey atmosphere that makes everyone linger just a little longer at the table.
Tips and Tricks to Make This Recipe Even Better
Here’s where you can really elevate your pierogies and kielbasa from good to unforgettable.
The biggest secret? Temperature control. Start with medium-high heat to brown the kielbasa, then lower it when you’re sautéing onions and frying pierogies. That balance keeps everything perfectly browned without burning the butter.
Another trick I swear by: boil, then pan-fry. It’s tempting to throw frozen pierogies right into the skillet, but giving them that quick boil ensures they’re tender inside and crispy outside—no doughy centers.
If you want more flavor depth, toss in a splash of chicken broth or a teaspoon of Dijon mustard when you’re combining everything in the skillet. It gives the dish a subtle tang that cuts through the richness.
And don’t be afraid to get creative—mix in some sauerkraut or thinly sliced cabbage to add brightness. For a smoky twist, a dash of paprika or a sprinkle of crushed red pepper gives just enough warmth without overpowering the dish.
Lastly, always let the pierogies rest for a minute or two before serving. It helps them stay crisp, and the flavors meld beautifully as they cool just slightly.
Common Mistakes to Avoid
Even though this recipe is simple, a few small missteps can make a big difference. Here’s what to watch out for:
1. Overcrowding the pan.
If you pile in too many pierogies or sausage slices, they’ll steam instead of crisp. Cook in batches if needed—it’s worth the extra few minutes for that perfect texture.
2. Using too little butter or oil.
Pierogies need enough fat to get that signature golden crust. Skimping here makes them dry and chewy.
3. Burning the onions.
Caramelizing onions takes patience. Keep the heat on medium and stir occasionally until they’re soft and golden, not dark brown or bitter.
4. Forgetting to dry the pierogies after boiling.
Excess water can cause oil splatter and soggy edges. Pat them dry gently before pan-frying.
5. Overcooking the kielbasa.
It’s already smoked, so you’re really just browning it for texture and flavor. A few minutes per side is all it needs.
Keep these small details in mind, and you’ll end up with a dish that’s perfectly balanced—crispy, tender, and deeply flavorful.
How to Store It
If you happen to have leftovers (which, honestly, doesn’t happen often in my house), they store beautifully for a quick meal later.
Transfer the cooled pierogies and kielbasa into an airtight container and refrigerate for up to 3 days. When reheating, skip the microwave if you can—pan-frying them again in a bit of butter restores their crispy texture.
You can also freeze this dish for longer storage. Spread the cooked pierogies and kielbasa on a baking sheet and freeze for about an hour before transferring to a freezer-safe bag. They’ll keep for up to 2 months. To reheat, let them thaw in the fridge overnight, then warm them up in a skillet until heated through and lightly crisp again.
FAQ
Q: Can I use fresh homemade pierogies instead of frozen?
Absolutely! Fresh pierogies cook faster, so skip the boiling step and just pan-fry them in butter until golden.
Q: What’s the best type of kielbasa for this recipe?
Traditional smoked pork kielbasa has the richest flavor, but beef or turkey kielbasa also work well if you prefer something lighter.
Q: Can I make this dish vegetarian?
Yes! Swap the kielbasa for vegetarian sausage or sautéed mushrooms. You’ll still get a hearty, flavorful result.
Q: How do I make it less greasy?
Use half butter and half olive oil, and drain the kielbasa on a paper towel before mixing everything together.
Q: Can I add vegetables to this recipe?
Definitely! Cabbage, bell peppers, spinach, or even green beans fit perfectly. Just sauté them with the onions before adding the pierogies.

Pierogies and Kielbasa Recipe
- Total Time: 30 minutes
- Yield: 4 1x
- Diet: Halal
Description
A hearty, buttery comfort dish combining crispy potato pierogies, smoky kielbasa, and caramelized onions—this recipe delivers all the flavors of traditional Polish home cooking in under 30 minutes. Perfect for weeknight dinners or cozy family gatherings, it’s rich, satisfying, and endlessly customizable. Whether you make it with frozen pierogies or from scratch, this dish never fails to bring that nostalgic warmth of homemade comfort food to your table.
Ingredients
- 1 package (about 16 oz) frozen potato and cheese pierogies
- 1 lb smoked kielbasa, sliced into rounds
- 2 tbsp unsalted butter
- 1 tbsp olive oil
- 1 large onion, thinly sliced
- 2 cloves garlic, minced
- Salt and pepper, to taste
- Fresh parsley or chives, chopped (optional)
Instructions
- Boil the pierogies in salted water for 5 minutes or until they float. Drain and pat dry.
- In a large skillet, heat butter and olive oil over medium-high heat. Brown kielbasa slices on both sides and set aside.
- In the same pan, sauté onions until golden, then add garlic for 30 seconds.
- Add pierogies and fry until both sides are crisp and golden.
- Return kielbasa to the pan, toss gently to coat in the buttery onions, and season with salt and pepper.
- Garnish with parsley and serve hot.
Notes
- Prep Time: 10 minutes
- Cook Time: 20 minutes
- Category: Main Course
- Method: Pan-Fried
- Cuisine: Polish-American
Nutrition
- Serving Size: 4
- Calories: 610
- Sugar: 5g
- Sodium: 980mg
- Fat: 35g
- Saturated Fat: 14g
- Unsaturated Fat: 18g
- Trans Fat: 0g
- Carbohydrates: 52g
- Fiber: 3g
- Protein: 26g
- Cholesterol: 75mg