
There’s something so comforting about whipping up a dessert that doesn’t take hours in the kitchen. That’s exactly how this Oreo mug cake came to life in my kitchen one late evening. I had a sudden sweet craving but didn’t want to bake a whole cake. I looked at a packet of Oreos in my pantry, a mug sitting on the counter, and thought—why not turn these into a warm, gooey cake in minutes?
That’s the beauty of an Oreo mug cake—it’s quick, fun, and incredibly satisfying. You don’t need to be a skilled baker to make it, and you don’t even need an oven. Just a few Oreos, some basic kitchen staples, and a microwave, and you’ll have a decadent little cake ready before your craving grows any stronger.
If you’ve ever had the midnight urge for something chocolatey, or if you’ve wanted to impress a friend with a dessert made in under five minutes, this recipe is going to be your go-to.
Why I Love This Recipe
What I adore about this Oreo mug cake is how magical it feels. You start with a handful of Oreos and a splash of milk, mash them together, add a couple of ingredients, and suddenly you have this rich, fluffy cake that smells like heaven. It’s like kitchen alchemy but without the complicated steps.
The specialty lies in its simplicity. Traditional cakes require mixing bowls, stand mixers, preheating ovens, and lots of waiting. Here, you only need a mug and a microwave. The Oreos act as both the flavor base and the structure of the cake, which makes the whole process almost foolproof.
Another reason this recipe stands out is how customizable it is. You can make it extra chocolatey by adding cocoa powder, throw in chocolate chips for gooey bites, or even swirl in some peanut butter for a rich twist. It’s also a great activity for kids because it’s safe, quick, and fun to watch rise in the microwave.
For me, this isn’t just a dessert—it’s an instant mood-lifter. Whenever I need a pick-me-up, this Oreo mug cake never disappoints.
Ingredients for Oreo Mug Cake
The best part about this recipe is that it doesn’t require a grocery run. Most of these ingredients are already in your pantry. That’s why this mug cake has become such a favorite for so many people—it’s accessible, affordable, and quick.
Here’s what you’ll need:
- Oreos – The star of the show. Regular Oreos work best, but you can experiment with flavored ones too.
- Milk – To soften the Oreos and turn them into a cake batter base. Whole milk makes it richer, but any milk will do.
- All-purpose flour – Adds structure and fluffiness.
- Sugar – Optional, since Oreos are already sweet, but a small spoonful enhances the flavor.
- Baking powder – Helps the cake rise and become airy.
- Oil or melted butter – Gives moisture and prevents a dry texture.
- Optional mix-ins – Chocolate chips, cocoa powder, peanut butter, or Nutella can be added for fun variations.
I always say, the beauty of mug cakes is that you can experiment without worry. It’s a single-serving treat, so if one version doesn’t work perfectly, you can try again in minutes.
How Much Time Will You Need
That’s the real charm of this recipe—it’s almost instant gratification.
- Prep time: 5 minutes (mostly crushing Oreos and mixing)
- Cook time: 1–2 minutes in the microwave
- Total time: Under 10 minutes from start to finish
It’s the kind of dessert you can whip up during a commercial break, while waiting for your coffee to brew, or even as a last-minute surprise when guests drop by.
How to Make This Oreo Mug Cake
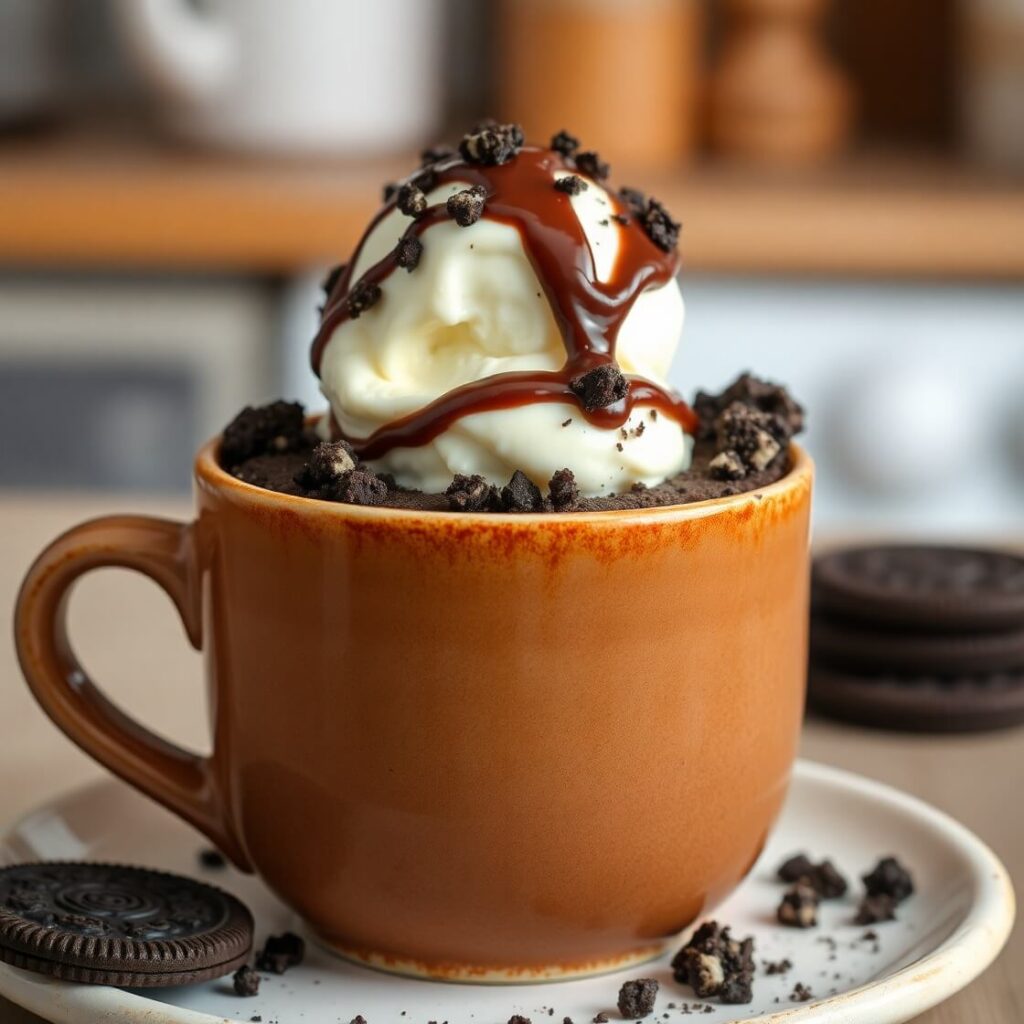
Here’s the fun part—the actual process. The steps are simple, but I’ll break them down carefully so you can follow along easily, even if this is your first time making a mug cake.
Step 1: Crush the Oreos
Take 6–8 Oreos and place them in a sturdy mug. Use the back of a spoon to crush them into fine crumbs. You can also use a small plastic bag and crush them with a rolling pin, then transfer the crumbs to your mug.
Step 2: Add milk
Pour in about ¼ cup of milk over the Oreo crumbs. Let the cookies soak for a minute, then mash them until you get a thick, smooth paste. This will be your cake base.
Step 3: Mix in dry ingredients
Stir in 2 tablespoons of all-purpose flour, ¼ teaspoon baking powder, and (if you like) 1 teaspoon of sugar. Mix well so there are no lumps.
Step 4: Add oil or butter
Drizzle in 1 tablespoon of oil (or melted butter) and stir until everything is fully combined. The batter should be slightly thick but pourable.
Step 5: Customize
If you want, add a tablespoon of chocolate chips, a spoonful of cocoa powder, or even a swirl of peanut butter or Nutella. This is your chance to make it extra indulgent.
Step 6: Microwave
Place the mug in the microwave and cook for 60–90 seconds on high. Keep an eye on it—the cake will rise quickly. Don’t overcook or it’ll get dry. The top should look set but still a little moist in the center.
Step 7: Rest and enjoy
Let the mug cake cool for 1–2 minutes before digging in. You can eat it as is, or top it with whipped cream, ice cream, or extra crushed Oreos.
Substitutions
One of the best things about mug cakes is how adaptable they are. If you’re missing an ingredient, don’t worry—here are some easy swaps:
- Milk – You can use almond milk, oat milk, or even water if you’re out of milk. The texture might change slightly, but it still works.
- Flour – Swap with self-rising flour and skip the baking powder, or use gluten-free flour if you need a gluten-friendly option.
- Sugar – Honey, maple syrup, or even a sugar substitute like Stevia can work if you want to cut down on refined sugar.
- Oil/Butter – You can use coconut oil, yogurt, or even applesauce for a lighter version.
These substitutions make it easy for anyone to enjoy an Oreo mug cake, no matter their dietary needs or pantry situation.
Best Side Dish of Oreo Mug Cake
Although this cake is perfect on its own, pairing it with the right side can take it to another level. Here are three ideas to make your dessert time more enjoyable:
- Vanilla ice cream – A scoop of cold, creamy ice cream melting into the warm cake is a classic pairing.
- Fresh berries – Strawberries, raspberries, or blueberries add a refreshing tartness that balances the sweetness.
- Whipped cream with chocolate drizzle – Light and airy whipped cream with a little chocolate sauce makes the cake feel like a gourmet treat.
Serving and Presentation Tips
The beauty of an Oreo mug cake is that it’s made in a single mug, but that doesn’t mean presentation should be overlooked. A little effort can make your five-minute dessert look like something you’d proudly serve at a café.
My favorite way is to dust the top lightly with powdered sugar right after microwaving. It creates a delicate snowy look that contrasts beautifully with the dark chocolate cake. If you’re going for something extra indulgent, top it with a dollop of whipped cream or a scoop of vanilla ice cream. The warmth of the cake against the cool cream makes every bite a delight.
For guests, I recommend transferring the cake to a small dessert plate, then garnishing it with crushed Oreos and a drizzle of chocolate sauce. It instantly looks more polished and inviting. And if you’re making this for kids, add some colorful sprinkles on top—it turns into a fun, celebratory treat.
Tips and Tricks to Make This Recipe Better
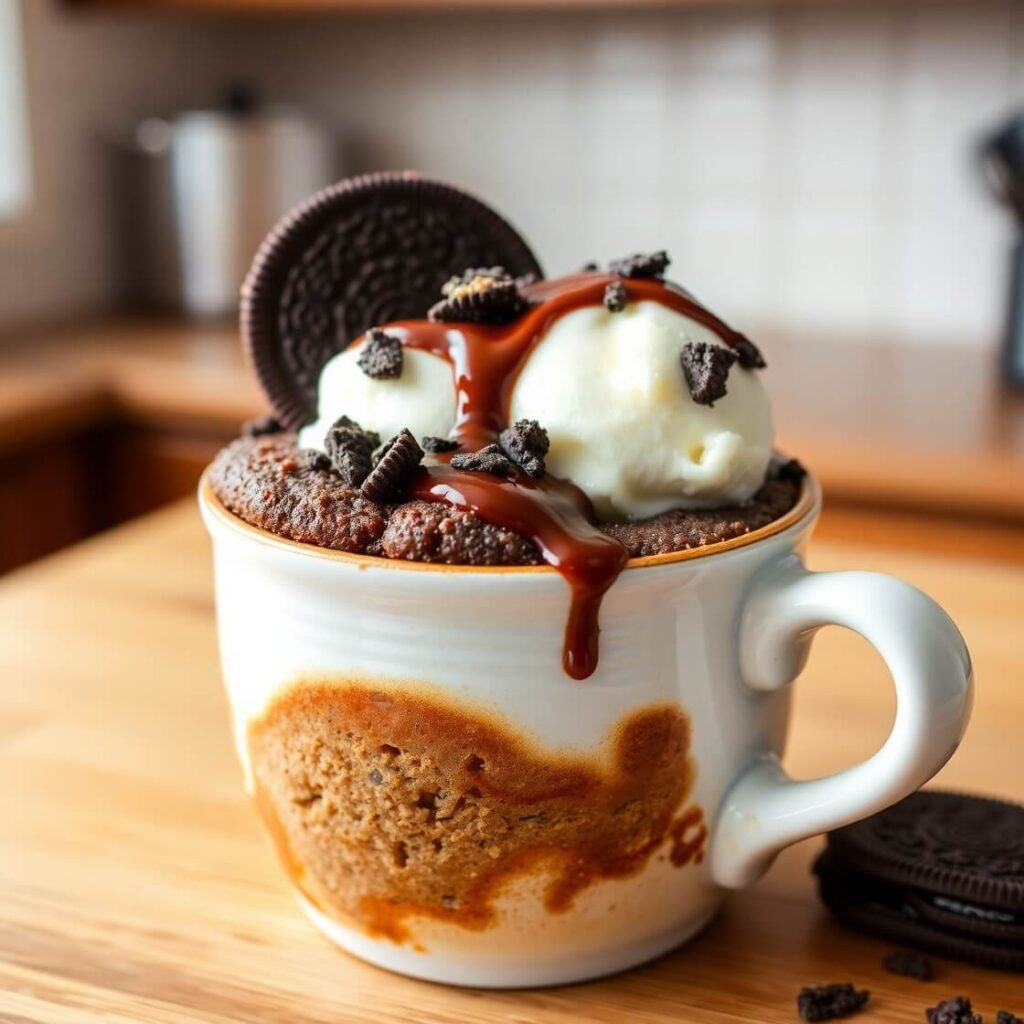
The secret to making a mug cake that doesn’t taste rubbery or dry is all in the details. Here are my tried-and-true tricks to make this Oreo mug cake come out perfect every time:
- Don’t overcook – The microwave cooks fast, and just 10 seconds too long can make the cake dry. Always check at the 60-second mark, then add more time if needed.
- Use a wide mug – A larger, microwave-safe mug helps the cake cook more evenly and prevents overflow.
- Crush Oreos finely – The smoother your Oreo-milk base, the more cake-like the texture will be. Leaving large chunks makes it more brownie-like.
- Add extra flavor – A teaspoon of cocoa powder intensifies the chocolate, while a pinch of instant coffee makes it richer.
- Rest before eating – Letting the cake sit for 1–2 minutes helps it firm up and cool slightly so you can enjoy it without burning your tongue.
These small adjustments make all the difference between a good mug cake and a truly amazing one.
Common Mistakes to Avoid
Even though this recipe is easy, a few missteps can lead to disappointing results. Here’s what to watch out for:
- Using too much flour – It makes the cake dense and heavy. Always measure lightly.
- Skipping the baking powder – Without it, your cake won’t rise properly and will end up flat.
- Microwaving too long – Overcooking dries it out fast. It’s better to undercook slightly and let the residual heat finish it.
- Using a small mug – The batter can overflow and make a mess in the microwave. Stick to a larger mug.
- Not mixing well – Lumps of flour or dry Oreo pieces can ruin the texture. Take time to stir thoroughly.
Avoiding these mistakes ensures your mug cake comes out moist, fluffy, and just the right balance of sweetness.
How to Store It
Truthfully, Oreo mug cakes are best eaten fresh out of the microwave. That’s when they’re warm, soft, and irresistible. But if you happen to have leftovers (which is rare), here’s how you can store them:
- Short-term storage: Cover the mug with plastic wrap and keep it in the fridge for up to 24 hours. When ready to eat, reheat in the microwave for 20–30 seconds.
- Make-ahead option: You can prep the dry mix (crushed Oreos, flour, sugar, baking powder) in a small jar ahead of time. When cravings hit, just add milk and oil, mix, and microwave.
This way, you’ll always have a quick dessert ready to go without extra effort.
FAQ
Can I make this without flour?
Yes, you can skip the flour for a fudgier, brownie-like mug cake. The texture will be denser but still delicious.
Can I use flavored Oreos?
Absolutely! Birthday Cake Oreos, Mint Oreos, or Peanut Butter Oreos add a fun twist to the flavor.
What if I don’t have baking powder?
You can leave it out, but the cake will be denser. Self-rising flour can be used instead, which already has a leavening agent.
Can I make this vegan?
Yes. Use a plant-based milk (like almond or oat) and replace the butter/oil with coconut oil or vegan butter. Oreos are naturally dairy-free in most regions, but always check your package.
Why did my mug cake turn rubbery?
Most likely, it was overcooked. Microwave times vary, so start with less time and add in small increments if needed.

Oreo Mug Cake
- Total Time: 7 minutes
- Yield: 1 1x
- Diet: Vegetarian
Description
Sometimes dessert cravings strike out of nowhere, and this Oreo mug cake is the perfect solution. Made with just a few pantry staples and a handful of Oreos, it comes together in under 10 minutes and doesn’t require an oven. The result is a rich, moist, chocolatey cake that feels like an indulgence but is simple enough for anyone to make. What I love most is its flexibility—you can keep it classic or add your own twist with cocoa powder, Nutella, or peanut butter. Whether you’re treating yourself after dinner, making a late-night snack, or creating a fun activity with kids, this Oreo mug cake delivers every single time.
Ingredients
- 6–8 Oreos
- ¼ cup milk
- 2 tbsp all-purpose flour
- 1 tbp sugar (optional)
- ¼ tsp baking powder
- 1 tbsp oil or melted butter
- Optional: cocoa powder, chocolate chips, peanut butter, or Nutella
Instructions
- Crush Oreos in a large microwave-safe mug.
- Add milk and mash into a smooth paste.
- Stir in flour, baking powder, sugar (if using), and oil until fully combined.
- Mix in any add-ins like cocoa or chocolate chips.
- Microwave on high for 60–90 seconds, watching closely.
- Let cool for 1–2 minutes before enjoying.
Notes
- Always use a larger mug to prevent overflow.
- Start with 60 seconds in the microwave and add more if needed.
- Best served warm with ice cream or whipped cream.
- Prep Time: 5 minutes
- Cook Time: 1–2 minutes
- Category: Dessert
- Method: Microwave
- Cuisine: American
Nutrition
- Serving Size: 1
- Calories: 420
- Sugar: 30g
- Sodium: 260mg
- Fat: 20g
- Saturated Fat: 6g
- Unsaturated Fat: 12g
- Trans Fat: 0g
- Carbohydrates: 55g
- Fiber: 2g
- Protein: 5g
- Cholesterol: 0mg

