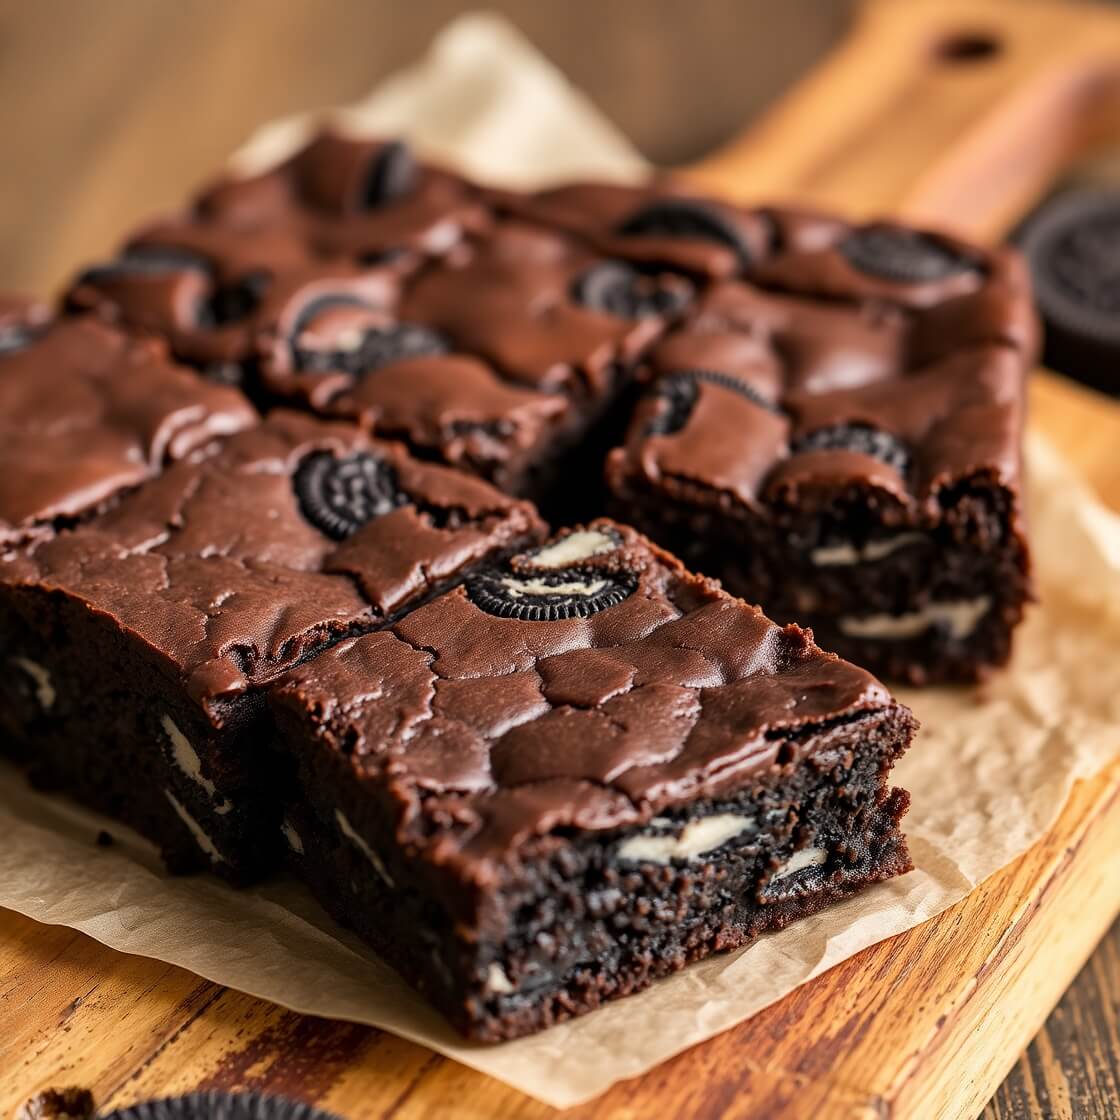
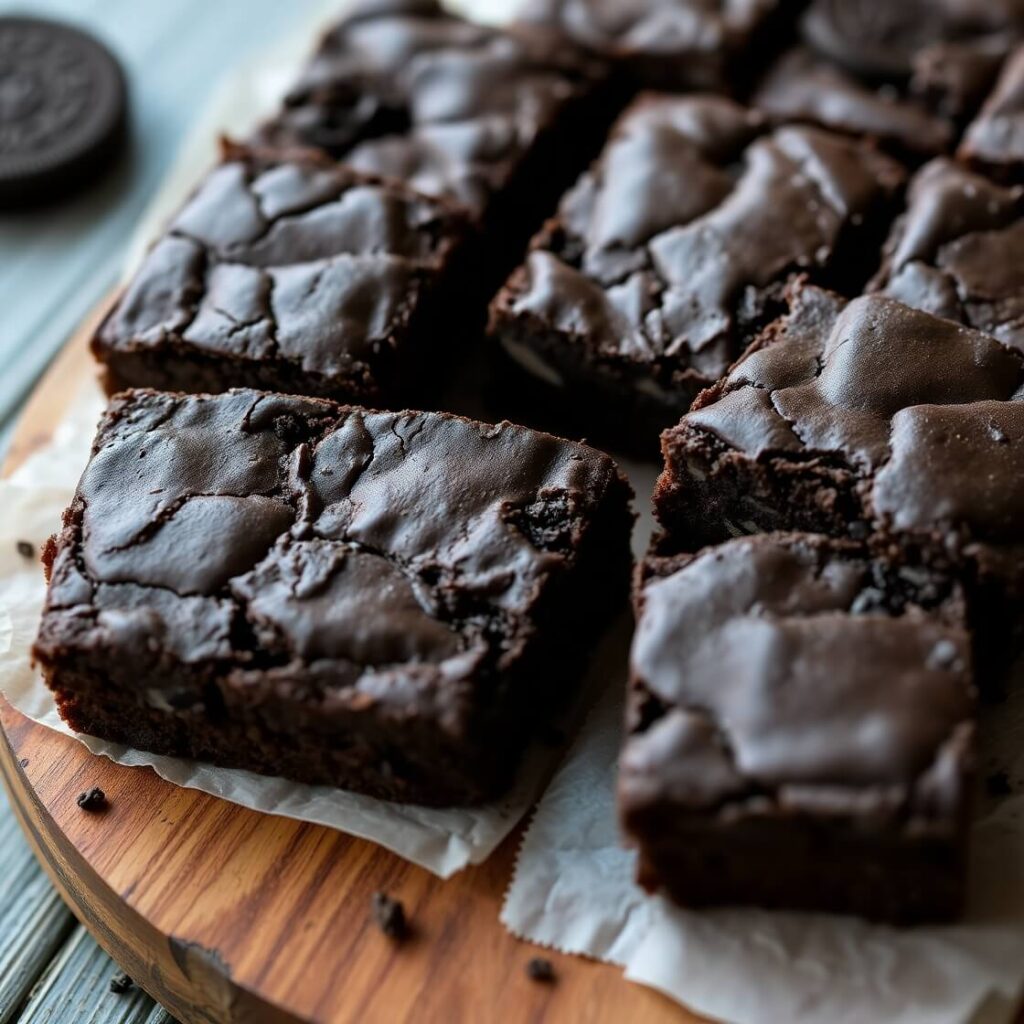
There’s something magical about brownies—they’re rich, fudgy, and satisfy every chocolate craving in just one bite. But when you add Oreos into the mix, the game completely changes. Imagine biting into a soft, gooey brownie and suddenly hitting that crunchy, creamy Oreo layer—it’s the ultimate combination of textures and flavors.
I first made Oreo brownies when I wanted to impress guests without spending hours in the kitchen. They were a huge hit at a family gathering, and since then, they’ve become my go-to treat whenever I need a guaranteed crowd-pleaser. Whether it’s for birthdays, holidays, or simply a cozy weekend bake, these brownies never fail to bring smiles. If you love chocolate and cookies, you’re going to fall head over heels for this recipe.
Why I Love This Recipe

Here’s the hook: regular brownies are delicious, but Oreo brownies feel like a celebration in every bite.
What makes this recipe special is the way it combines the fudginess of homemade brownies with the crunch and creaminess of Oreos. The cookies don’t just sit on top as decoration—they melt slightly into the batter, creating layers of flavor throughout. Every bite is different—sometimes you get a chunk of chocolatey brownie, sometimes a full Oreo piece, and sometimes both mingled together.
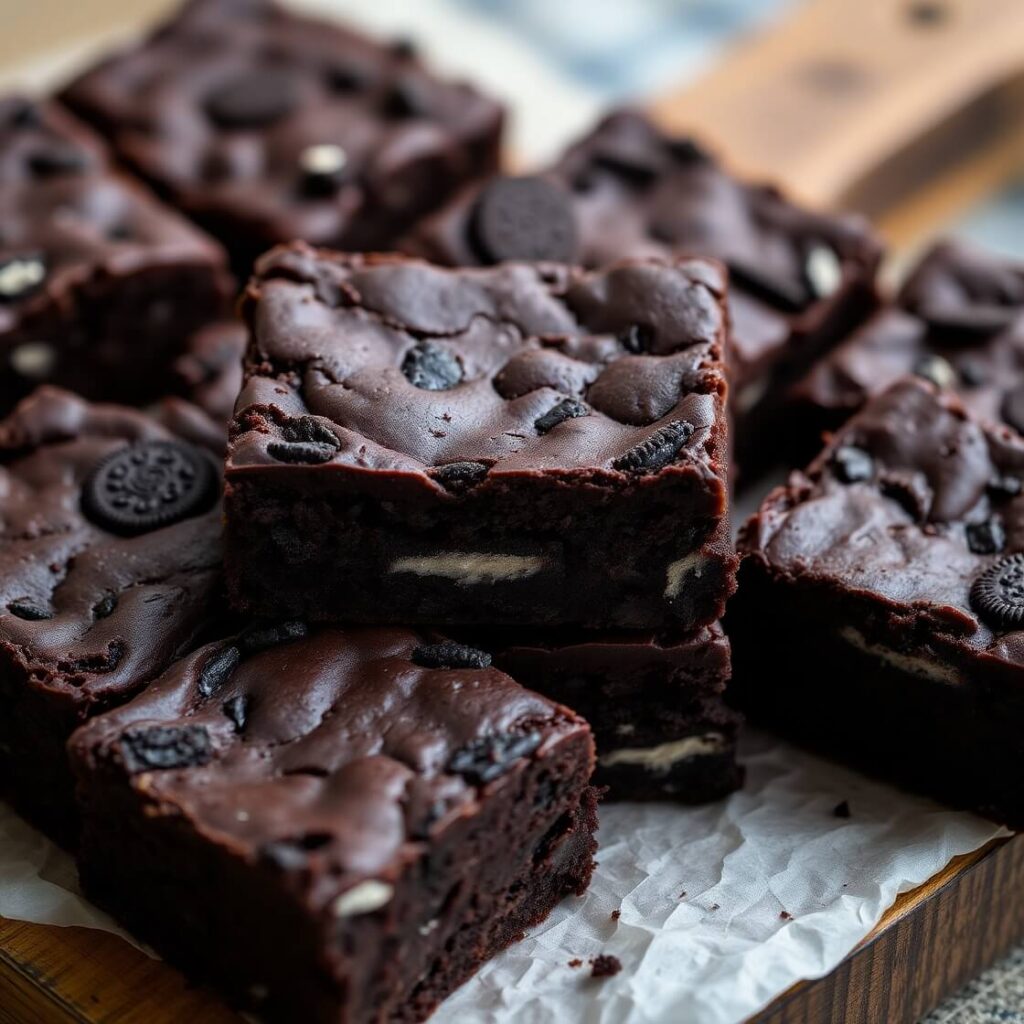
Another reason I adore this recipe is its versatility. You can serve them warm with ice cream for a decadent dessert, pack them in lunch boxes as a surprise treat, or bake them for a party where they’ll vanish faster than you can set them out. These brownies also look impressive with their cracked Oreo tops, but they’re surprisingly simple to make.
Honestly, they’re the kind of recipe that makes people think you’ve gone all out when, in reality, they come together in one bowl with ingredients you probably already have at home.
Ingredients for Oreo Brownies
Before we dive into baking, let’s talk about what you’ll need. This recipe doesn’t require anything fancy, just classic baking staples and, of course, a generous amount of Oreos.
- Butter – Melted butter creates that rich, fudgy texture brownies are known for. Unsalted butter is best so you can control the salt level.
- Sugar – White granulated sugar gives sweetness and structure, while a little brown sugar can add extra chewiness.
- Eggs – They help bind everything together and give brownies that shiny, crackly top we all love.
- Vanilla extract – Just a splash enhances the chocolate flavor and adds warmth.
- All-purpose flour – This provides structure without making the brownies too cakey.
- Cocoa powder – For deep, chocolatey flavor. Use unsweetened cocoa for balance.
- Salt – A pinch is all you need to bring out the sweetness and prevent the brownies from tasting flat.
- Oreos – The star of the recipe. You’ll want a good handful for mixing into the batter and more for topping.
- Chocolate chips (optional) – If you’re a true chocolate lover, folding in a handful of chocolate chips makes these brownies even richer.
These simple ingredients come together to create something that feels bakery-worthy yet comforting and homemade.
How Much Time Will You Need
Oreo brownies are not time-consuming at all, which makes them perfect for both last-minute baking sessions and planned gatherings.
- Prep time: About 15 minutes
- Baking time: 30–35 minutes
- Cooling time: 15–20 minutes before cutting
In just about an hour, you’ll have warm, gooey Oreo brownies ready to serve.
How to Make Oreo Brownies
Let’s break it down step by step so you can follow along with ease.
Step 1: Prepare your baking pan
Line an 8×8-inch baking pan with parchment paper, leaving some overhang on the sides so you can lift the brownies out easily once they’ve cooled. Lightly grease it with butter or non-stick spray.
Step 2: Melt the butter
In a large mixing bowl, melt the butter. You can do this in the microwave in 20-second intervals or on the stove over low heat. Once melted, let it cool slightly so it doesn’t scramble the eggs.
Step 3: Whisk in the sugar and eggs
Add the sugar to the melted butter and whisk until combined. Then crack in the eggs, one at a time, mixing well after each addition. Add the vanilla extract and whisk until the mixture is glossy and smooth.
Step 4: Add the dry ingredients
Sift together the flour, cocoa powder, and salt in a separate bowl. Slowly fold these into the wet mixture, stirring gently until just combined. Be careful not to overmix—the less you stir, the fudgier your brownies will be.
Step 5: Add the Oreos
Roughly chop half of your Oreos and fold them into the batter. You want big chunks so you can really taste the cookies inside the brownies. If you’re using chocolate chips, fold them in at this stage too.
Step 6: Pour and top
Pour the batter into your prepared pan, smoothing out the top with a spatula. Break the remaining Oreos into halves or quarters and press them lightly into the surface. This will give your brownies that signature Oreo-studded look.
Step 7: Bake
Place the pan in a preheated oven at 350°F (175°C) and bake for about 30–35 minutes. The brownies should be set at the edges but slightly soft in the center—remember, they’ll firm up as they cool.
Step 8: Cool and cut
Allow the brownies to cool in the pan for at least 15 minutes before lifting them out with the parchment paper. Use a sharp knife to cut them into squares. For cleaner slices, wipe your knife between each cut.
Substitutions
Sometimes you may not have every ingredient on hand—or maybe you want to experiment. Here are a few ideas:
- Butter substitute – You can use coconut oil or a plant-based butter substitute for a dairy-free version.
- Sugar substitute – Coconut sugar or a sugar substitute like monk fruit sweetener can be used, though it may slightly change the texture.
- Flour substitute – For a gluten-free version, swap the all-purpose flour with a 1:1 gluten-free baking flour.
- Oreos substitute – If you don’t have Oreos, you can use any chocolate sandwich cookie, or even peanut butter cookies for a twist.
- Egg substitute – Flax eggs (1 tablespoon flaxseed meal + 3 tablespoons water per egg) work well for a vegan option.
The beauty of this recipe is its flexibility—you can adapt it to your pantry and preferences without losing that delicious Oreo-brownie magic.
Best Side Dish of Oreo Brownies
While Oreo brownies are indulgent on their own, pairing them with the right sides can make dessert time feel even more special. Here are three perfect matches:
- Vanilla ice cream – The cold, creamy sweetness balances the richness of the brownies beautifully.
- Fresh berries – Strawberries, raspberries, or blueberries add a refreshing tartness that cuts through the chocolate.
- Whipped cream – A dollop of lightly sweetened whipped cream adds an airy texture and makes each bite feel lighter.
Serving and Presentation Tips
The best part about Oreo brownies—aside from eating them—is the way you can present them. A beautiful presentation can turn these already-delicious brownies into a dessert centerpiece.
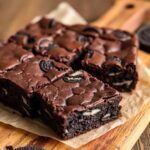
When serving at home, I like to cut them into neat squares or rectangles and place them on a rustic wooden board or a tiered dessert stand. The Oreo chunks on top already give them a playful, eye-catching look, so they don’t need much decoration. But if you’re aiming to impress, dust them lightly with powdered sugar for an elegant touch.
For parties, you can cut them into bite-sized squares and serve them in mini cupcake liners—this makes them easy to pick up and keeps fingers clean. Want to take it up a notch? Drizzle a bit of melted white or dark chocolate over the brownies and sprinkle crushed Oreos on top. The contrasting drizzle looks stunning and adds extra indulgence.
And when serving them warm, pair with a scoop of vanilla ice cream in a bowl and drizzle with chocolate syrup—it’s a guaranteed crowd-pleaser.
Tips and Tricks to Make This Recipe Better
Here’s the hook: even the simplest recipes can turn out extraordinary with a few insider tips.
- Don’t overmix the batter. Once the flour and cocoa are added, stir just until combined. Overmixing makes brownies cakier instead of fudgy.
- Use room temperature eggs. They blend more smoothly into the batter, giving your brownies a silky finish.
- Chop Oreos in different sizes. A mix of big chunks and smaller crumbs ensures you get Oreo flavor in every bite.
- Line the pan with parchment. It makes removing and slicing so much easier, especially for clean, bakery-style edges.
- Slightly underbake. Take the brownies out when the center still looks a bit soft—they’ll firm up as they cool, keeping that gooey texture.
- Add extra chocolate. If you’re a chocoholic, fold in chunks of good-quality dark chocolate or chocolate chips for richer flavor.
These little steps make all the difference and guarantee that every batch comes out just right.
Common Mistakes to Avoid
Even with a simple recipe like Oreo brownies, there are a few traps to watch out for. Here’s what not to do:
- Skipping the cooling time. Cutting brownies too soon makes them fall apart. Let them rest for at least 15 minutes before slicing.
- Using too much flour. Scooping flour directly from the bag can pack it in and give you dry brownies. Always spoon flour into the measuring cup and level it off.
- Overbaking. The number one brownie mistake! If you wait until the center is firm, your brownies will end up dry. Pull them out when slightly underdone.
- Not prepping the pan. Without parchment or greasing, brownies can stick badly and be difficult to remove.
- Forgetting the salt. A pinch of salt makes the chocolate flavor pop—skipping it leaves brownies tasting flat.
By avoiding these mistakes, you’ll ensure your Oreo brownies come out fudgy, flavorful, and perfect every time.
How to Store It
The great thing about Oreo brownies is they store well, so you can enjoy them for days after baking.
- Room temperature: Keep them in an airtight container at room temp for up to 4 days. Add a piece of parchment or wax paper between layers to prevent sticking.
- Refrigerator: For longer storage, refrigerate them in a sealed container for up to a week. The texture becomes a bit firmer but still delicious.
- Freezer: If you want to make them ahead, wrap individual brownies tightly in plastic wrap, then place in a freezer-safe bag or container. They’ll keep for up to 3 months. To serve, thaw at room temp or microwave for 20–30 seconds for that just-baked warmth.
FAQ
Can I use different Oreo flavors?
Absolutely! Try mint, peanut butter, or golden Oreos for a fun twist. Each flavor adds a unique spin.
Can I make these brownies in a larger pan?
Yes, you can use a 9×13-inch pan, but the brownies will bake faster (about 25 minutes). They’ll also be thinner, so keep an eye on them.
Do I need to use chocolate chips?
No, they’re optional. The brownies are still rich without them, but chips add extra gooeyness.
How do I get that shiny crackly top?
Be sure to whisk the sugar and eggs well until glossy before adding the dry ingredients. That’s the secret to the shiny finish.
Can I make these brownies gluten-free?
Yes—use a 1:1 gluten-free flour blend and gluten-free Oreos. They come out just as delicious.
Oreo Brownies
- Total Time: 50 minutes
- Yield: 16 1x
- Diet: Vegetarian
Description
If you love chocolate and cookies, Oreo brownies will quickly become your favorite dessert. These brownies are everything you want in a sweet treat—rich, fudgy, and layered with crunchy, creamy Oreos. They’re easy to whip up with simple pantry ingredients, yet they look and taste like something from a bakery. Perfect for parties, family gatherings, or simply a night in, these brownies strike the balance between indulgent and comforting. Whether served warm with ice cream or cut into neat squares for a dessert platter, they never fail to impress. Plus, they’re flexible—switch up the Oreo flavors or add chocolate chips to make them your own.
Ingredients
Instructions
- Preheat oven to 350°F (175°C). Line an 8×8-inch pan with parchment paper.
- In a large bowl, whisk melted butter with sugar. Add eggs and vanilla, whisking until glossy.
- Sift flour, cocoa, and salt together. Fold gently into wet mixture until just combined.
- Stir in chopped Oreos and chocolate chips (if using).
- Spread batter into prepared pan. Top with remaining Oreos, pressing lightly.
- Bake for 30–35 minutes, until edges are set and center looks slightly soft.
- Cool for 15 minutes before lifting from the pan and slicing into squares.
Notes
- For extra gooey brownies, underbake slightly.
- Swap in flavored Oreos for variety.
- Use room temp eggs for the best texture.
- Prep Time: 15 minutes
- Cook Time: 35 minutes
- Category: Dessert
- Method: Baking
- Cuisine: American
Nutrition
- Serving Size: 16
- Calories: 210
- Sugar: 19g
- Sodium: 90mg
- Fat: 11g
- Saturated Fat: 6g
- Unsaturated Fat: 4g
- Trans Fat: 0g
- Carbohydrates: 27g
- Fiber: 2g
- Protein: 3g
- Cholesterol: 35mg