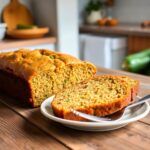
Looking to make delicious homemade bread without the fuss? This 55+ no-knead Dutch oven bread recipe is your go-to solution! With just a few simple ingredients and minimal effort, you can enjoy fresh, crusty bread right from your oven. Perfect for any occasion, it’s a straightforward way to bring delightful aromas and flavors to your kitchen.
Fermentation Time: Patience Pays Off

In the world of no knead bread, fermentation is key. The image shows a clock set to a specific time, reminding us that good things take time. The dough, resting on a wooden surface, is waiting to rise and develop flavor.
When making no knead bread, patience is your best friend. Allowing the dough to ferment for several hours, or even overnight, enhances its texture and taste. The longer it sits, the more complex the flavors become.
While you wait, you can prepare other ingredients or simply enjoy a cup of coffee. This downtime is essential for the yeast to work its magic, creating those lovely air pockets that make the bread light and airy.
So, don’t rush the process. Embrace the wait, and soon you’ll have a delicious loaf ready for the oven!
Shaping the Dough: Techniques and Tips
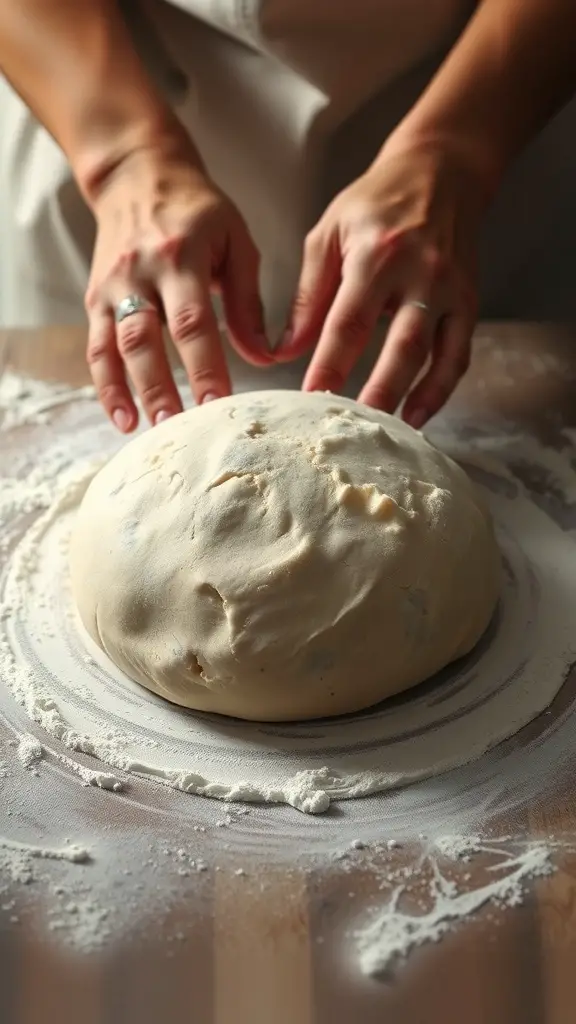
Shaping dough is a key step in making no knead bread. The image shows hands gently working with a round ball of dough on a floured surface. This technique helps to create a nice structure for the bread.
Start by lightly flouring your work surface to prevent sticking. Use your fingers to gently stretch and fold the dough. This method helps to build gluten without the need for kneading. Don’t rush; take your time to ensure the dough is shaped evenly.
After shaping, let the dough rest. This allows it to relax and rise a bit more. Cover it with a cloth to keep it warm and moist. A warm environment helps the yeast do its job, resulting in a light and airy loaf.
Once the dough has risen, it’s ready for the Dutch oven. Preheat your oven and the pot to get that perfect crust. Remember, the right temperature is key to achieving that golden-brown finish.
Choosing the Right Dutch Oven

When it comes to making no knead bread, the right Dutch oven can make all the difference. The image shows a variety of colorful Dutch ovens, each with its own unique charm. From classic white to vibrant red and deep green, these pots not only look great but also serve a purpose.
Look for a Dutch oven that has a heavy lid. This helps trap steam, creating that perfect crust on your bread. The size matters too; a 5 to 7-quart pot is usually ideal for most recipes. Consider the material as well; enameled cast iron is a popular choice for its heat retention and even cooking.
Don’t forget about the handles! They should be sturdy enough to lift the pot safely, especially when it’s hot. A pot with a wider base can also help with even cooking. So, whether you’re drawn to the classic look or a pop of color, choose a Dutch oven that suits your style and cooking needs.
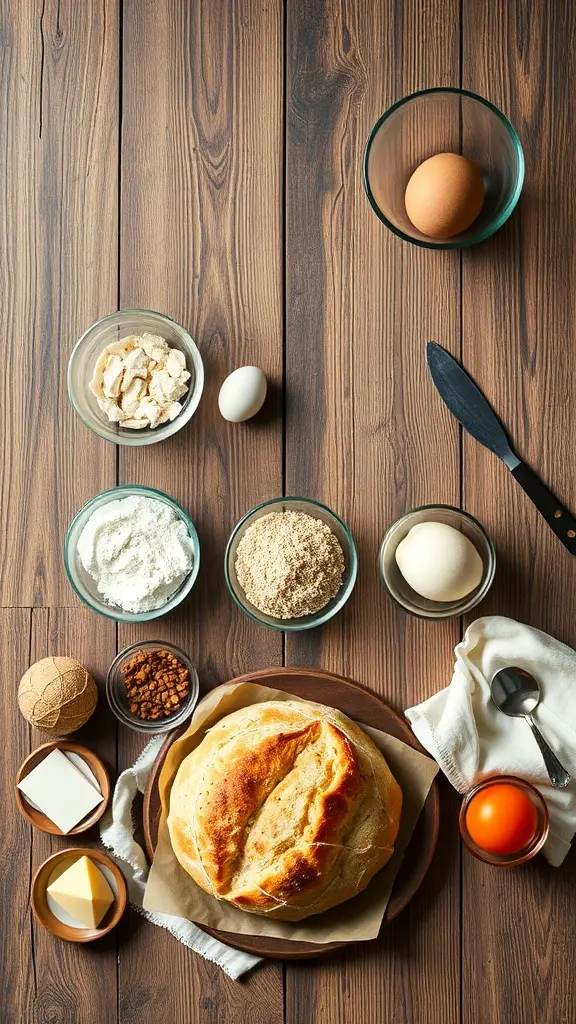
Essential Ingredients for No-Knead Bread
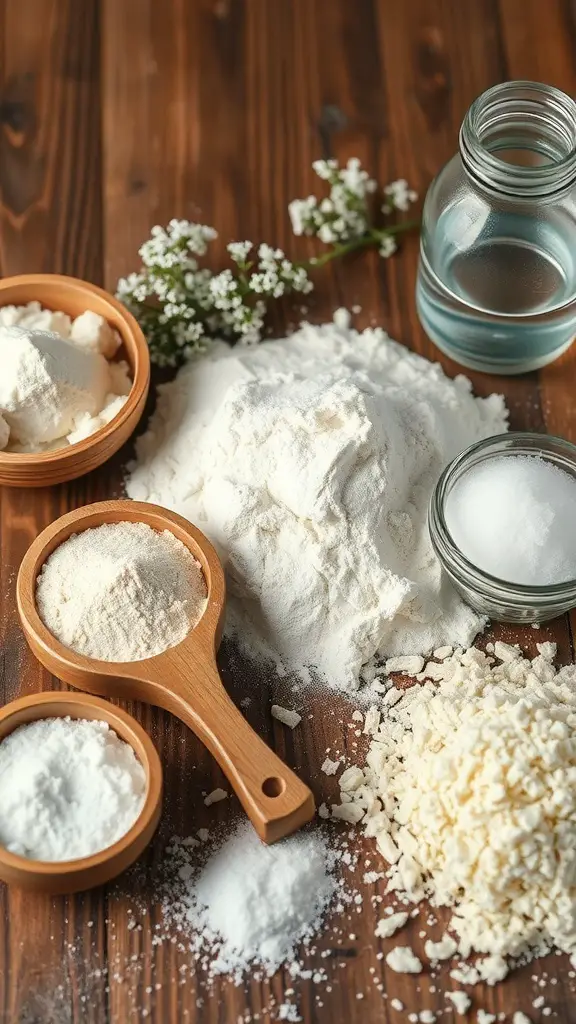
No-knead bread is a simple and rewarding recipe that requires just a few key ingredients. The image shows some of the essentials you’ll need to get started. Flour is the star of the show, providing the structure and texture of the bread. You can use all-purpose flour or even bread flour for a chewier result.
Next up is water, which hydrates the flour and activates the yeast. It’s important to use warm water to help the yeast bloom. You’ll also need salt, which enhances flavor and controls yeast activity. A small amount of sugar can be added to feed the yeast, giving your bread a nice rise.
Lastly, yeast is crucial for that airy, light texture. You can use active dry yeast or instant yeast, depending on what you have on hand. With these ingredients, you’re well on your way to baking delicious no-knead bread in your Dutch oven!
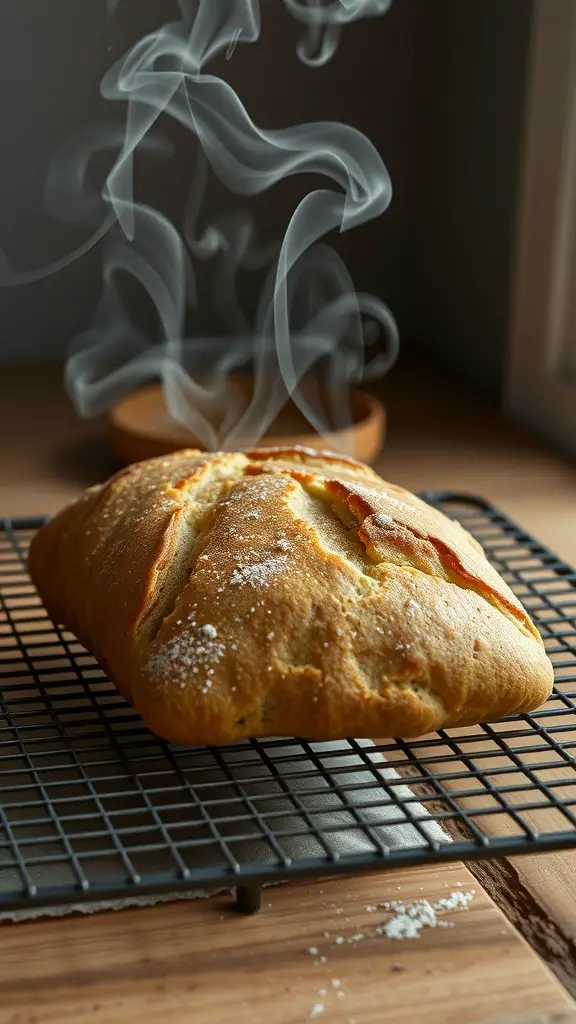
Preheating the Dutch Oven for Perfect Crust
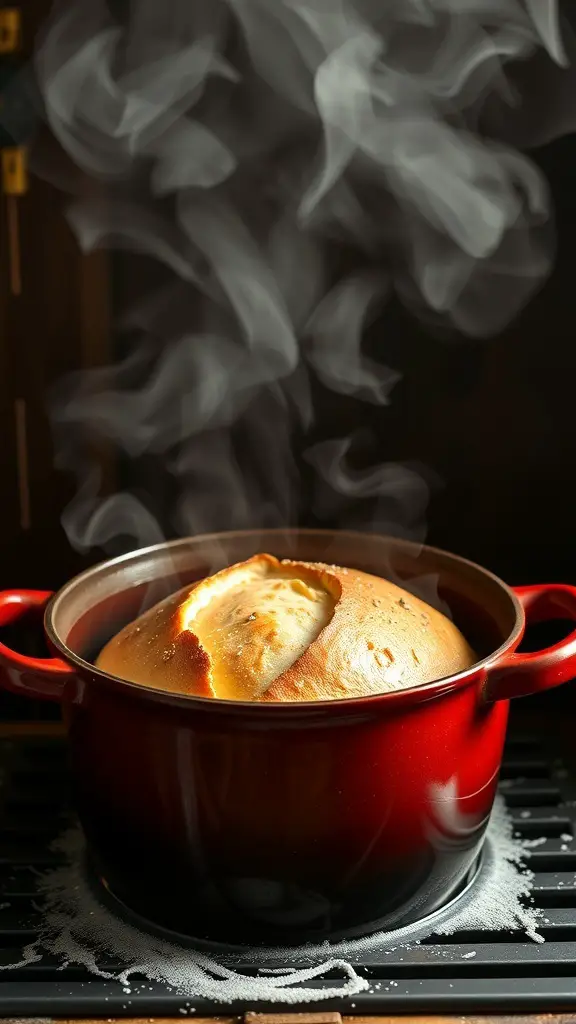
When making no knead bread, preheating your Dutch oven is key to achieving that perfect crust. The image shows a beautifully baked loaf rising in a vibrant red Dutch oven, steam wafting up as it cools. This visual captures the moment when all your efforts in the kitchen start to pay off.
To get started, place your Dutch oven in the oven while it preheats. Aim for a temperature of around 450°F (232°C). This high heat creates a steamy environment, which is essential for a crust that’s crispy on the outside and soft on the inside.
Once your oven reaches the desired temperature, carefully remove the Dutch oven. It’s hot, so use oven mitts! Gently place your dough inside, cover it, and return it to the oven. The steam trapped inside will work wonders for your bread.
Keep an eye on the time. After about 30 minutes, remove the lid to let the crust brown beautifully. The image perfectly illustrates this process, showing the steam and the golden crust that will soon emerge.
The Importance of Hydration in Dough
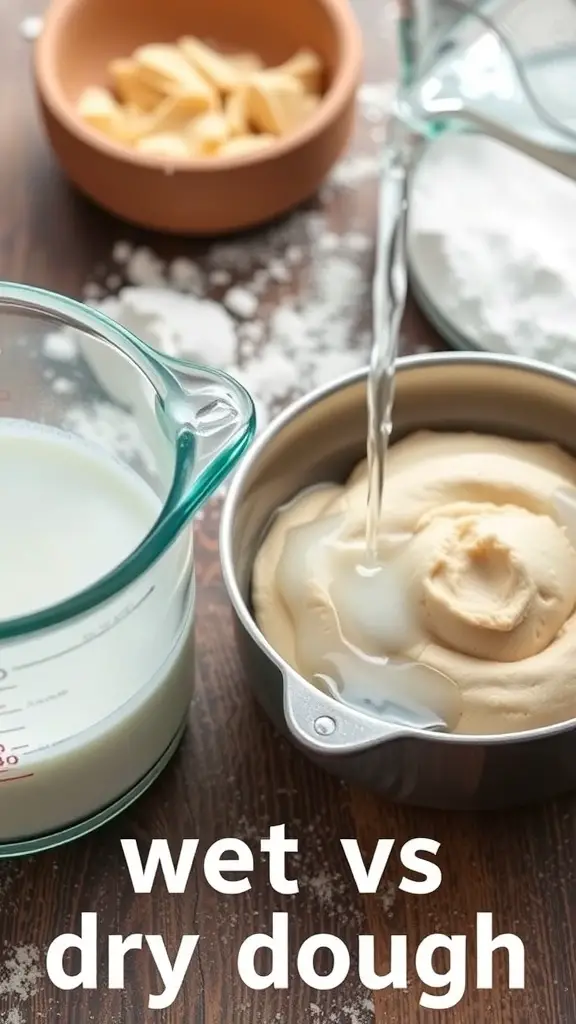
Hydration plays a big role in making bread, especially when using a Dutch oven. The image shows a comparison of wet and dry dough, highlighting how water affects the texture and structure of the bread.
When you add water to your dough, it activates the gluten. This is key for achieving that chewy texture we all love. The right amount of hydration can make your bread rise beautifully in the oven.
In the image, you can see a measuring cup pouring water into the dough. This is a crucial step. Too little water can lead to dense bread, while too much can make it sticky and hard to handle. Finding the perfect balance is essential for no-knead bread.
Using a Dutch oven helps retain moisture, creating steam that enhances the crust. This method works well with high-hydration doughs, giving you that crispy exterior and soft interior.
Baking Process: From Dough to Loaf
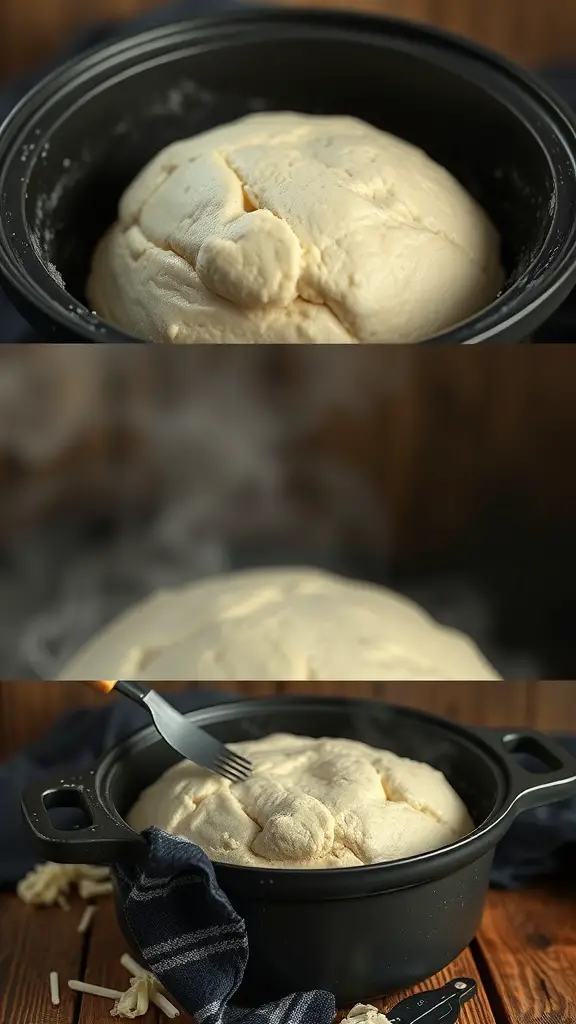
The image shows a beautifully risen dough resting in a black Dutch oven. This is a key moment in the no-knead bread process. The dough has a smooth, slightly glossy surface, indicating that it has fermented well. This fermentation is essential for developing flavor and texture.
In the no-knead method, you mix flour, water, salt, and yeast, then let it sit for hours. The long resting time allows gluten to form naturally without kneading. This method is perfect for those who want homemade bread with minimal effort.
Once the dough has risen, it’s ready for baking. Preheat your oven with the Dutch oven inside to create a steamy environment. This steam helps achieve a crispy crust. After about 30 minutes, you’ll have a golden-brown loaf that’s crusty on the outside and soft on the inside.
Understanding the No-Knead Technique
No-knead bread is a simple and rewarding way to make delicious homemade bread. The image shows a variety of ingredients laid out, ready for a no-knead bread recipe. You can see flour, yeast, and other essentials, along with a freshly baked loaf that looks golden and inviting.
This method relies on time rather than effort. You mix the ingredients together and let them sit for hours, allowing the dough to rise and develop flavor. The result is a crusty exterior and a soft, airy interior.
To make no-knead bread, you typically need flour, water, salt, and yeast. You mix these ingredients, cover the bowl, and let it rest. After several hours, you shape the dough and bake it in a hot Dutch oven. This creates steam, which helps form that perfect crust.
With minimal hands-on time, this technique is perfect for anyone looking to enjoy homemade bread without the fuss of traditional kneading. It’s a great way to impress friends and family with your baking skills!
Troubleshooting Common Issues
Baking no knead bread in a Dutch oven can be a delightful experience, but sometimes things don’t go as planned. If your bread doesn’t rise as expected, check the yeast. Make sure it’s fresh and active. If the dough is too wet, add a little more flour next time. A sticky dough can lead to flat bread.
Another common issue is a crust that’s too hard. This can happen if the bread is baked for too long or at too high a temperature. Keep an eye on it and adjust your baking time as needed. If your bread is dense, it might need more time to rise before baking. Patience is key!
Lastly, if you find your bread sticking to the pot, try using parchment paper next time. It helps with easy removal and keeps your bread intact. With these tips, you’ll be on your way to perfect no knead bread every time!
Cooling the Bread: Why It Matters
Cooling your freshly baked no-knead bread is a step you shouldn’t skip. When bread comes out of the oven, it’s hot and steamy, just like the loaf in the image. That steam needs to escape, or your bread can end up soggy.
Placing the bread on a wire rack allows air to circulate around it. This helps to keep the crust crispy and the inside fluffy. If you leave it in the Dutch oven, the moisture can get trapped, ruining that perfect texture.
Letting the bread cool also enhances the flavor. As it cools, the flavors develop further, making each bite even more enjoyable. So, while it might be tempting to slice into that warm loaf right away, patience pays off!
Flavor Variations: Adding Herbs and Spices
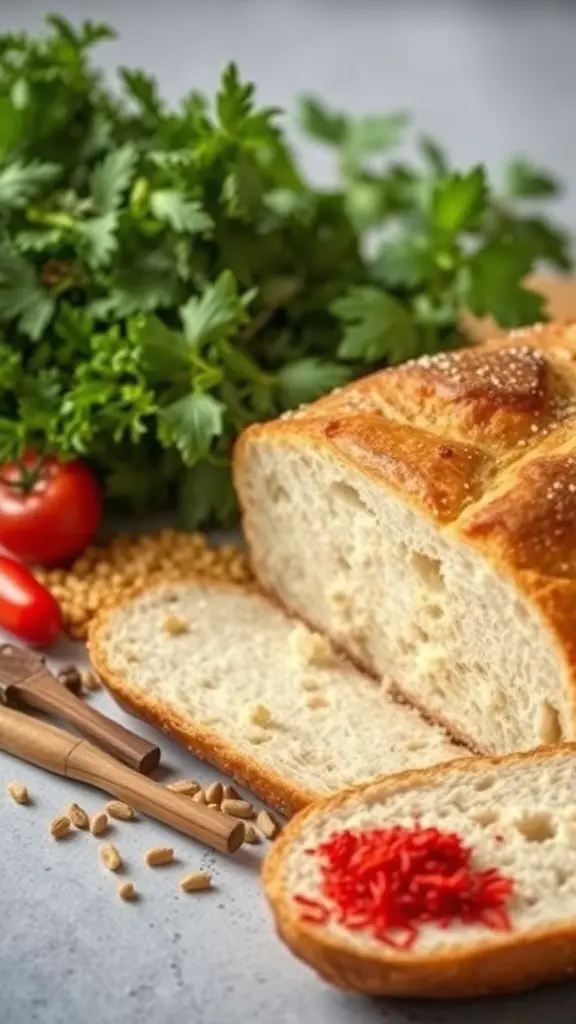
When making no knead bread in a Dutch oven, adding herbs and spices can take your loaf to the next level. The image shows a beautiful loaf of bread, perfectly baked, with fresh ingredients like cilantro and tomatoes nearby. This setup hints at the endless possibilities for flavor enhancements.
Consider adding fresh herbs like rosemary or thyme directly into the dough. These herbs infuse the bread with a delightful aroma and taste. You can also sprinkle some dried herbs on top before baking for an extra flavor boost.
Spices like garlic powder, onion powder, or even a pinch of chili flakes can add warmth and depth. If you’re feeling adventurous, try incorporating seeds like sesame or sunflower for a crunchy texture. The combination of these ingredients can create a unique bread that pairs well with soups, salads, or just butter.
Experimenting with different flavor profiles can make your no knead bread a standout dish. Whether you prefer something savory or a bit spicy, the options are endless!
Serving Suggestions for No-Knead Bread
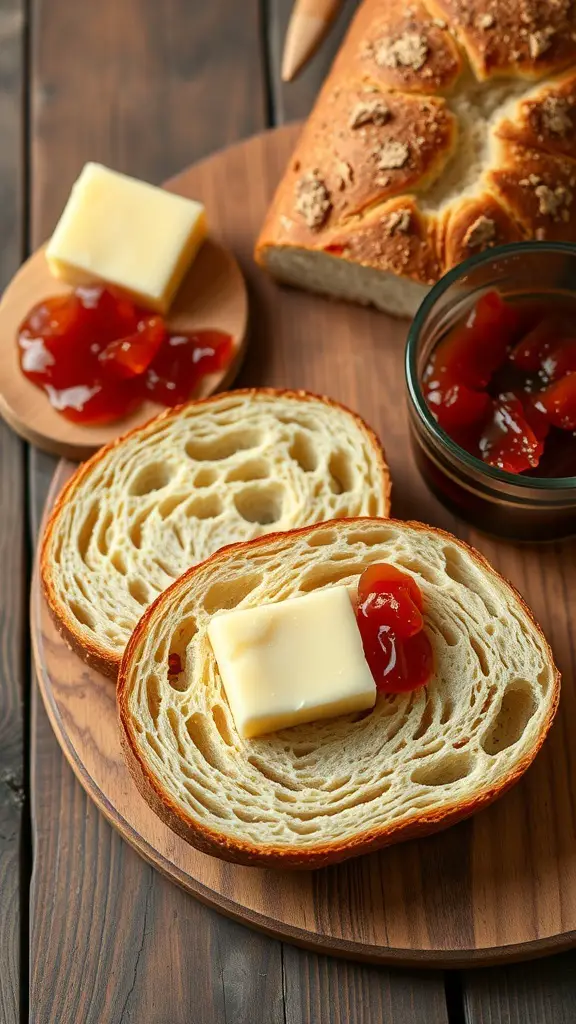
No-knead bread is a delightful treat that pairs well with various toppings. Imagine slicing into a warm loaf, the crust crackling under your fingers. The soft, airy inside is perfect for spreading.
One simple yet tasty option is to add a pat of butter on top of a slice. The warmth of the bread melts the butter, creating a rich, creamy flavor. You can also try adding a dollop of your favorite jam or jelly. The sweetness complements the bread beautifully.
For a savory twist, consider topping it with cheese. A slice of sharp cheddar or creamy brie can elevate your snack. You could even make a mini sandwich with slices of deli meats and fresh veggies.
Serving this bread with a bowl of soup is another great idea. The bread can soak up the flavors, making each bite satisfying. Whether it’s a hearty chili or a light tomato soup, no-knead bread is a perfect companion.
Don’t forget about breakfast! Toast a slice and enjoy it with eggs or avocado. The possibilities are endless, making no-knead bread a versatile addition to any meal.
Exploring Regional Variations of No-Knead Bread
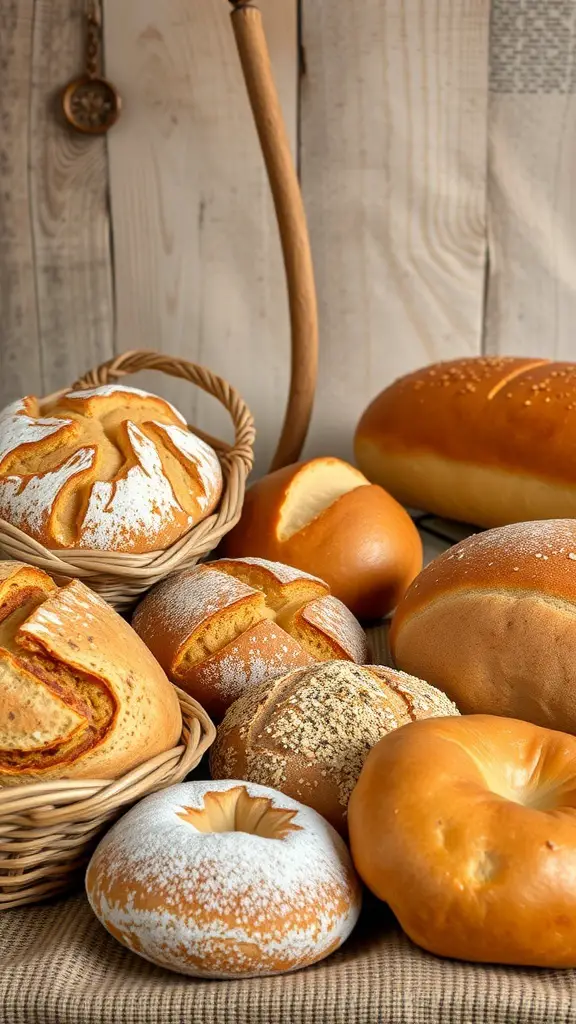
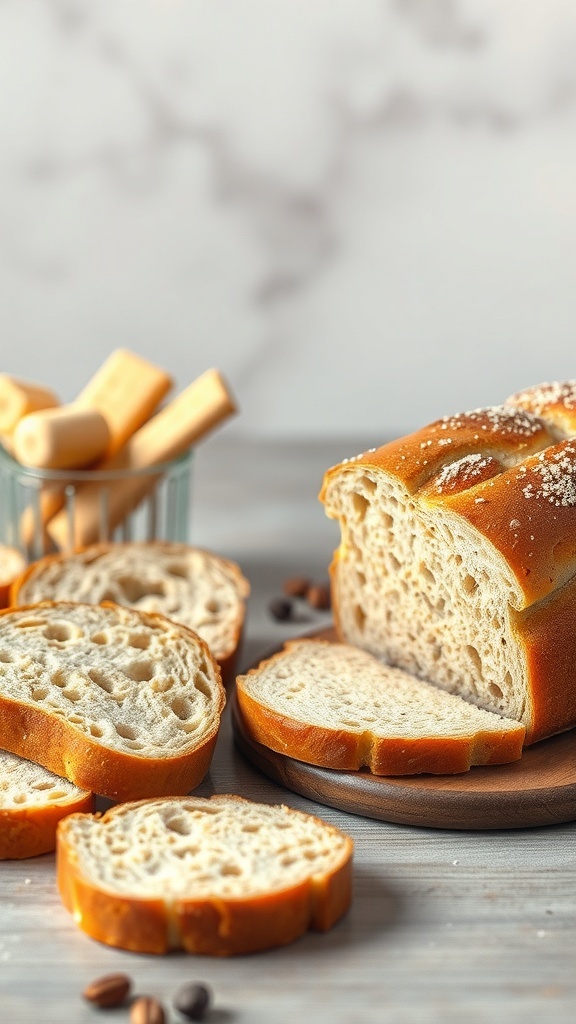
No-knead bread has taken the baking world by storm, and it’s fascinating to see how different regions put their spin on this simple recipe. The image showcases a delightful assortment of breads, each with its unique texture and flavor. From crusty loaves to soft rolls, these variations highlight the creativity of bakers everywhere.
In Italy, for example, you might find a rustic ciabatta, characterized by its airy crumb and crispy crust. Meanwhile, in Germany, a hearty rye bread could be the star of the show, often enjoyed with a slice of cheese. Each region uses local ingredients, which adds to the charm of no-knead bread.
To make your own no-knead bread, you’ll need basic ingredients like flour, water, yeast, and salt. The beauty of this method is in its simplicity. Just mix the ingredients, let the dough rest, and then bake it in a Dutch oven for that perfect crust. This technique allows for a variety of flavors and styles, making it a favorite among home bakers.
Pairing No-Knead Bread with Soups and Stews

No-knead bread is a fantastic companion for soups and stews. Its crusty exterior and soft, airy interior make it perfect for dipping. Imagine breaking off a piece of that warm bread and soaking it in a hearty bowl of soup. It’s a comforting experience that warms both the body and soul.
The image shows a beautiful spread of vibrant soups alongside slices of no-knead bread. One bowl features a creamy, golden soup, likely rich in flavor, while another holds a chunky stew. This combination is not just visually appealing; it’s a match made in culinary heaven.
When you serve no-knead bread with your favorite soup, you elevate the meal. The bread absorbs the flavors, enhancing every bite. You can try pairing it with classic tomato soup, a spicy chili, or even a creamy potato leek soup. Each pairing brings out unique tastes and textures.
Don’t forget to add a sprinkle of herbs or a drizzle of olive oil to your soup for an extra touch. This simple addition can transform your dish into something special. So, next time you whip up a batch of no-knead bread, think about what soup or stew you’ll enjoy alongside it!
Storing No-Knead Bread for Freshness
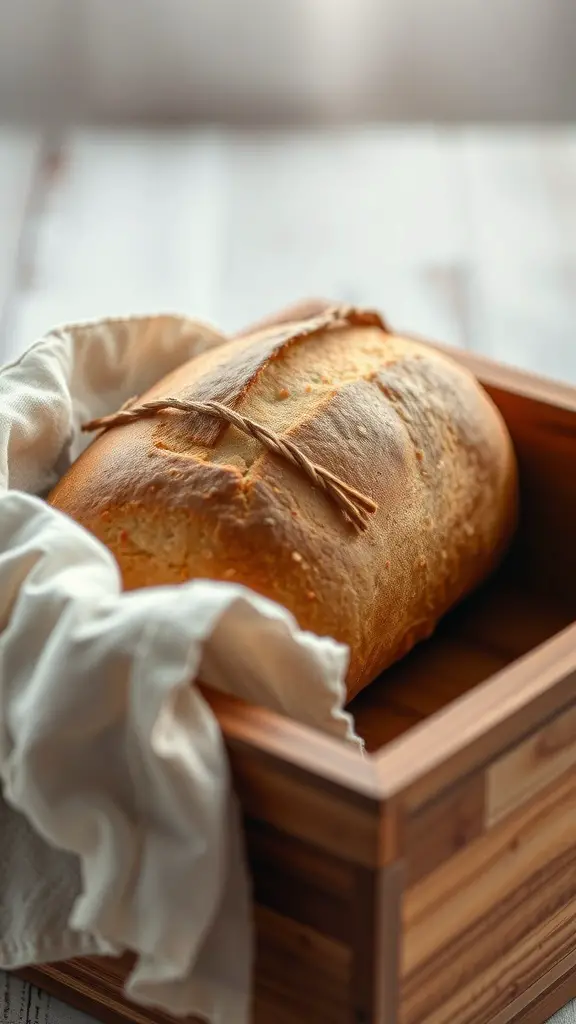
No-knead bread is a delightful treat, especially when it comes out of the oven with a golden crust and soft interior. Once you’ve baked your loaf, you’ll want to keep it fresh for as long as possible. The image shows a beautifully baked loaf resting in a wooden box, wrapped in a cloth. This is a great way to store your bread.
To maintain its freshness, let the bread cool completely before storing. This prevents moisture from building up, which can lead to sogginess. Once cooled, you can place it in a bread box or wrap it in a clean kitchen towel, just like in the photo. This method allows the bread to breathe while keeping it protected.
If you plan to keep the bread for more than a few days, consider freezing it. Slice the loaf before freezing, so you can easily grab a piece whenever you want. Wrap the slices tightly in plastic wrap and place them in a freezer bag. When you’re ready to enjoy, simply toast or warm them up.