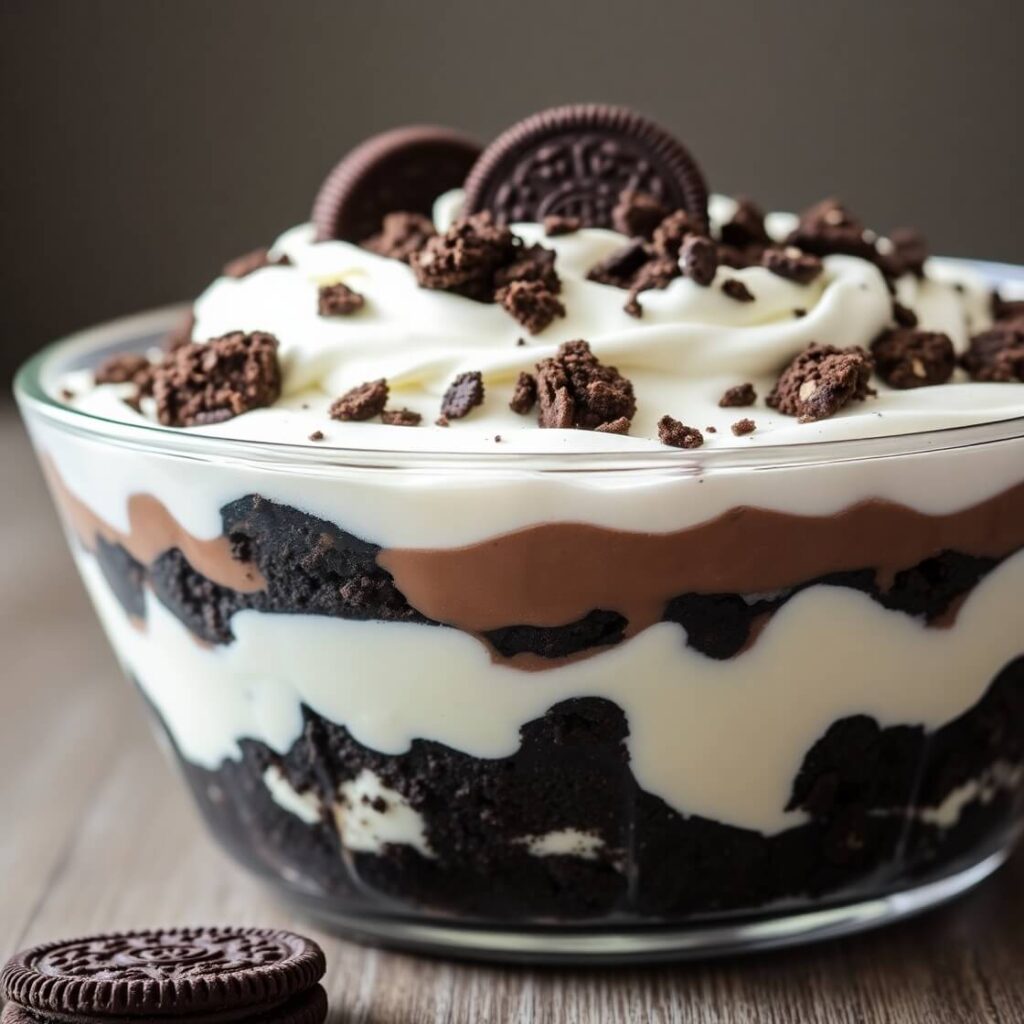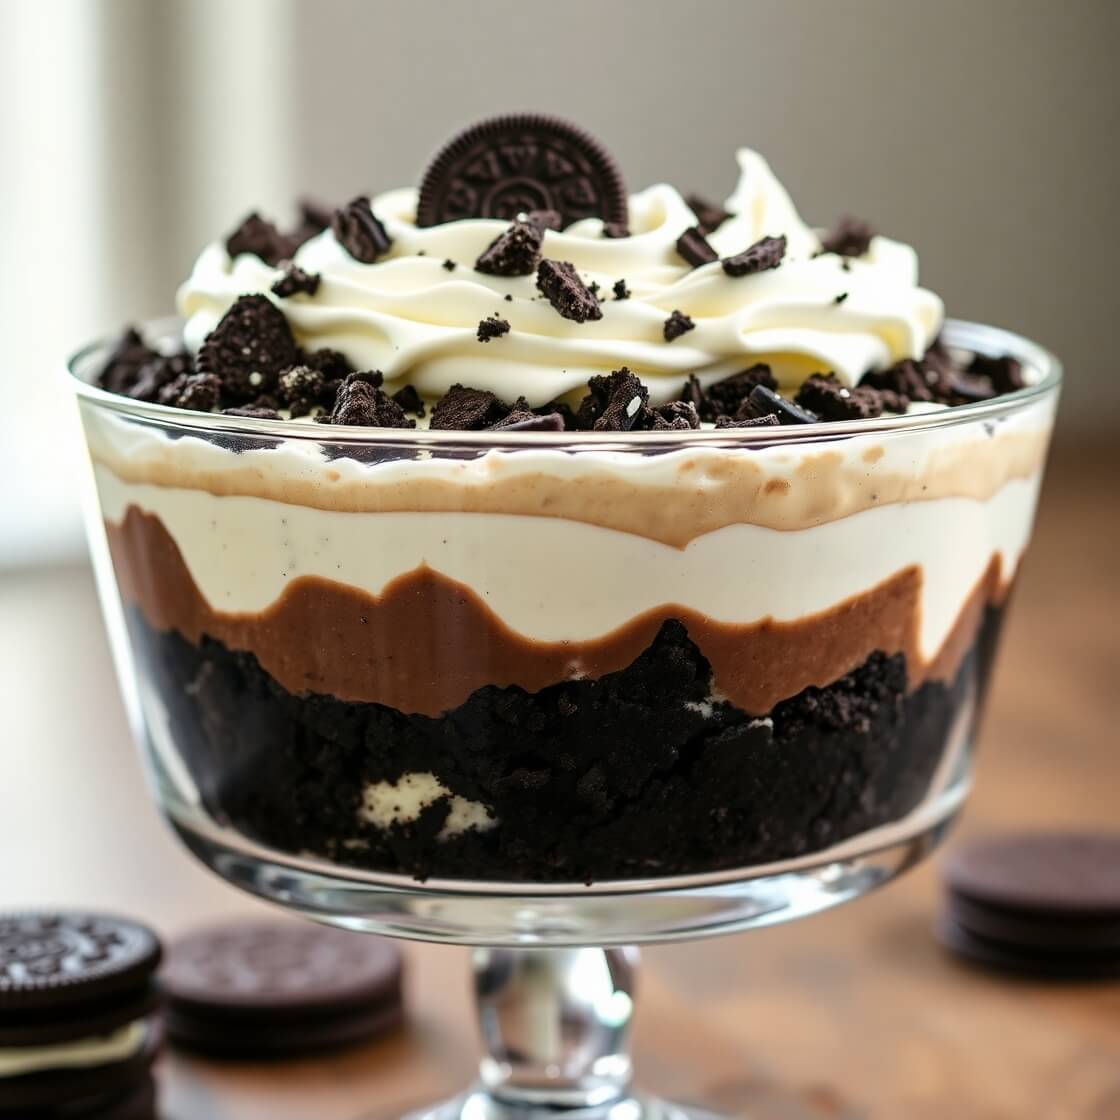
There are some recipes that just bring out the joy of cooking—or in this case, not cooking. No bake Oreo dessert is one of those indulgent creations that came about because I wanted something sweet, creamy, and downright irresistible without having to turn on the oven. We’ve all had those days when we’re craving something decadent but don’t feel like dealing with the heat, the timers, and the long process of baking. That’s exactly how this recipe found its way into my kitchen.
I still remember the first time I made it—it was a summer afternoon, and I wanted a dessert that felt refreshing, layered, and rich in flavor. Oreos, being a household favorite, became the perfect base. The crunchy chocolate cookies layered with velvety cream cheese filling and topped with a touch of whipped cream created a dreamy combination. It was one of those desserts that made everyone at the table ask for seconds.
This dish has quickly become a family staple in my home, especially during holidays, potlucks, or lazy weekends. And the best part? It’s simple enough for beginners yet elegant enough to impress guests. That’s what makes no bake Oreo dessert so special—it’s comforting, indulgent, and foolproof all at once.
Why I Love This Recipe
Here’s the thing: I adore recipes that strike the balance between effort and reward. No bake Oreo dessert is one of those gems because it looks like you spent hours in the kitchen, but in reality, it comes together in minutes.
The first hook for me is that it requires absolutely no baking. That means no worrying about burnt crusts, overbaked layers, or uneven cooking. It’s perfect for hot days when you’d rather keep the oven off.
Second, the flavor combination is irresistible. You’ve got that iconic Oreo crunch, the smooth cream cheese filling, and a fluffy whipped topping that ties it all together. It’s like having cheesecake and cookies all in one bite.
And third, it’s endlessly customizable. You can play with flavors—swap in mint Oreos for a fresh twist, use golden Oreos for a lighter taste, or even drizzle it with caramel or hot fudge for extra indulgence. Each variation feels like a new dessert, but the ease of making it never changes.
Whenever I serve this, it brings smiles, conversations, and that satisfied “mmm” sound that every home cook loves to hear. That’s the kind of magic I look for in a recipe.
Ingredients for No Bake Oreo Dessert
Now let’s talk about the heart of the dish: the ingredients. I like to think of this dessert as layers of happiness—each ingredient plays a role in creating that perfect bite.
The foundation is, of course, Oreos. They provide the crunch, the chocolatey richness, and the nostalgia we all love. Then comes melted butter, which binds the cookie crumbs together into a solid base. After that, the creamy filling steps in. Cream cheese adds tang and structure, powdered sugar lends sweetness, and whipped topping makes everything light and airy.
Finally, we can’t forget the garnish—extra crushed Oreos or chocolate shavings sprinkled on top make the dessert look as beautiful as it tastes.
Here’s a detailed breakdown of what you’ll need:
- Oreos – The star of the recipe. Crushed for the crust and also layered throughout.
- Butter – Melted, to hold the crust together.
- Cream cheese – Softened, to make the filling smooth and creamy.
- Powdered sugar – Sweetens the filling without making it grainy.
- Whipped topping (like Cool Whip) – Adds that light, fluffy texture to balance the richness.
- Milk and instant pudding mix (optional layer) – Some variations add a pudding layer for extra creaminess.
- Extra Oreos or chocolate drizzle – For garnish and presentation.
Each of these ingredients is simple, everyday, and easy to find. That’s another reason this recipe is so approachable—you don’t need anything fancy to make something that looks and tastes luxurious.
How Much Time Will You Need
The beauty of no bake Oreo dessert is its speed. From start to finish, you’ll need about 20–30 minutes of active prep time. After that, the dessert just needs a few hours in the refrigerator to set and firm up.
Here’s the general timeline:
- Prep time: 20–30 minutes
- Chilling time: At least 4 hours (overnight is even better)
- Total time: About 5 hours, but most of it is hands-off waiting.
So while it’s not an instant dessert, it’s still far quicker and simpler than baking something from scratch.
How to Make This No Bake Oreo Dessert
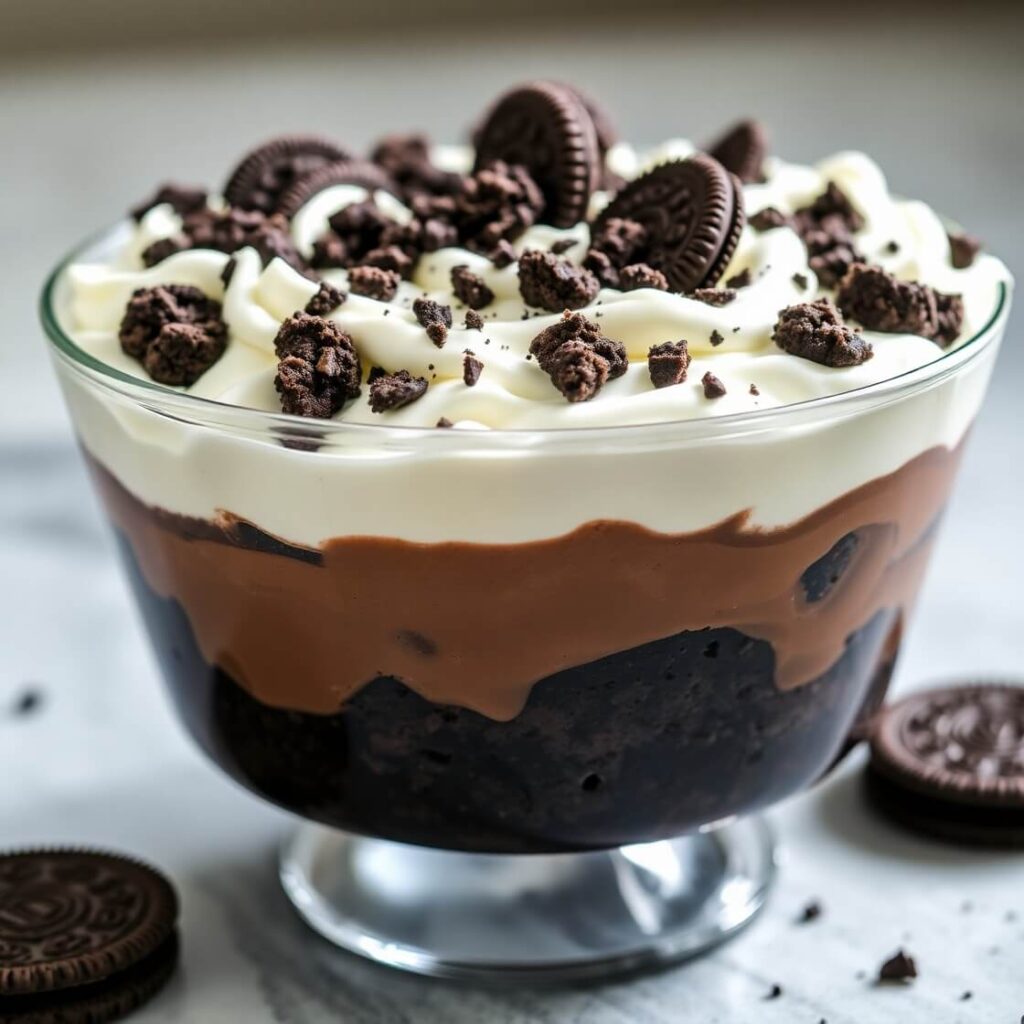
Making this dessert is all about layering, and that’s what makes it so visually appealing and delicious. Each step builds on the next until you have a dish that looks like it belongs on a bakery shelf.
Step – 1: Prepare the Oreo crust
Crush the Oreos into fine crumbs. You can do this by pulsing them in a food processor or placing them in a zip-top bag and crushing them with a rolling pin. Mix the crumbs with melted butter until everything is evenly coated. Press this mixture firmly into the bottom of a baking dish to form the crust. Refrigerate while you prepare the filling.
Step – 2: Make the cream cheese layer
In a mixing bowl, beat softened cream cheese until smooth. Add powdered sugar and mix again until fluffy. Gently fold in some whipped topping to lighten the texture. Spread this layer evenly over the chilled Oreo crust.
Step – 3: Optional pudding layer
If you’d like to add even more creaminess, prepare instant pudding with milk according to the package directions. Pour the pudding over the cream cheese layer and spread it evenly. This adds depth and flavor.
Step – 4: Top with whipped topping
Spread a generous layer of whipped topping over the dessert, making sure to cover it completely. This adds a cloud-like finish and balances the richness of the filling.
Step – 5: Garnish with Oreos
Crush a few Oreos and sprinkle them over the top for a finishing touch. You can also add chocolate drizzle, mini chocolate chips, or even caramel for variety.
Step – 6: Chill before serving
Refrigerate the dessert for at least 4 hours to let the layers set and the flavors meld together. Overnight chilling is even better, as it allows the crust to firm up and the filling to thicken.
Step – 7: Serve and enjoy
Cut into squares and serve cold. Every bite will be creamy, crunchy, and utterly delicious.
Substitutions
Sometimes you don’t have all the exact ingredients on hand—or maybe you want to give the recipe your own spin. That’s where substitutions come in.
You can swap regular Oreos with golden Oreos, mint Oreos, or even peanut butter Oreos for a fun flavor twist. Instead of Cool Whip, you can whip heavy cream with a little powdered sugar until soft peaks form. If you want a lighter version, try using reduced-fat cream cheese and sugar-free pudding mix.
For those who prefer a gluten-free option, simply use gluten-free chocolate sandwich cookies. The result is just as satisfying, with no compromise on flavor.
Each substitution can transform the dessert into something new, while still keeping the essence of the recipe intact. That’s part of the fun—you can make it your own every time.
Best Side Dish of No Bake Oreo Dessert
Even though this dessert can absolutely stand on its own, pairing it with the right side can make dessert time even more enjoyable. Here are three ideas that work beautifully:
- Fresh berries – The tartness of raspberries, strawberries, or blueberries cuts through the richness of the Oreo layers.
- Vanilla ice cream – A scoop alongside your Oreo dessert makes it feel even more indulgent.
- Coffee or espresso – While not a “dish” per se, a strong coffee balances the sweetness and makes for a delightful pairing.
Serving and Presentation Tips
One of the best parts of making a no bake Oreo dessert is that it looks stunning with very little effort. Since it’s a layered dish, you already have a natural presentation that shows off the crust, creamy filling, and toppings. But with a few extra touches, you can turn it from a casual family treat into something that looks like it came straight from a bakery.
I like to serve this dessert chilled in a glass dish so the layers are visible. When you slice into it, the contrast of dark Oreo crust and white filling makes a beautiful impression. To take it a step further, garnish with whole Oreo cookies pressed into the top, a drizzle of chocolate syrup, or even a dusting of cocoa powder.
If you’re serving at a party, you can prepare this dessert in individual mason jars or parfait glasses for a more elegant, single-serve option. Add a spoonful of whipped cream on top and finish with a mini Oreo, and you’ve got a dessert that looks just as good as it tastes.
Tips and Tricks to Make This Recipe Better
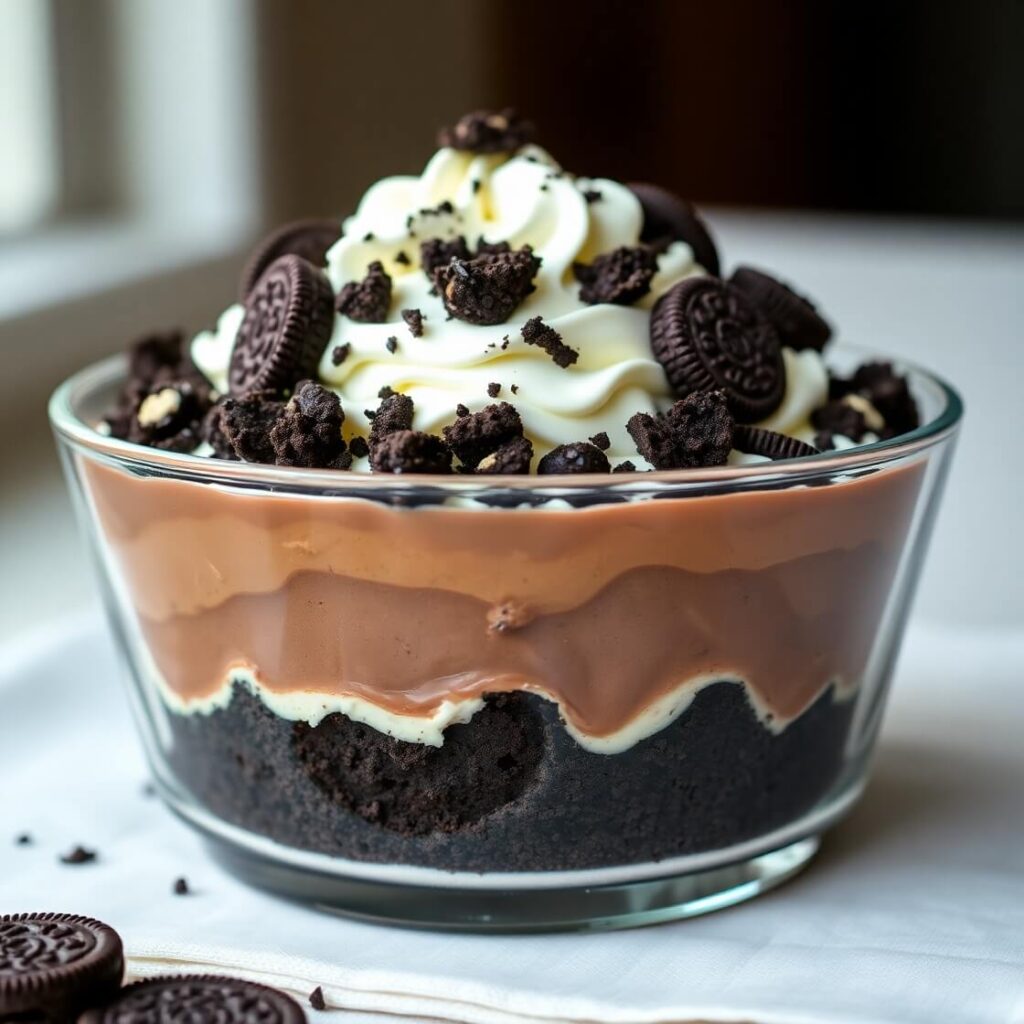
Over the years of making this dessert, I’ve picked up a few tips that ensure it comes out perfect every time.
First, always chill your crust before adding the filling. This helps it firm up and keeps it from crumbling when you slice into the dessert.
Second, soften your cream cheese fully before mixing. This ensures a smooth filling without lumps. I like to leave it out at room temperature for about 30 minutes before I start.
Third, don’t skip the chilling step once the layers are assembled. The dessert needs time to set and develop that creamy, firm texture. If you try to serve it too soon, the layers may slide apart.
Finally, if you want a bakery-style finish, sprinkle finely crushed Oreos only right before serving. This keeps them crunchy instead of soggy.
Common Mistakes to Avoid
Even though no bake Oreo dessert is simple, there are a few pitfalls to watch out for.
One common mistake is not crushing the Oreos finely enough for the crust. Large chunks make it harder for the crust to hold together. Aim for a sandy texture for best results.
Another mistake is overmixing the whipped topping into the cream cheese mixture. Gentle folding keeps the filling light and airy, while vigorous mixing can make it dense.
Finally, don’t rush the chilling process. Many people want to dig in right away, but if you don’t give it enough time in the fridge, the dessert won’t hold its shape when cut. Patience here makes all the difference.
How to Store It
This dessert is best stored in the refrigerator. Cover the dish tightly with plastic wrap or a lid to keep it fresh and prevent it from absorbing other fridge odors. It will stay good for about 4–5 days.
If you’d like to prepare it ahead of time, you can make it a day in advance and let it chill overnight. In fact, the flavors often meld together even better after resting for a full night.
Freezing is also an option if you want to save leftovers. Wrap individual portions tightly and freeze for up to 2 months. When ready to serve, let it thaw in the fridge for several hours. Keep in mind that the texture of the whipped topping may change slightly after freezing, but the flavor will still be delicious.
FAQ
Can I make this dessert ahead of time?
Yes, this dessert is perfect for making ahead. In fact, chilling overnight makes it even better.
Can I use homemade whipped cream instead of Cool Whip?
Absolutely. Just whip heavy cream with a little powdered sugar until soft peaks form, then use it in place of Cool Whip.
Do I have to add the pudding layer?
No, the pudding layer is optional. It adds creaminess but the dessert is still delicious without it.
Can I make this gluten-free?
Yes, use gluten-free chocolate sandwich cookies in place of Oreos and check that your pudding mix is gluten-free.
How do I keep the crust from crumbling?
Make sure your Oreo crumbs are fine and mixed well with melted butter, then press firmly into the pan before chilling.

No Bake Oreo Dessert
- Total Time: 4 hours 25 minutes (including chilling)
- Yield: 12 1x
- Diet: Vegetarian
Description
This no bake Oreo dessert is the ultimate sweet indulgence. With a buttery Oreo crust, creamy cream cheese filling, optional pudding layer, and fluffy whipped topping, it’s a dessert that’s both comforting and impressive. Best of all, it requires no baking at all—just simple layering and chilling. It’s perfect for family gatherings, summer barbecues, or when you want a dessert that feels special but doesn’t take hours in the kitchen. With its combination of crunch, creaminess, and rich chocolate flavor, this dessert is sure to become a crowd favorite.
Ingredients
- 36 Oreo cookies, crushed
- ½ cup butter, melted
- 8 oz cream cheese, softened
- 1 cup powdered sugar
- 16 oz whipped topping (divided)
- 2 packages (3.4 oz each) instant chocolate pudding mix (optional)
- 3 cups cold milk (if using pudding)
- Extra crushed Oreos for topping
Instructions
- Crush Oreos into fine crumbs and mix with melted butter. Press firmly into the bottom of a 9×13 dish. Chill while preparing filling.
- Beat softened cream cheese until smooth, then add powdered sugar and mix until fluffy. Fold in half of the whipped topping. Spread over the crust.
- (Optional) Whisk pudding mix with milk until thickened, then spread over the cream cheese layer.
- Spread remaining whipped topping over the dessert.
- Sprinkle with extra crushed Oreos before serving.
- Chill at least 4 hours, preferably overnight, before slicing and serving.
Notes
- For a lighter version, use reduced-fat cream cheese and sugar-free pudding.
- Add caramel drizzle or chocolate chips for extra flavor.
- Serve in mason jars for individual portions.
- Prep Time: 25 minutes
- Cook Time: 0 minutes
- Category: Dessert
- Method: No bake
- Cuisine: American
Nutrition
- Serving Size: 12
- Calories: 340
- Sugar: 24g
- Sodium: 290mg
- Fat: 20g
- Saturated Fat: 10g
- Unsaturated Fat: 7g
- Trans Fat: 0g
- Carbohydrates: 38g
- Fiber: 1g
- Protein: 4g
- Cholesterol: 35mg

