I still remember the first time I made this no bake cheesecake filling. It was during a summer picnic when the oven was completely off-limits — too hot, too humid, and honestly, I just didn’t want to spend hours in the kitchen. So I set out to make something that looked fancy, tasted incredible, and didn’t require any baking.
That’s how this dreamy, creamy, cloud-like cheesecake filling came to life.
Whether you’re making it as the star of a traditional graham cracker crust pie or using it to fill mini dessert jars, this no bake cheesecake filling is a lifesaver. It’s rich but not heavy, subtly sweet, and silky-smooth. Plus, it comes together in minutes with simple ingredients you probably already have.
If you’re someone who loves dessert but wants to skip the hassle of baking (or just wants to whip up something quickly for unexpected guests), this recipe is about to become your go-to.
Why I Love This Recipe

There’s something incredibly satisfying about a dessert that looks elegant and tastes gourmet — yet takes barely any effort to pull off.
This no bake cheesecake filling is a crowd-pleaser. Every time I serve it, I get the same reaction: “You made this from scratch?” It’s rich, creamy, and smooth with just the right balance of tanginess and sweetness. And the best part? It’s completely customizable.
You can serve it in a pre-made crust, pipe it into phyllo shells for bite-sized treats, or layer it with crushed cookies and berries in mason jars for a rustic dessert. It even works beautifully as a filling for tart shells or as a dip with fruit.
What makes this filling special is its texture — it’s thick enough to slice once chilled, yet soft enough to spoon straight from the bowl. And since there’s no gelatin involved, you don’t have to fuss over blooming or heating anything. Just beat, chill, and enjoy.
If you’re intimidated by traditional cheesecake or don’t want to heat up your kitchen, this no bake version gives you all the flavor and none of the stress.
Ingredients for No Bake Cheesecake Filling
Let’s talk ingredients — because the simplicity here is what makes this recipe so magical.
You don’t need anything fancy or hard to find. In fact, you might already have most of these in your fridge or pantry. Each ingredient plays an important role in getting that smooth, creamy, stable filling without baking a thing.
Here’s what you’ll need:
Cream Cheese (Full Fat)
The heart and soul of any cheesecake. Make sure it’s the brick-style cream cheese and not the whipped kind. Full-fat is key for that thick, creamy texture and rich flavor.
Powdered Sugar (Not Granulated)
Powdered sugar dissolves much more easily than granulated and gives the filling that ultra-smooth, silky finish. It also helps thicken the mix just enough without adding grittiness.
Heavy Whipping Cream
Whipped cream gives the filling its light, airy texture while keeping it rich. It acts as the stabilizer, replacing the need for eggs or gelatin.
Vanilla Extract
Just a splash to round out the flavor. It pairs beautifully with the tang of the cream cheese.
Lemon Juice (Optional but Recommended)
A tiny bit of fresh lemon juice brightens the whole filling and balances the richness. It doesn’t taste lemony — it just enhances the cheesecake flavor.
You can also add flavor twists like almond extract, melted white chocolate, or even a touch of instant espresso if you’re feeling adventurous. But the base is classic and perfect just as it is.
How Much Time Will You Need
This is one of the quickest desserts you can make from scratch.
Here’s a breakdown of the time commitment:
- Prep Time: 15 minutes
- Chill Time: At least 4 hours (or overnight for best results)
There’s no cook time at all, and the prep is mostly about whipping and folding. If your cream cheese is already softened, you’ll be done in under 20 minutes.
You’ll want to let the filling chill long enough to set — especially if you’re slicing it from a crust. But if you’re serving it in dessert cups or jars, it can be eaten sooner.
How to Make This No Bake Cheesecake Filling
This step-by-step guide will walk you through the process so you get a perfect result every time. It’s simple enough for beginners, yet impressive enough for a dinner party.
Step – 1: Soften the Cream Cheese
Start by letting your cream cheese come to room temperature. This is crucial — cold cream cheese doesn’t blend smoothly and will leave you with lumps. Let it sit on the counter for about 30–45 minutes.
Once soft, add the cream cheese to a large mixing bowl.
Step – 2: Beat the Cream Cheese
Using a hand mixer or stand mixer with the paddle attachment, beat the cream cheese until it’s completely smooth and fluffy — about 2–3 minutes. This step ensures you won’t end up with any gritty texture later.
Step – 3: Add the Powdered Sugar and Vanilla
Gradually add the powdered sugar and vanilla extract to the cream cheese. Keep mixing on medium speed until it’s fully incorporated, thick, and creamy.
At this stage, you can also mix in the lemon juice if you’re using it.
Step – 4: Whip the Heavy Cream Separately
In a separate bowl, pour in the heavy whipping cream. Beat it on high speed until stiff peaks form. This is what gives the cheesecake filling its fluffy, mousse-like texture.
Be careful not to overwhip — stop as soon as the cream holds its shape.
Step – 5: Fold the Whipped Cream into the Cream Cheese Mixture
Switch to a spatula and gently fold the whipped cream into the cream cheese mixture. Do this in batches, folding carefully to keep the air in.
Once it’s all combined, the filling should look light, creamy, and smooth with no streaks of whipped cream remaining.
Step – 6: Chill
Transfer the filling into a prepared graham cracker crust or dessert cups. Cover and chill in the refrigerator for at least 4 hours (overnight is even better). This helps the filling firm up so it holds its shape when sliced or served.
That’s it. You now have a silky, luscious no bake cheesecake filling ready to be enjoyed.
Substitutions
Sometimes you don’t have all the ingredients on hand — or maybe you want to switch things up. Here’s how to customize the recipe without compromising texture or flavor.
Cream Cheese Substitute
If you’re looking for a lighter option, you can use Neufchâtel cheese (which has about 1/3 less fat). The texture will be slightly softer, but still delicious.
Dairy-Free Version
Use dairy-free cream cheese (like Kite Hill or Tofutti) and full-fat coconut cream in place of whipping cream. Chill the coconut cream overnight and scoop out the thick part only.
Sweeteners
You can swap powdered sugar with maple syrup or honey, but keep in mind that the mixture will be softer. You may need to reduce the cream slightly to compensate.
Flavor Variations
Want a twist? Add a swirl of peanut butter, Nutella, or fruit preserves before chilling. You can also fold in crushed Oreos, chocolate chips, or fresh berries for added texture.
Substitutions make this recipe incredibly versatile. You can tailor it to dietary needs or creative flavor profiles without losing that creamy, rich foundation.
Best Side Dish of No Bake Cheesecake Filling
While this filling is often the centerpiece, pairing it with the right side dish can elevate the whole experience. Here are three ideas that complement the creamy sweetness:
Fresh Berry Compote
Warm berries with a bit of sugar and lemon juice make a tart, juicy contrast to the rich filling. Spoon over the top right before serving.
Chocolate Ganache Drizzle
A silky dark chocolate sauce drizzled on top or served alongside gives a decadent edge — perfect for dinner parties.
Buttery Graham Cracker Crumbs
If you’re not using a crust, a sprinkle of toasted graham cracker crumbs on top adds texture and a nostalgic flavor without overpowering the cheesecake.
Each of these sides adds a touch of elegance while keeping the dessert approachable and family-friendly.
Serving and Presentation Tips
There’s something so delightful about serving no bake cheesecake filling in ways that make your guests say, “Wow!” Presentation really elevates this simple dessert from everyday to special occasion status.
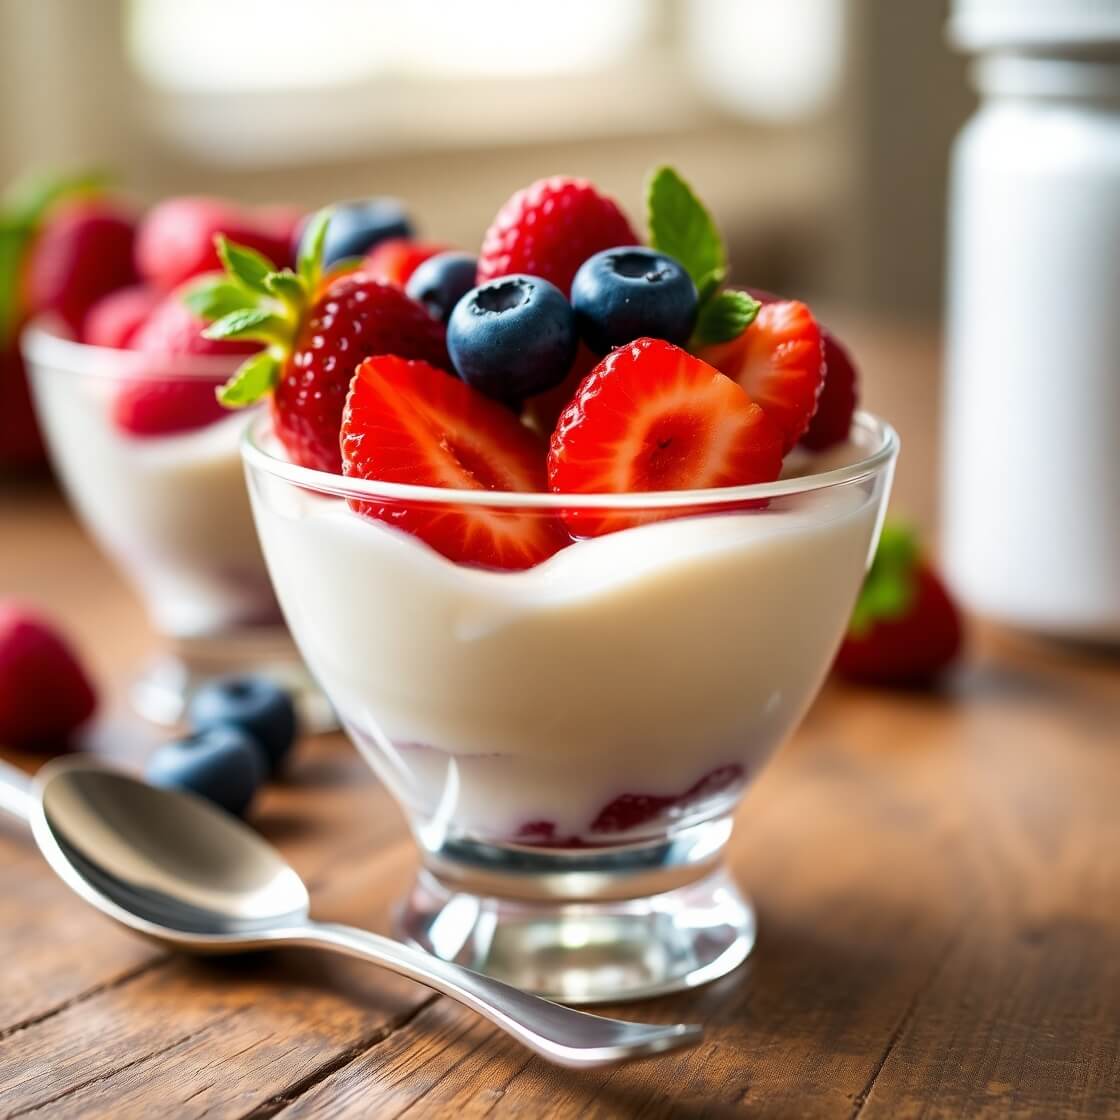
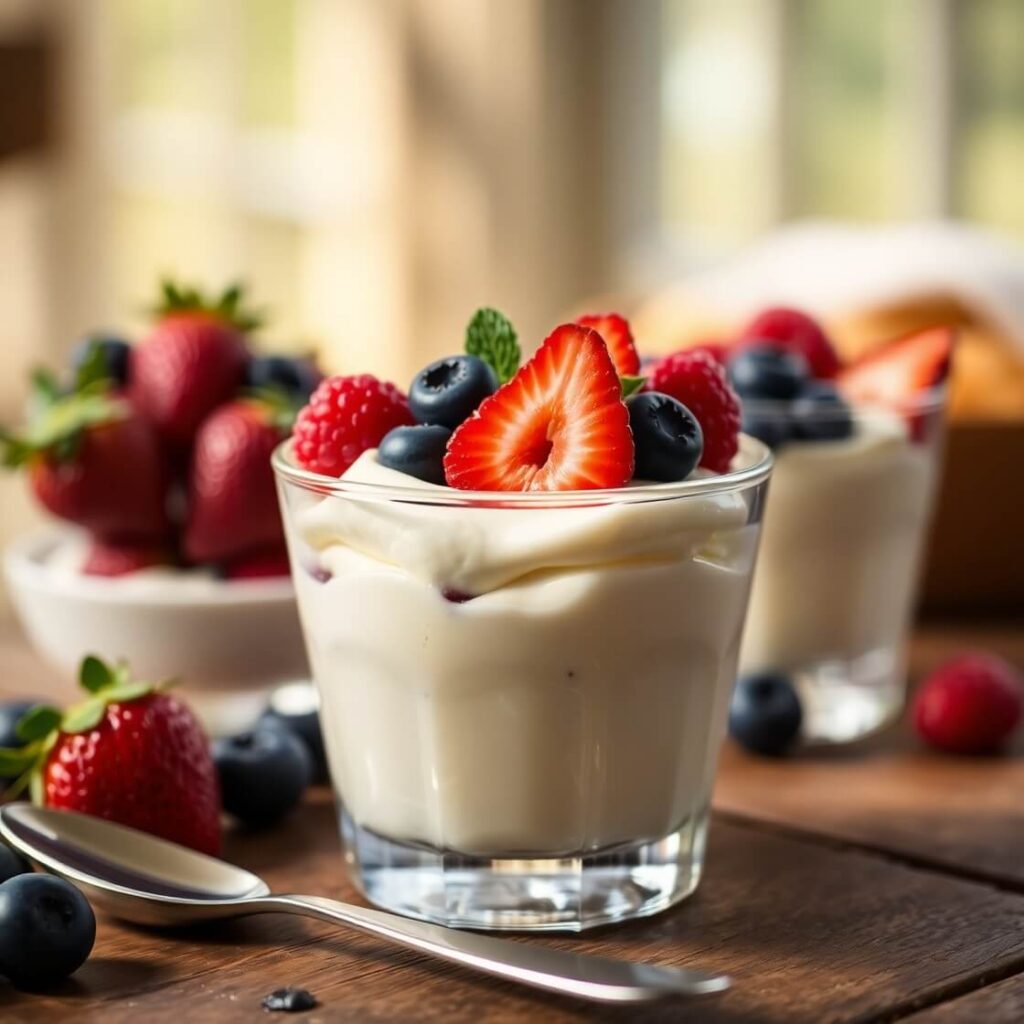
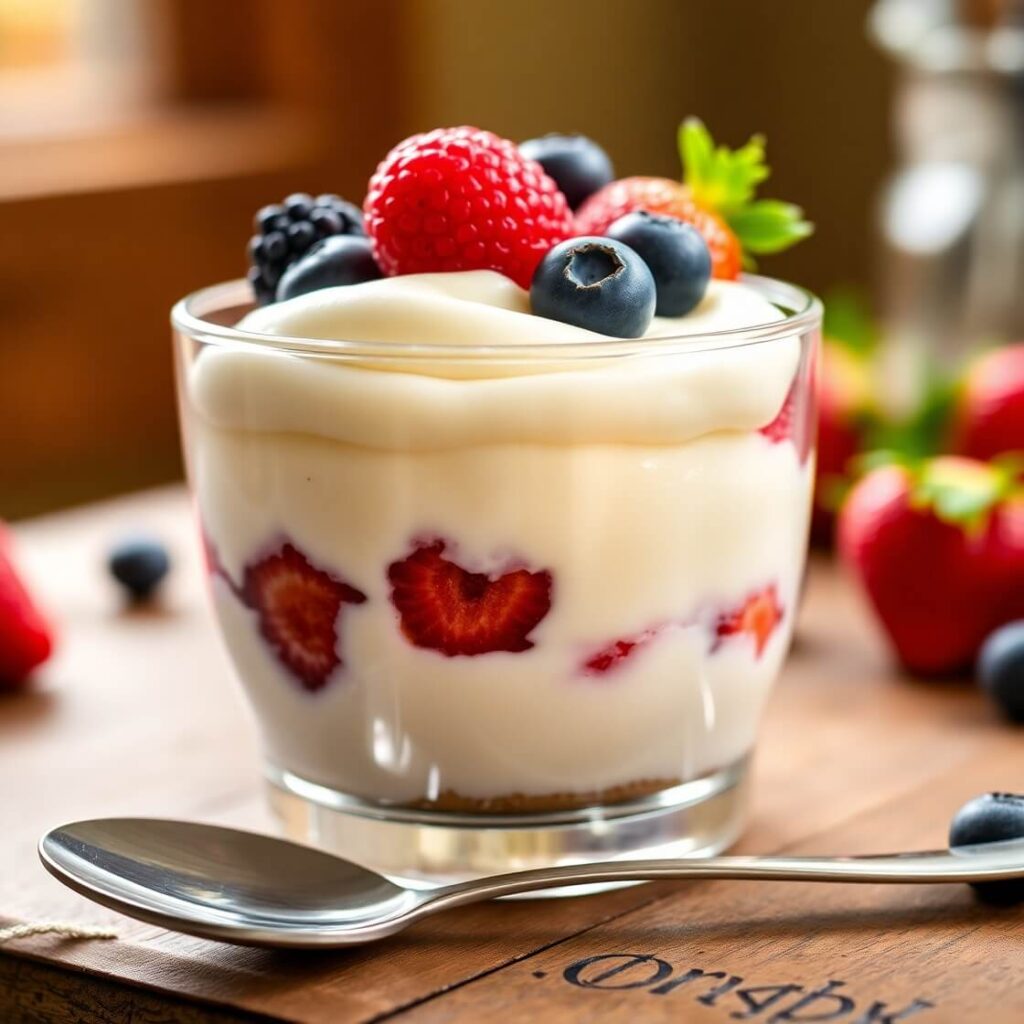
One of my favorite ways to present this filling is in clear glass jars or small trifle bowls. Layer the cheesecake filling with fresh berries or a spoonful of fruit compote, then top with a sprinkle of crushed graham crackers or toasted nuts. The layers create a beautiful visual contrast that makes it impossible to resist.
If you’re serving it as a traditional cheesecake, smooth the top carefully with a spatula for a clean finish. You can add decorative swirls using a spoon or pipe dollops of whipped cream around the edge for an elegant touch. Garnishing with fresh mint leaves or edible flowers instantly upgrades the look.
For bite-sized treats, pipe the filling into mini tart shells or onto graham cracker squares and add a raspberry or blueberry on top. These are perfect for parties or potlucks — pretty, portable, and irresistible.
The key is to balance simplicity with a few thoughtful touches that highlight the creamy texture and subtle tang of the filling. A drizzle of honey, a dusting of cocoa powder, or even a thin slice of lemon zest can make all the difference.
Tips and Tricks to Make This Recipe Even Better
Making this no bake cheesecake filling isn’t complicated, but a few insider tips ensure you get the best texture and flavor every time.
First, patience with the cream cheese is essential. Make sure it’s fully softened at room temperature to avoid lumps. If you’re in a rush, microwave it for 10-15 seconds but watch closely — you want it soft, not melted.
Second, when whipping the heavy cream, stop as soon as stiff peaks form. Overwhipping can cause the cream to separate, resulting in a grainy texture that doesn’t fold well into the cream cheese mixture.
Gently folding the whipped cream into the cream cheese mixture is where you want to be delicate. Use a spatula and fold slowly, turning the bowl as you go. This keeps the mixture airy and light, preventing it from deflating.
For an extra creamy filling, you can add a tablespoon or two of sour cream or Greek yogurt along with the cream cheese. It adds a pleasant tang and a bit more moisture.
If you want to make the filling ahead of time, prepare it and refrigerate for up to 48 hours. Just give it a gentle stir before using to bring back some of the fluffiness.
Finally, chilling time matters. The longer you let it set, the firmer and more sliceable it becomes. Overnight is ideal if you want to serve it as a pie or tart.
Common Mistakes to Avoid
Even though this recipe is straightforward, a few common mistakes can trip you up:
- Using cold cream cheese: This will lead to lumps and a gritty texture. Always soften the cream cheese completely before mixing.
- Overwhipping the cream: If you whip the heavy cream too long, it can turn grainy and separate, ruining the smooth texture of the filling.
- Rushing the folding process: Stirring too vigorously when combining whipped cream and cream cheese mixture will deflate the air you just whipped in, resulting in a denser filling.
- Skipping the chill time: The filling needs time to set properly. Cutting or serving it too soon will cause it to be runny or lose shape.
- Using granulated sugar instead of powdered sugar: This can cause a grainy texture and uneven sweetness because powdered sugar dissolves better.
Avoiding these pitfalls will ensure your no bake cheesecake filling turns out silky smooth and delicious every time.
How to Store It
Storage is straightforward but important to maintain the perfect texture and freshness.
Keep your no bake cheesecake filling refrigerated in an airtight container or covered tightly with plastic wrap.
If it’s in a pie crust or dessert cups, cover them with plastic wrap or an airtight lid to prevent the filling from absorbing any fridge odors.
This filling will stay fresh and delicious for up to 3-4 days refrigerated. Beyond that, the texture may start to degrade.
If you want to freeze it, I recommend freezing the filling alone (not in a crust) in a freezer-safe container. It can be frozen for up to 1 month. When ready to eat, thaw overnight in the fridge and gently stir before serving. Note that the texture might be slightly less fluffy after freezing.
Frequently Asked Questions (FAQ)
Can I make this no bake cheesecake filling vegan?
Yes! Swap the cream cheese for a plant-based version and use coconut cream instead of heavy cream. Make sure both are chilled and full-fat for best results.
Do I have to use heavy whipping cream?
Heavy cream is what gives the filling its airy texture. You can try substituting with whipped coconut cream for a dairy-free option, but avoid using lighter creams as they won’t whip properly.
Can I add gelatin to make it firmer?
This recipe is designed to set without gelatin, but if you prefer a firmer texture, you can dissolve unflavored gelatin in a small amount of warm water and fold it in with the cream cheese before adding whipped cream.
How long does this filling last?
It’s best eaten within 3-4 days refrigerated. Keep it covered tightly to maintain freshness.
Can I add flavors or mix-ins?
Absolutely! You can fold in fresh berries, chocolate chips, or swirl in fruit preserves or peanut butter. Just fold gently to keep the texture light.

No Bake Cheesecake Filling
- Total Time: About 4 hours 15 minutes
- Yield: 8 1x
- Diet: Vegetarian
Description
A luscious, creamy, and effortlessly smooth no bake cheesecake filling that’s perfect for pies, dessert cups, or tart shells. Made with simple ingredients like cream cheese, powdered sugar, and whipped heavy cream, this filling offers rich flavor with a light, airy texture. Ready in just 15 minutes plus chilling time, it’s a foolproof way to enjoy cheesecake without turning on the oven.
Ingredients
- 16 oz (450g) full-fat cream cheese, softened
- 1 cup (120g) powdered sugar
- 1 cup (240ml) heavy whipping cream
- 1 teaspoon vanilla extract
- 1 tablespoon fresh lemon juice (optional)
Instructions
- Beat softened cream cheese in a large bowl until smooth and fluffy.
- Gradually add powdered sugar, vanilla extract, and lemon juice; mix until fully combined.
- In a separate bowl, whip heavy cream until stiff peaks form.
- Gently fold whipped cream into the cream cheese mixture until smooth and airy.
- Transfer filling to prepared crust or dessert containers. Cover and chill for at least 4 hours or overnight.
Notes
- Ensure cream cheese is fully softened for a smooth filling.
- Do not overwhip the heavy cream to avoid grainy texture.
- Chill filling well to allow it to set properly before serving.
- Customize by adding flavors or mix-ins to suit your taste.
- Prep Time: 15 minutes
- Cook Time: None
- Category: Dessert
- Method: No Bake
- Cuisine: American
Nutrition
- Serving Size: 8
- Calories: 320
- Sugar: 20g
- Sodium: 180mg
- Fat: 26g
- Saturated Fat: 16g
- Unsaturated Fat: 7g
- Trans Fat: 0g
- Carbohydrates: 21g
- Fiber: 0g
- Protein: 4g
- Cholesterol: 85mg