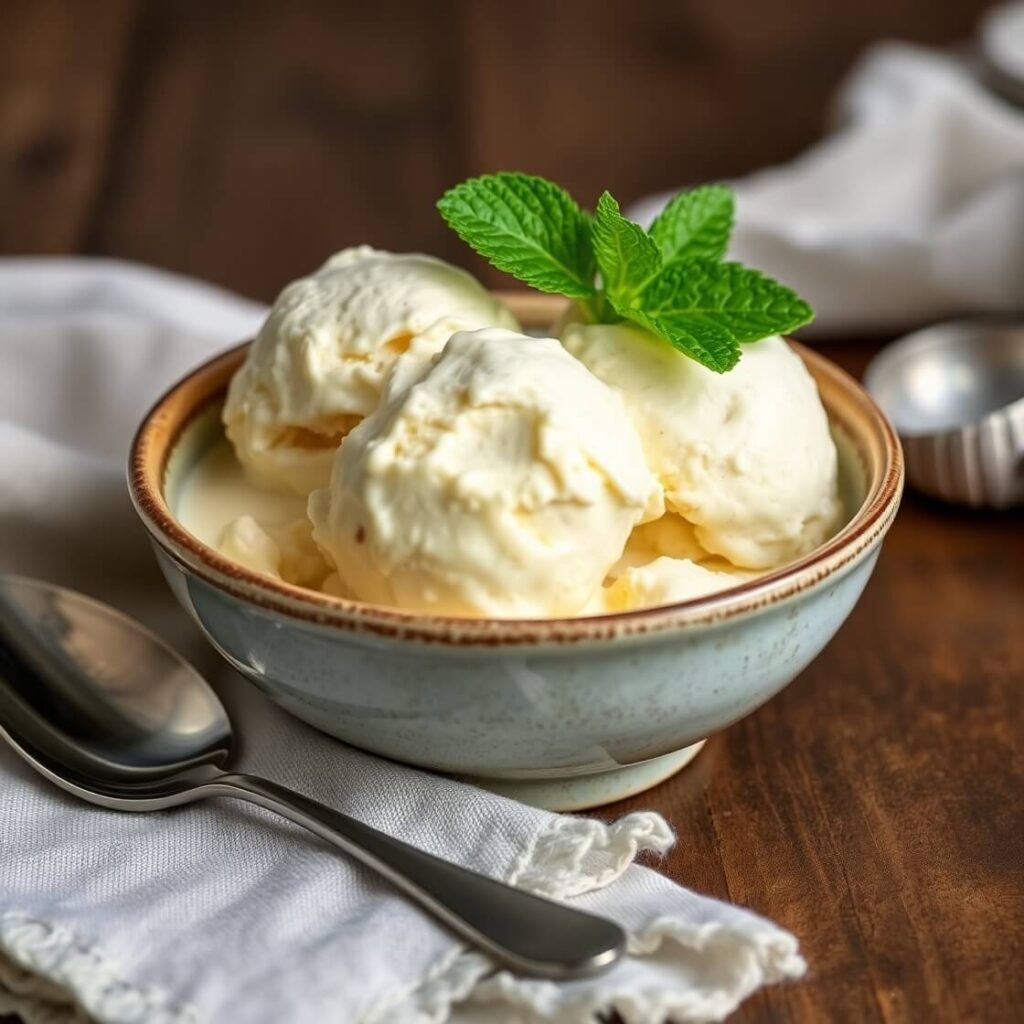
There’s something undeniably magical about homemade vanilla ice cream. It’s creamy, rich, and delicately flavored—just sweet enough to make you close your eyes and savor every bite. This recipe came about on a slow summer weekend, the kind where the sun lingers and everything feels a little more golden.
Store-bought options just didn’t cut it anymore. I wanted that old-fashioned texture and flavor that reminded me of childhood—back when ice cream was churned with love and tasted like more than just sugar and air. And so, I set out to make my own version, one that’s silky-smooth, deeply flavorful, and easy enough to make without fancy machines.
If you’ve never made ice cream from scratch before, you’re in for a treat. It’s much simpler than it sounds—and infinitely more rewarding. Once you taste this homemade vanilla ice cream, you might just ditch the store-bought tubs for good.
Why I Love This Recipe

There’s a reason vanilla is the most beloved ice cream flavor in the world—it’s timeless, comforting, and incredibly versatile. But homemade vanilla ice cream? That’s a whole different level.
What makes this recipe special is its simplicity. It doesn’t rely on a laundry list of ingredients or require hours of babysitting. It’s classic, yet luxurious. The egg yolks create a custard base that gives it a rich, velvety mouthfeel. The whole milk and heavy cream strike the perfect balance between lightness and decadence. And then, of course, there’s the vanilla—a star in its own right. I use pure vanilla bean paste or extract to ensure every spoonful is bursting with real flavor.
Another reason I love this recipe is its adaptability. You can dress it up with chocolate swirls, crushed cookies, or fresh berries, but it’s just as delicious served plain. It’s the perfect foundation for so many desserts—or just a quiet evening treat on its own.
If you’ve been intimidated by homemade ice cream in the past, don’t be. This one is as foolproof as it gets—and the results are guaranteed to impress.
Ingredients for Homemade Vanilla Ice Cream
To make the best vanilla ice cream, you don’t need a long list of ingredients—just the right ones. Each component plays a crucial role in delivering that creamy, dreamy result. Think of this as your base recipe, the one you’ll come back to again and again.
Here’s what you’ll need to get started:
Egg Yolks: These are key to creating a custard-style base. They add richness, body, and that luxurious texture that sets homemade ice cream apart from store-bought varieties.
Granulated Sugar: It sweetens the custard and helps with the smooth texture. Sugar also lowers the freezing point, which keeps the ice cream soft and scoopable.
Whole Milk: Don’t skimp here—whole milk is essential for creating that balance between creamy and light.
Heavy Cream: The cream gives the ice cream its rich mouthfeel and smooth consistency.
Pure Vanilla Extract or Vanilla Bean Paste: For the deepest, most authentic vanilla flavor, I recommend using a high-quality extract or paste. If you’re going for visual appeal and extra depth, opt for the paste—it leaves those little vanilla specks everyone loves.
Salt: Just a pinch brings out all the flavors and prevents the ice cream from tasting flat.
That’s it. No fillers, no gums, no stabilizers—just real ingredients that you likely already have in your kitchen. And that’s part of the magic, isn’t it?
How Much Time Will You Need
Making homemade vanilla ice cream does require a little bit of patience—but most of it is hands-off. Here’s what you can expect in terms of timing:
- Prep Time: 15 minutes
- Cooking/Custard Making Time: 10–15 minutes
- Chilling Time: 4–6 hours (or overnight, for best results)
- Churning Time: 20–30 minutes
- Freezing Time (after churning): 2–4 hours, depending on your freezer
So in total, you’re looking at about 6–10 hours from start to finish, with most of that being passive chilling and freezing time.
How to Make This Homemade Vanilla Ice Cream
This step-by-step guide walks you through the entire process—from creating the custard base to freezing your final batch.
Step – 1: Make the custard base
In a medium saucepan, combine 2 cups of whole milk and 1 cup of heavy cream over medium heat. Heat gently until it just begins to steam—not boil. While that’s heating, whisk 6 egg yolks and ¾ cup of sugar together in a separate bowl until pale and slightly thickened.
Step – 2: Temper the eggs
Once the milk and cream mixture is steaming, slowly pour about 1/2 cup of the hot liquid into the egg mixture, whisking constantly. This process is called tempering—it gently brings the eggs up to temperature so they don’t scramble. Continue slowly adding the hot liquid until fully incorporated.
Step – 3: Cook the custard
Pour the tempered egg mixture back into the saucepan and return it to medium-low heat. Stir constantly with a wooden spoon or silicone spatula until the custard thickens enough to coat the back of a spoon (about 170–175°F if using a thermometer). Don’t let it boil.
Step – 4: Strain and chill
Remove the custard from the heat and strain it through a fine-mesh sieve into a clean bowl to remove any bits of cooked egg. Stir in 1 tablespoon of vanilla extract or vanilla bean paste and a pinch of salt. Let it cool to room temperature, then cover and chill in the fridge for at least 4 hours or overnight.
Step – 5: Churn the ice cream
Once the custard base is thoroughly chilled, pour it into your ice cream maker and churn according to the manufacturer’s instructions. This usually takes 20–30 minutes until it reaches a soft-serve consistency.
Step – 6: Freeze until firm
Transfer the churned ice cream to a freezer-safe container. Press a piece of parchment or plastic wrap directly onto the surface to prevent ice crystals, then seal with a lid. Freeze for at least 2–4 hours before scooping.
And just like that—you’ve made your own batch of old-fashioned vanilla ice cream!
Substitutions
Don’t have everything on hand? Here are some simple swaps to customize this recipe or work with what you’ve got:
No heavy cream? Use half-and-half, though it won’t be quite as rich. For a lighter version, replace some of the cream with more whole milk—but be aware this may affect texture.
No vanilla bean paste? Pure vanilla extract works just fine. You can also scrape out the seeds from a whole vanilla bean and steep the pod in the warm milk for an even more luxurious flavor.
Want to make it dairy-free? Substitute full-fat coconut milk for both the cream and the milk. It’ll have a coconut-vanilla vibe but will still be creamy.
Need a lower-sugar option? Reduce the sugar by ¼ cup, or experiment with natural sweeteners like maple syrup or honey. Just know this can slightly affect the final texture.
No ice cream maker? You can still make this recipe using a no-churn method: After chilling the custard, whip 1 cup of cold heavy cream to stiff peaks, fold it into the base, and freeze until firm.
This recipe is flexible. Once you master the base, it opens up endless flavor possibilities.
Best Side Dish of Homemade Vanilla Ice Cream
Sometimes, it’s all about the pairings. Here are three side ideas that turn a simple scoop into a full-on dessert experience:
1. Warm Apple Pie
Classic and comforting, the warm spices and flaky crust of apple pie complement the creamy vanilla perfectly.
2. Fresh Berry Compote
Simmer berries with a touch of sugar and lemon juice for a tangy-sweet topping that balances the richness of the ice cream.
3. Chocolate Brownies
A scoop of vanilla ice cream melting over a fudgy brownie is pure heaven—especially with a drizzle of chocolate sauce.
Serving and Presentation Tips
There’s nothing quite like presenting a scoop of homemade vanilla ice cream in a way that feels as special as it tastes. Even though it’s a simple dessert, how you serve it can make all the difference—and elevate your experience from “nice” to unforgettable.
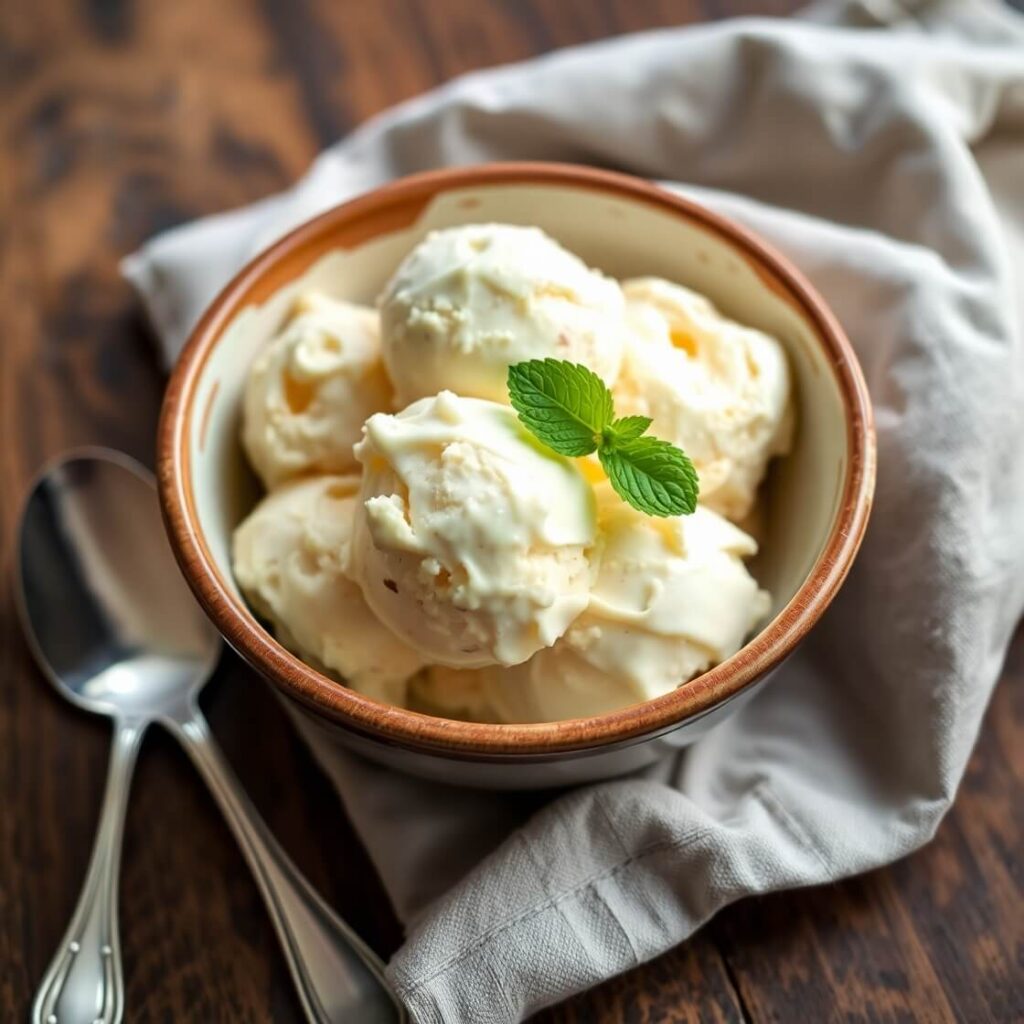
One of my favorite ways to serve it is in vintage-style dessert bowls or small mason jars. I’ll often add a sprig of fresh mint or a dusting of cinnamon or cocoa powder right on top. For a little crunch, crushed nuts or cookie crumbles work beautifully.
If I’m hosting friends or family, I’ll pre-scoop the ice cream onto a chilled tray and pop it back into the freezer. When it’s time to serve, I just plate and garnish—no fuss, no melting delay.
And for those extra-special moments? A drizzle of warm caramel sauce or berry coulis adds a beautiful contrast in color and taste.
Let your creativity guide you—vanilla ice cream is a blank canvas, and how you serve it is part of the joy.
Tips and Tricks to Make This Recipe Better
If this is your first time making custard-based ice cream, don’t worry—these tips will help you nail it every time.
- Use a thermometer. It’s the best way to know your custard is cooked enough without curdling the eggs. Aim for about 170–175°F.
- Cool the base completely. Chilling the custard thoroughly before churning is crucial. Warm custard won’t churn properly and could turn icy.
- Churn in a cold environment. If your kitchen is hot or humid, chill the ice cream bowl well in advance, and keep the base in the fridge until the last moment.
- Don’t skip the straining. Even if your custard looks smooth, straining removes any small bits of egg that may have cooked—leaving you with that silky-smooth texture.
- Add a little alcohol (optional). A tablespoon of vodka or bourbon lowers the freezing point and keeps the ice cream from getting rock-solid. You won’t taste it, but you’ll appreciate the texture.
- Use good-quality vanilla. This is a vanilla-focused dessert. A rich vanilla paste or pure extract makes all the difference.
Master these little details, and you’ll consistently get a rich, creamy ice cream every time.
Common Mistakes to Avoid
Even simple recipes can go sideways with a few missteps. Here are the most common mistakes I’ve seen—and how to avoid them.
- Overheating the custard: The biggest error is cooking the egg mixture too fast or over too high heat. That leads to curdled, scrambled eggs instead of silky ice cream.
- Skipping the chill time: If you don’t let your custard base fully chill, it will affect both the churning process and the final texture. Be patient—it’s worth it.
- Using low-fat milk: This isn’t the time to cut calories. Using skim or low-fat milk results in an icy, less creamy dessert.
- Not measuring the vanilla properly: Vanilla is the flavor star. Under-measuring will leave your ice cream bland, while overdoing it can make it taste artificial.
- Skipping the salt: It might seem unnecessary, but a tiny pinch brings out the flavors in a big way.
- Over-churning or under-churning: Churn just until the ice cream reaches a thick, soft-serve consistency. Overdoing it can lead to a grainy texture.
Avoid these mistakes, and you’ll be well on your way to homemade ice cream perfection.
How to Store It
To keep your ice cream at its creamy best, proper storage is essential.
Always store your ice cream in an airtight container. I like using a shallow, wide container for easier scooping and faster freezing. Before sealing the lid, press a piece of parchment paper or plastic wrap directly onto the surface of the ice cream—this helps prevent ice crystals from forming.
Keep the container in the back of your freezer where the temperature stays most consistent. Avoid storing it in the freezer door; the constant opening and closing can cause melting and refreezing, which ruins the texture.
Homemade ice cream is best enjoyed within 1–2 weeks for optimal flavor and creaminess, but it will technically keep for up to a month.
If it becomes too hard to scoop, just let it sit at room temperature for 5–10 minutes before serving.
FAQ
Can I make this without an ice cream maker?
Yes! Once your custard is chilled, fold it into whipped cream and freeze. It won’t be quite the same as churned, but it will still be delicious.
What can I use instead of egg yolks?
For an egg-free version, try a Philadelphia-style base using just cream, milk, sugar, and vanilla. It won’t be as rich but still creamy.
Can I flavor this with something else?
Absolutely. Add a swirl of caramel, fudge, crushed Oreos, or berries just before freezing for endless variations.
Is this recipe gluten-free?
Yes, this vanilla ice cream is naturally gluten-free—just double-check that your vanilla extract or paste is certified gluten-free.
Can I use non-dairy milk?
You can substitute full-fat coconut milk or cashew milk, though the texture and flavor will vary slightly.

Homemade Vanilla Ice Cream Recipe
- Total Time: 8 hours (including chilling and freezing)
- Yield: 1 1x
- Diet: Vegetarian
Description
This homemade vanilla ice cream is the perfect treat for any season. With a creamy custard base made from egg yolks, whole milk, and heavy cream, it delivers a rich, smooth texture and deep vanilla flavor that’s impossible to resist. Whether you serve it plain, with pie, or layered into a sundae, this ice cream is a classic that never goes out of style. With simple ingredients and a straightforward process, this is your go-to base recipe that’s versatile, adaptable, and always satisfying. Once you make it from scratch, you’ll never go back to store-bought.
Ingredients
- 2 cups whole milk
- 1 cup heavy cream
- 6 egg yolks
- ¾ cup granulated sugar
- 1 tbsp pure vanilla extract or vanilla bean paste
- Pinch of salt
Instructions
- Warm milk and cream in a saucepan until steaming.
- Whisk egg yolks and sugar in a bowl until thick and pale.
- Temper the egg yolks with the hot milk mixture, then return all to the pan.
- Cook over medium-low heat, stirring constantly, until custard thickens.
- Strain into a bowl, add vanilla and salt, and chill for at least 4 hours.
- Churn in an ice cream maker according to instructions.
- Freeze for 2–4 hours until firm.
Notes
- Use high-quality vanilla for the best flavor.
- Chill your custard thoroughly before churning.
- Add-ins like chocolate chips or nuts should be folded in after churning.
- Prep Time: 15 minutes
- Cook Time: 15 minutes
- Category: Dessert
- Method: Churned
- Cuisine: American
Nutrition
- Serving Size: 1
- Calories: 240
- Sugar: 18g
- Sodium: 45mg
- Fat: 17g
- Saturated Fat: 10g
- Unsaturated Fat: 5g
- Trans Fat: 0g
- Carbohydrates: 20g
- Fiber: 0g
- Protein: 4g
- Cholesterol: 130mg