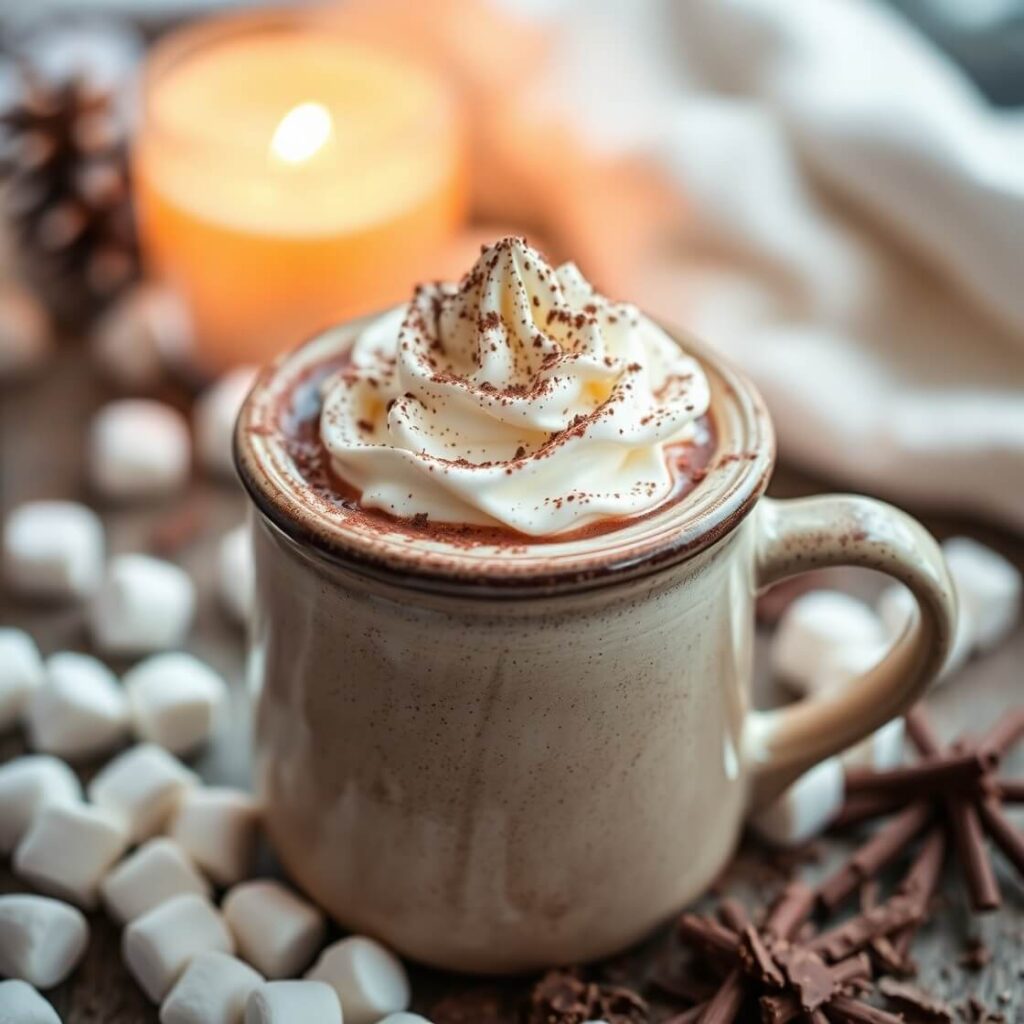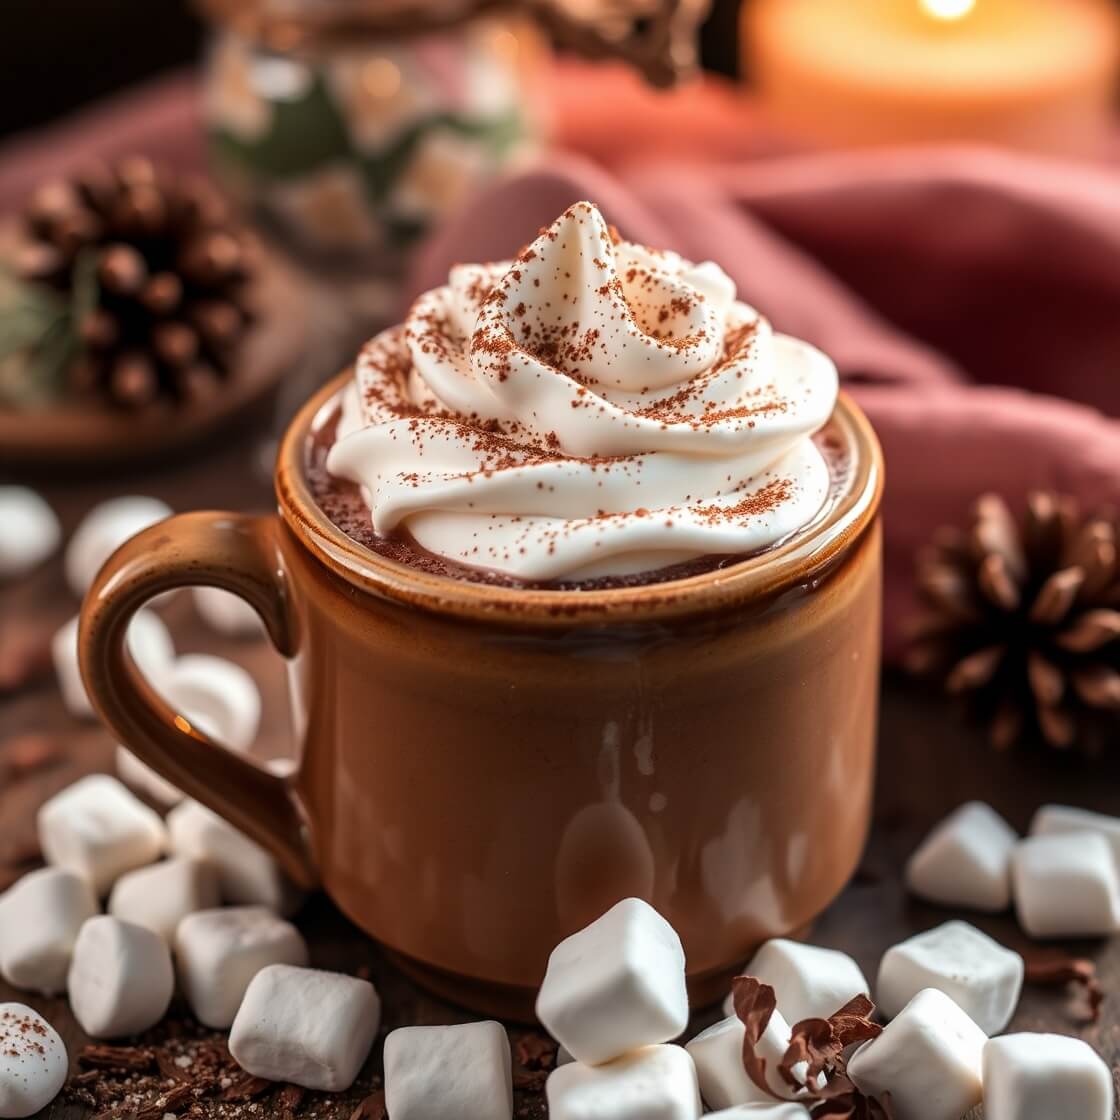
There’s something magical about wrapping your hands around a warm mug of hot chocolate on a chilly day. I first fell in love with homemade hot chocolate on a winter evening when snow was falling outside, and the cozy aroma of cocoa filled my kitchen. It’s more than just a drink—it’s a little moment of comfort, indulgence, and nostalgia all in one. Unlike store-bought mixes, homemade hot chocolate has a richness and depth of flavor that feels luxurious, yet it’s surprisingly simple to make at home. Whether you’re planning a quiet evening by the fireplace or preparing a special treat for friends and family, this recipe will make every sip unforgettable. Keep reading, because I’m going to show you how to create the creamiest, most decadent hot chocolate you’ve ever tasted.
Why I Love This Recipe
What makes this homemade hot chocolate so special is the perfect balance between creamy milk, high-quality cocoa, and just the right amount of sweetness. Unlike the instant mixes that can sometimes taste artificial or overly sugary, making it from scratch lets you control every flavor. The chocolate melts smoothly, the milk becomes velvety, and every sip feels like a small indulgence.
I love that this recipe is versatile. You can make it richer with dark chocolate, lighter with milk chocolate, or even add a hint of spice with cinnamon or chili. It’s also incredibly comforting—something about sipping a warm cup of cocoa can make a stressful day feel lighter and cozier. This recipe has become a staple in my home, especially during winter or whenever I want a little chocolatey indulgence without leaving the house. If you’ve ever wanted to make a café-quality hot chocolate at home, this is the one to try.
Ingredients for Homemade Hot Chocolate
To make the best hot chocolate, it’s important to start with quality ingredients. Each one contributes to the creamy texture, rich flavor, and perfect sweetness that make this drink unforgettable.
- Milk: Whole milk gives the richest texture, but you can also use 2% or even plant-based milk like almond or oat for a lighter or dairy-free version.
- Heavy cream: Just a splash makes the cocoa incredibly creamy and decadent.
- Cocoa powder: Unsweetened cocoa powder is essential for that deep chocolate flavor. Opt for a high-quality brand for the best results.
- Sugar: Granulated sugar balances the bitterness of the cocoa. Adjust based on your preference for sweetness.
- Chocolate: I like to melt a combination of dark and milk chocolate for a smooth, luxurious taste. Chocolate chips or chopped bars both work beautifully.
- Vanilla extract: Adds warmth and depth, enhancing the chocolate flavor.
- Salt: Just a pinch—it brings out the chocolate’s richness.
- Optional toppings: Whipped cream, marshmallows, chocolate shavings, or a sprinkle of cinnamon for an extra cozy touch.
Every ingredient in this recipe plays a role. From the silky milk to the tiny pinch of salt, each element works together to create a hot chocolate that’s far superior to anything from a packet. Once you taste it, you’ll understand why homemade is always better.
How Much Time Will You Need
This recipe is surprisingly quick. From start to finish, you can have a steaming mug of hot chocolate in about 10 to 15 minutes. Here’s a breakdown:
- Preparation: 3-5 minutes
- Cooking: 7-10 minutes
It’s perfect for a last-minute treat, a cozy night in, or impressing guests with a homemade touch that looks and tastes gourmet.
How to Make This Homemade Hot Chocolate
Making hot chocolate from scratch is easier than you might think. Follow these steps carefully, and you’ll end up with a creamy, luscious drink every time.
Step – 1: Measure out all your ingredients. This includes milk, heavy cream, cocoa powder, sugar, chocolate, vanilla extract, and salt. Having everything ready makes the cooking process smooth and stress-free.
Step – 2: In a medium saucepan, combine milk and heavy cream. Warm over medium heat, stirring occasionally to prevent scalding. The goal is to heat the milk until it’s warm and steaming, but not boiling.
Step – 3: Add cocoa powder, sugar, and a pinch of salt. Whisk continuously to ensure there are no lumps, and the cocoa fully dissolves into the milk.
Step – 4: Reduce the heat slightly and add your chocolate (chopped or chips). Stir gently until it melts completely and blends smoothly into the milk. This is where the magic happens—the chocolate melts, creating a creamy, luxurious texture.
Step – 5: Remove the pan from heat and stir in vanilla extract. Taste and adjust sweetness if needed.
Step – 6: Pour the hot chocolate into mugs. If desired, top with whipped cream, marshmallows, or a sprinkle of cinnamon. Serve immediately and enjoy the warmth and comfort of your homemade creation.
Substitutions
This recipe is flexible and can be adapted to fit your preferences or dietary needs.
- Milk alternatives: Almond, oat, soy, or coconut milk can replace dairy milk for a vegan or lactose-free version.
- Sweeteners: Replace granulated sugar with maple syrup, honey, or a sugar substitute for a different twist.
- Chocolate: Use all dark chocolate for a rich, bittersweet taste or all milk chocolate for a creamier, sweeter flavor.
- Spices: Add a pinch of cinnamon, nutmeg, or even chili powder for a spiced hot chocolate variation.
Experimenting with these substitutions allows you to create a hot chocolate tailored perfectly to your taste.
Best Side Dishes for Homemade Hot Chocolate
Pairing your hot chocolate with small treats makes it even more enjoyable. Here are my top three suggestions:
- Chocolate chip cookies: Classic and comforting.
- Mini croissants: Buttery, flaky, and perfect for dipping.
- Marshmallow-topped brownies: A chocolate lover’s dream combination.
Each of these sides complements the warmth and richness of your homemade hot chocolate, making your snack or dessert time feel special.
Serving and Presentation Tips
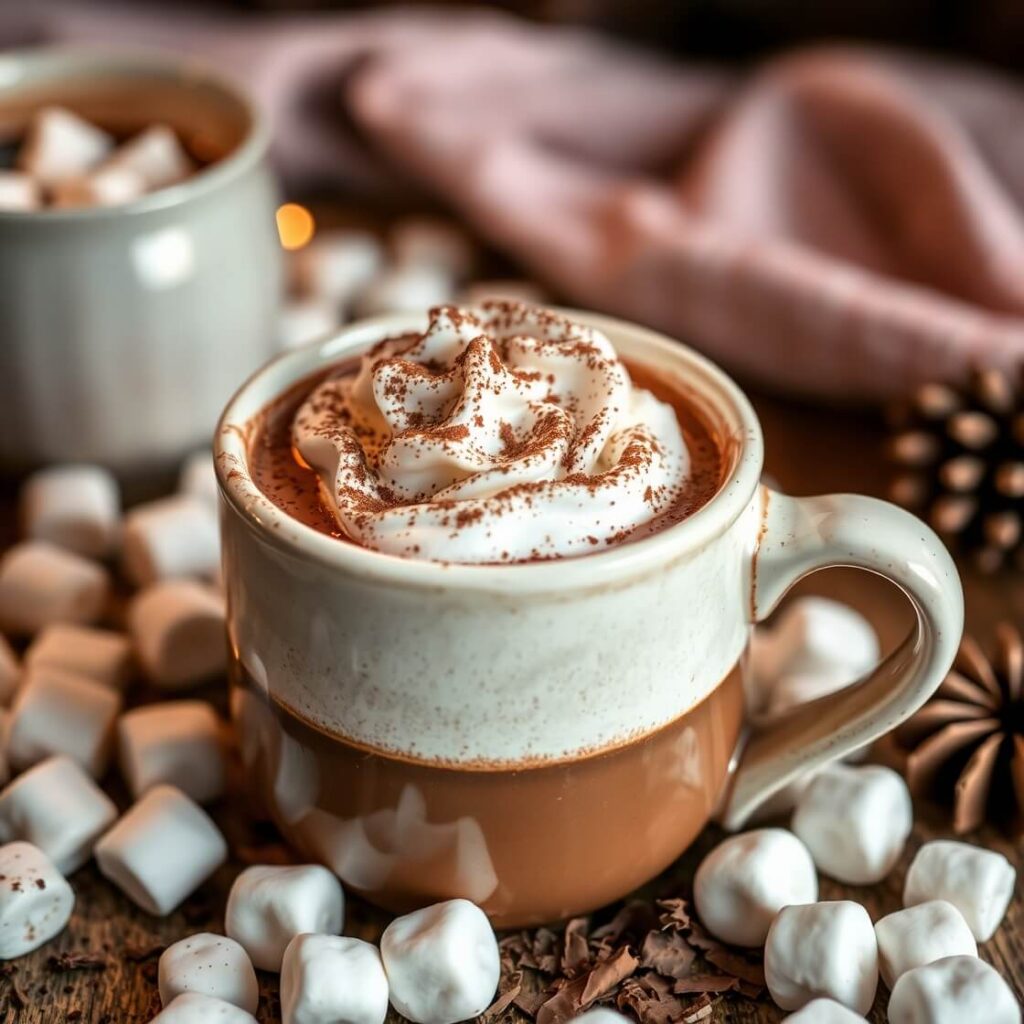
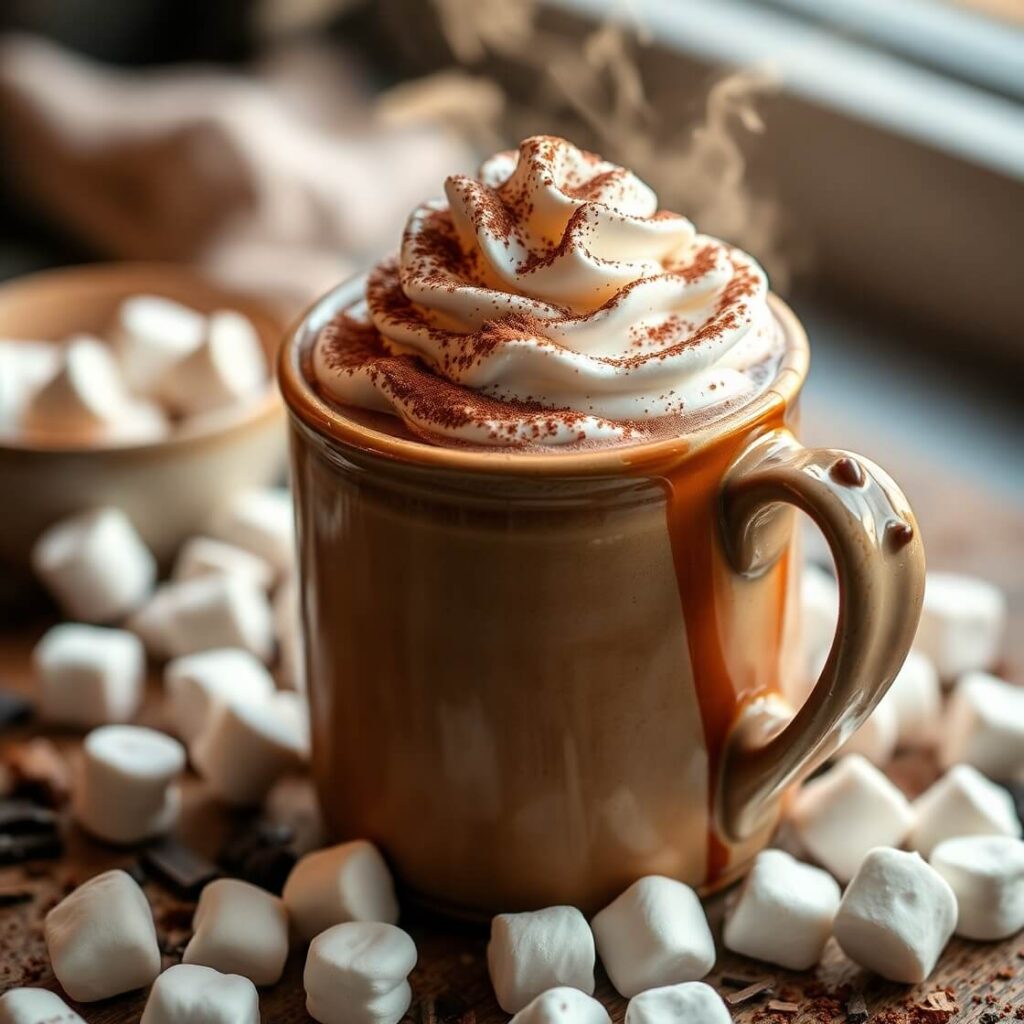
Serving hot chocolate is just as important as making it. A beautiful presentation turns a simple cup into a cozy, indulgent experience. I love serving mine in oversized mugs to let the steam rise and fill the room with the chocolate aroma. For a touch of elegance, top with freshly whipped cream and a dusting of cocoa powder or cinnamon. Marshmallows are a classic choice—they melt slightly, creating a gooey, comforting layer on top. Chocolate shavings or a drizzle of caramel can also elevate the presentation and make it feel café-worthy. For extra charm, try serving with a small biscotti or cookie on the side—it instantly feels like a treat that deserves to be savored.
Presentation isn’t just about looks; it enhances the experience. Pour slowly to maintain a creamy surface, and don’t forget a little garnish to delight both the eyes and taste buds. Even simple touches like a cinnamon stick or a sprinkle of nutmeg can transform your homemade hot chocolate into a luxurious treat.
Tips and Tricks to Make This Recipe Even Better
Making the perfect hot chocolate is easy, but a few tricks can really elevate it:
- Warm your milk slowly: Heating milk too quickly can cause it to scorch and develop an unpleasant skin. Medium heat is key.
- Use a whisk: Stirring constantly with a whisk ensures your cocoa powder dissolves evenly and prevents clumping.
- Combine chocolate types: Mixing dark and milk chocolate gives a richer, more complex flavor than using just one.
- Add a pinch of salt: It may seem small, but salt enhances the chocolate flavor and balances sweetness.
- Customize toppings: Play with whipped cream, marshmallows, chocolate curls, or even a splash of liqueur for adults.
These simple adjustments make your hot chocolate taste more luxurious and tailored to your preferences, turning an everyday drink into a memorable treat.
Common Mistakes to Avoid
Even with a simple recipe, there are a few pitfalls to watch out for:
- Boiling the milk: This can cause it to separate and lose its creamy texture. Always heat gently.
- Not whisking cocoa properly: Lumps can ruin the smoothness of your hot chocolate. Use a whisk and mix gradually.
- Using low-quality chocolate: The flavor of your chocolate directly impacts the final taste. Invest in good-quality chocolate for the best result.
- Skipping the pinch of salt: Salt is subtle but essential—it brings out the chocolate’s depth.
- Over-sweetening: Taste as you go. Chocolate already has sweetness, so you may not need as much sugar as you think.
Avoiding these mistakes ensures every cup is velvety, rich, and perfectly balanced.
How to Store It
Homemade hot chocolate is best enjoyed fresh, but if you need to store it:
- Store cooled hot chocolate in an airtight container in the refrigerator for up to 3 days.
- Reheat gently on the stovetop over low heat, stirring frequently to prevent burning.
- You can also freeze hot chocolate in ice cube trays for portioned servings. Melt and heat gently when needed.
- Avoid boiling during reheating, as it can separate the milk and change the texture.
Proper storage ensures you can enjoy your decadent drink later without losing its creamy quality.
FAQ
Can I make this dairy-free?
Yes! Substitute cow’s milk with almond, oat, or soy milk, and use dairy-free chocolate for a completely vegan option.
Can I make this ahead of time?
You can prepare the hot chocolate base and refrigerate it for up to 3 days. Reheat slowly before serving and add fresh toppings.
Can I make it less sweet?
Absolutely. Start with less sugar and adjust to taste. High-quality chocolate often adds sweetness, so you may need less than expected.
Can I add flavors?
Yes! Cinnamon, nutmeg, peppermint extract, or even a splash of vanilla liqueur for adults can enhance your hot chocolate.
What’s the best chocolate to use?
A combination of dark and milk chocolate provides depth and creaminess. Use high-quality chocolate for the best results.

Homemade Hot Chocolate
- Total Time: 15 minutes
- Yield: 2-3 1x
- Diet: Vegetarian
Description
Warm, creamy, and deeply chocolatey, this homemade hot chocolate is a cozy treat for any day. It’s easy to make from scratch and can be customized to suit your taste. Perfect for winter evenings, special gatherings, or an indulgent pick-me-up, each sip is smooth, rich, and comforting. Topped with whipped cream, marshmallows, or chocolate shavings, it’s a drink that feels luxurious and inviting.
Ingredients
- 2 cups whole milk (or milk alternative)
- 1/2 cup heavy cream
- 2 tbsp unsweetened cocoa powder
- 2 tbsp granulated sugar (adjust to taste)
- 1/2 cup high-quality chocolate (chopped or chips)
- 1 tsp vanilla extract
- Pinch of salt
- Optional toppings: Whipped cream, marshmallows, chocolate shavings, cinnamon
Instructions
- Warm milk and cream in a medium saucepan over medium heat, stirring occasionally.
- Whisk in cocoa powder, sugar, and a pinch of salt until fully dissolved.
- Reduce heat slightly, add chocolate, and stir until melted and smooth.
- Remove from heat, stir in vanilla extract, and taste for sweetness. Adjust if necessary.
- Pour into mugs and add toppings as desired. Serve immediately.
Notes
- For extra richness, use a mix of milk and heavy cream or add a splash of sweetened condensed milk.
- Garnish creatively—cinnamon sticks, chocolate shavings, or a drizzle of caramel enhance the flavor and presentation.
- Avoid boiling to maintain smooth, creamy texture.
- Prep Time: 5 minutes
- Cook Time: 10 minutes
- Category: Beverage
- Method: Stove-top
- Cuisine: American
Nutrition
- Serving Size: 2-3
- Calories: 250
- Sugar: 22g
- Sodium: 65mg
- Fat: 15g
- Saturated Fat: 9g
- Unsaturated Fat: 6g
- Trans Fat: 0g
- Carbohydrates: 28g
- Fiber: 3g
- Protein: 6g
- Cholesterol: 45mg

