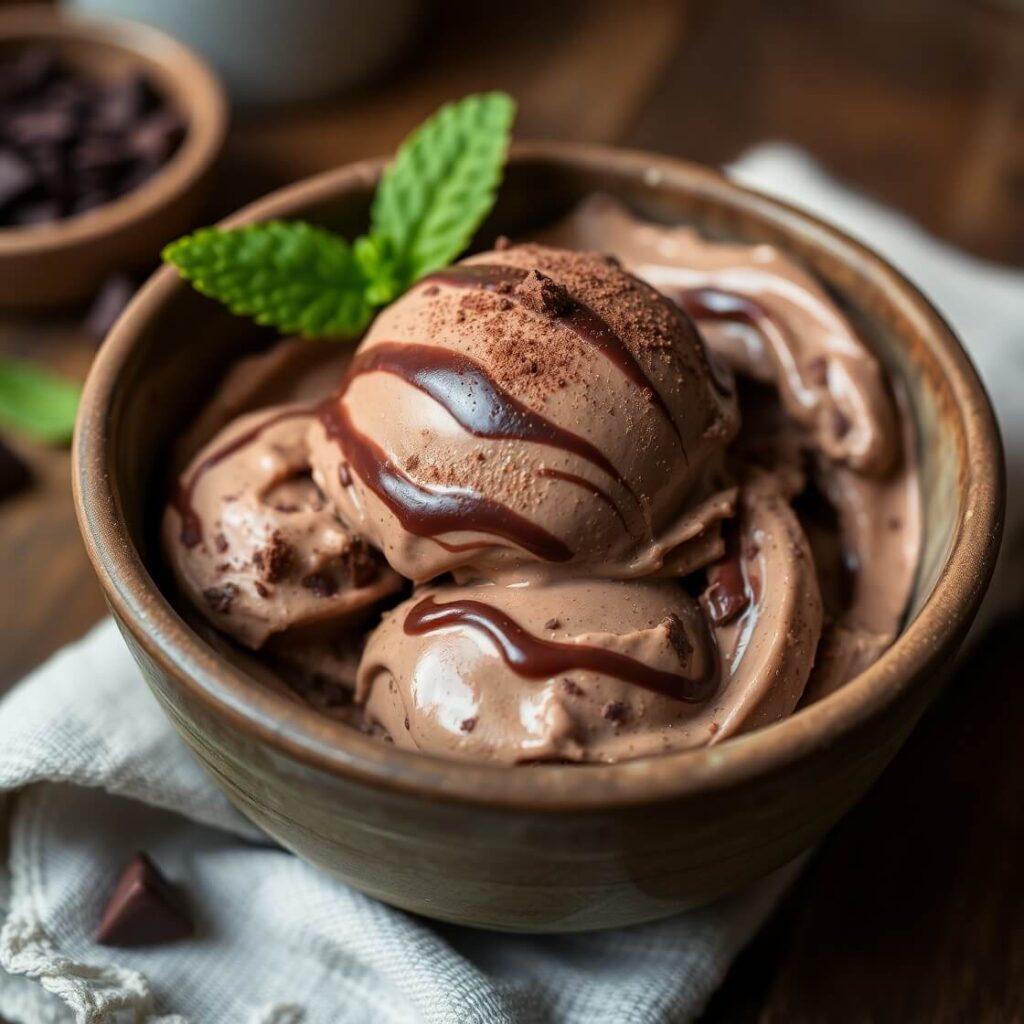
There’s something undeniably magical about homemade chocolate ice cream. It’s not just a dessert—it’s an experience. I still remember the first time I churned a batch from scratch on a warm summer evening. I was determined to recreate the rich, velvety chocolate ice cream I once had at a small countryside creamery during a road trip through Vermont. And guess what? I did. But better yet, I made it in my own kitchen, with ingredients I trusted, and without needing an ice cream machine.
So if you’re craving something indulgent, chocolatey, and comforting—or just want to impress your family or friends with a treat that tastes like a scoop of heaven—this recipe might just become your new obsession.
Whether you’re looking for a fun weekend project or a decadent finale to a dinner party, this homemade chocolate ice cream is here to win hearts and soothe sweet cravings.
Why I Love This Recipe

There are plenty of chocolate ice cream recipes out there, but this one holds a special place for me—and I think you’ll feel the same once you try it.
First off, this isn’t your average store-bought chocolate ice cream. It’s intensely rich, creamy without being heavy, and packed with deep cocoa flavor that actually tastes like real chocolate—not just sugar and artificial flavorings.
The real beauty of this recipe lies in its simplicity. You don’t need an ice cream machine, though you can absolutely use one if you have it. You just need a few pantry staples, a little patience, and a passion for truly good desserts.
Another reason I love this is the control it gives you. You decide how sweet it is. You choose the quality of the chocolate. You can even mix in extras like chocolate chips, brownie chunks, or a ripple of peanut butter if you’re feeling adventurous.
This is a recipe you can make for birthdays, weekend treats, summer BBQs, or just because your week needs a little sweetness. Once you taste it, I guarantee you’ll never want to go back to the boxed tubs again.
Ingredients for Homemade Chocolate Ice Cream
Let’s talk about what goes into this indulgent scoop of joy.
When I first developed this recipe, I wanted to keep the ingredients accessible. No weird stabilizers or unpronounceable additives—just real, familiar, wholesome ingredients that work together to create something truly extraordinary.
Here’s what you’ll need:
- Heavy cream: This gives the ice cream its luxurious, creamy texture. Choose full-fat cream for best results.
- Whole milk: Balances out the richness of the cream. Don’t use skim—it just won’t deliver that same velvety texture.
- Egg yolks: The secret to a luscious custard base. They add richness and help create that classic, scoopable consistency.
- Sugar: We’re using just enough to balance the bitterness of the cocoa and chocolate. You can slightly adjust it based on your taste.
- Unsweetened cocoa powder: Go for high-quality Dutch-processed cocoa for a smoother, darker flavor.
- Semi-sweet or bittersweet chocolate: Choose a bar with at least 60% cacao for that deep, fudgy taste. Avoid chocolate chips, as they don’t melt as smoothly.
- Vanilla extract: Just a touch enhances all the chocolatey goodness.
- Salt: A small pinch makes all the difference—it amplifies the flavor without making it salty.
Optional add-ins (once churned):
- Chopped chocolate chunks
- Swirls of peanut butter or fudge sauce
- Crushed cookies or brownie pieces
These ingredients are classic, but when handled with care and attention, they result in an ice cream that tastes anything but ordinary.
How Much Time Will You Need
Let’s be honest—homemade ice cream is a labor of love. But trust me, it’s totally worth it.
Here’s a quick breakdown of the time commitment:
- Prep Time: 25 minutes
- Chill Time (custard in fridge): 4–6 hours or overnight
- Churn Time (or freeze if no machine): 20–30 minutes
- Final Freezing (for scoopable consistency): 4–6 hours
So yes, it does take some planning ahead. But most of this time is hands-off, and the end result? Absolutely dreamy.
How to Make This Homemade Chocolate Ice Cream
Making chocolate ice cream from scratch might seem intimidating, but I promise you, if you follow these steps, you’ll be amazed at what you create.
Step – 1: Heat the milk, cream, sugar, and cocoa
In a medium saucepan, combine the heavy cream, whole milk, sugar, and cocoa powder. Whisk everything together until smooth. Place the pan over medium heat and cook, stirring frequently, until the mixture is warm and begins to steam—don’t let it boil.
Step – 2: Temper the egg yolks
In a separate bowl, whisk the egg yolks until smooth. Slowly pour about a cup of the warm milk mixture into the yolks, whisking constantly to temper them. This ensures the eggs don’t scramble when added back to the pot.
Step – 3: Cook the custard
Pour the tempered egg yolks back into the saucepan with the rest of the milk mixture. Return to medium-low heat and cook, stirring constantly with a wooden spoon, until the custard thickens slightly and coats the back of the spoon. This takes about 5–8 minutes. Don’t rush it—patience is key here.
Step – 4: Add the chocolate
Remove the pan from the heat and immediately stir in the chopped chocolate. Stir until completely melted and smooth. Then stir in the vanilla extract and salt.
Step – 5: Chill the mixture
Pour the custard through a fine-mesh strainer into a clean bowl. This removes any bits of cooked egg and ensures a silky smooth texture. Let it cool slightly, then cover with plastic wrap and refrigerate for at least 4–6 hours, or overnight if possible.
Step – 6: Churn or freeze
Once the mixture is chilled, pour it into your ice cream maker and churn according to the manufacturer’s instructions (usually 20–25 minutes). If you don’t have a machine, pour the mixture into a shallow dish and freeze. Stir every 30 minutes for the first 2–3 hours to break up ice crystals and create a creamy texture.
Step – 7: Freeze until scoopable
Transfer the churned or stirred mixture to a lidded container and freeze for 4–6 hours until firm enough to scoop.
And that’s it—you’ve just made a batch of real-deal, homemade chocolate ice cream.
Substitutions
Not everyone has access to the exact ingredients—or maybe you’re just curious about ways to tweak this recipe. Good news: there are options.
If you’re avoiding eggs, you can skip the yolks and make a “Philadelphia-style” ice cream. It won’t be as rich, but it’s still wonderfully creamy.
No whole milk? You can use half-and-half or even go with all heavy cream for an extra-indulgent version.
Want to go dairy-free? Use full-fat coconut milk in place of the cream and milk. It’ll lend a slight coconut undertone, but it pairs surprisingly well with chocolate.
And while I recommend using real chocolate, you could use chocolate chips in a pinch—just be sure to melt them fully.
There’s flexibility here, and that’s the beauty of homemade.
Best Side Dishes for Homemade Chocolate Ice Cream
While this chocolate ice cream stands beautifully on its own, pairing it with a thoughtful side can elevate your dessert experience.
- Warm Chocolate Chip Cookies
The contrast of warm cookies with cold ice cream is unbeatable. - Fresh Berries with Mint
Strawberries, raspberries, or even a few blackberries bring a refreshing brightness. - Espresso or Coffee Shots
A small pour-over of espresso over the ice cream (affogato-style) adds elegance and a grown-up twist.
Serving and Presentation Tips
There’s something so satisfying about presenting homemade chocolate ice cream in a way that makes everyone stop and say, “Wow.” Because let’s be honest—after all the love and effort you’ve poured into making it, you deserve a presentation that shows it off.
Here are a few of my favorite ways to serve it beautifully:
- Classic scoop in a waffle bowl or sugar cone:
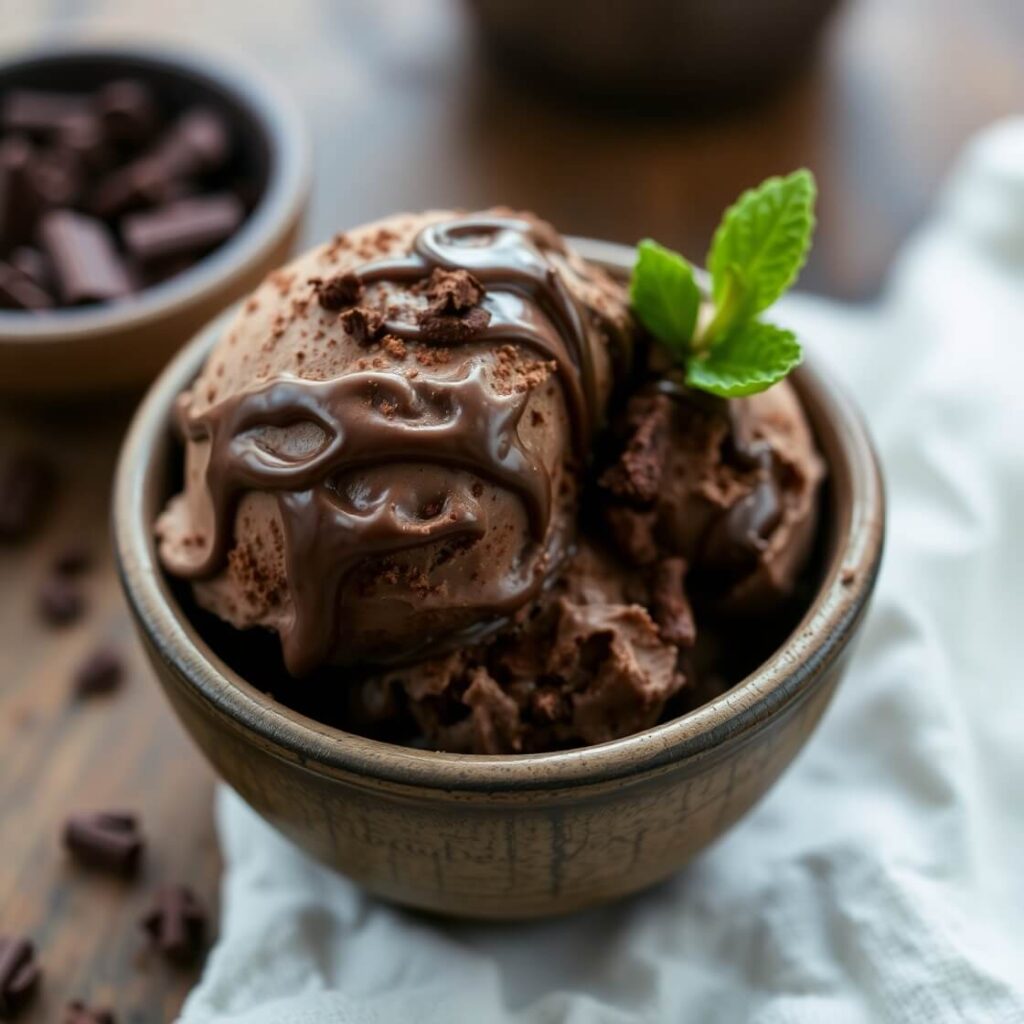
Always a winner, and you get that satisfying crunch with each bite. - Rustic elegance in a chilled dessert bowl:
A simple white or glass bowl allows the rich, dark color of the chocolate to shine. Top it with a few chocolate shavings or a sprig of mint for that extra pop. - Layered parfait-style:
Scoop chocolate ice cream into a tall glass with whipped cream, brownie bits, and caramel drizzle for a layered dessert that feels straight from a bistro menu. - On a warm dessert base:
Place a scoop over a hot brownie, lava cake, or even grilled banana halves. The cold cream melting into warm dessert? Heaven.
You can also pre-scoop the ice cream and freeze the scoops on a parchment-lined tray before serving—makes plating easier and more professional if you’re entertaining guests.
Tips and Tricks to Make This Recipe Even Better
Homemade ice cream is part technique, part magic. And over the years, I’ve learned a few little secrets that take it from “good” to “unforgettable.”
- Use the best quality chocolate you can afford.
This is a chocolate-forward recipe, so splurge on a high-quality bar (60–70% cacao). It makes all the difference in richness and depth. - Chill the custard overnight.
Yes, it takes more time, but it allows the flavors to meld and gives your ice cream better texture during churning. - Use a strainer.
Always strain your custard before chilling. It may seem like an extra step, but it ensures a silky-smooth texture by removing any tiny egg bits. - Add a touch of alcohol (optional).
A tablespoon of vodka or Kahlua can help keep the ice cream slightly softer and easier to scoop from the freezer—especially useful if you’re not using an ice cream maker. - Freeze your container ahead of time.
If you’re transferring your ice cream into a container, chilling it first prevents melting at the edges and preserves a smoother texture.
Common Mistakes to Avoid
When you’re investing time into making something from scratch, it’s worth knowing what pitfalls to sidestep.
- Overcooking the custard:
If you heat it too quickly or too much, you’ll scramble the eggs. Keep the heat low and stir constantly. Watch for the moment it coats the back of your spoon. - Skipping the chill time:
If you churn a warm custard, the ice cream will be icy and grainy. Always let it cool completely. - Using low-fat ingredients:
Now isn’t the time to cut calories. The fat content in cream and whole milk is key for that luxurious, creamy texture. - Overloading with mix-ins:
While it’s tempting to throw in everything from marshmallows to toffee bits, too many add-ins can overwhelm the base and mess with the freezing process. - Not covering the ice cream tightly during freezing:
Exposure to air leads to freezer burn. Press a layer of parchment or plastic wrap directly on the surface before sealing.
How to Store It
Homemade ice cream doesn’t have the stabilizers that commercial brands use, so a few extra storage steps make a big difference.
- Use an airtight container:
Preferably one that’s shallow and wide for even freezing and easier scooping. - Press plastic wrap or parchment paper directly onto the surface:
This prevents ice crystals from forming on top. - Keep it in the coldest part of your freezer:
Usually the back. Avoid the door, where the temperature fluctuates. - Best within 1–2 weeks:
Homemade ice cream tastes freshest in the first week, though it’ll keep for a couple of weeks if stored properly.
If it gets too hard, let it sit at room temperature for 5–10 minutes before scooping.
FAQ
Can I make this recipe without an ice cream machine?
Yes! Just freeze the custard in a shallow dish and stir every 30 minutes for the first 2–3 hours. It won’t be as airy, but it’ll still be delicious.
Can I use milk chocolate instead of dark chocolate?
You can, but it will be much sweeter and less rich. If using milk chocolate, reduce the sugar slightly to balance it.
How do I make it dairy-free?
Use full-fat canned coconut milk in place of the cream and milk. It adds a tropical note but still delivers a creamy texture.
Can I make this recipe egg-free?
Yes. Skip the egg yolks and make a Philadelphia-style chocolate ice cream. It’ll be slightly less rich but still smooth and delicious.
How do I prevent ice crystals from forming?
Make sure the custard is completely chilled before freezing, and cover the surface with plastic wrap or parchment before sealing the container.

Homemade Chocolate Ice Cream
- Total Time: 6–8 hours (with chill/freeze time)
- Yield: 1 1x
- Diet: Vegetarian
Description
If you’ve ever dreamed of making rich, velvety chocolate ice cream from scratch, this is the recipe for you. With deep cocoa flavor and a custard-style base, this homemade treat is everything you want in a scoop: creamy, chocolatey, and completely satisfying. Whether you’re serving it straight from the tub or dressing it up with warm cookies and fudge sauce, this recipe never fails to impress. The best part? It’s surprisingly simple once you know the steps. One taste and you’ll never go back to store-bought again.
Ingredients
- 2 cups heavy cream
- 1 cup whole milk
- ¾ cup granulated sugar
- ½ cup unsweetened Dutch-process cocoa powder
- 5 large egg yolks
- 4 oz semi-sweet or bittersweet chocolate, chopped
- 1 tsp vanilla extract
- Pinch of salt
Instructions
- In a saucepan, whisk together cream, milk, sugar, and cocoa powder. Warm over medium heat until steaming.
- In a separate bowl, whisk the egg yolks. Temper with some of the warm milk mixture.
- Pour the yolks back into the pot and cook over low heat, stirring constantly until thickened.
- Remove from heat. Stir in chopped chocolate until smooth. Add vanilla and salt.
- Strain into a clean bowl. Cover and chill for at least 4–6 hours.
- Churn in an ice cream maker, or freeze in a shallow dish, stirring every 30 minutes.
- Transfer to an airtight container and freeze until firm, about 4–6 hours.
Notes
- For deeper flavor, use bittersweet chocolate with at least 70% cacao.
- Add a tablespoon of vodka to improve scoopability.
- Optional mix-ins: chocolate chunks, cookie bits, or swirls of peanut butter.
- Prep Time: 25 minutes
- Cook Time: 10 minutes
- Category: Dessert
- Method: Churn or No-Churn, Stovetop
- Cuisine: American
Nutrition
- Serving Size: 1
- Calories: 320
- Sugar: 22g
- Sodium: 40mg
- Fat: 22g
- Saturated Fat: 13g
- Unsaturated Fat: 8g
- Trans Fat: 0g
- Carbohydrates: 28g
- Fiber: 2g
- Protein: 5g
- Cholesterol: 160mg