If there’s one recipe that instantly takes me back to the thrill of summer fairs and carnivals, it’s fried Oreos. You know that feeling of walking through the fairgrounds, the scent of fried dough hanging in the air, and then spotting that stall with the golden-brown, powdered-sugar-dusted cookies? That’s exactly the magic I wanted to capture when I decided to make fried Oreos at home.
They’re warm, crispy on the outside, and gooey on the inside, with that iconic Oreo cookie melting into something even more indulgent. This recipe is not just about making a treat—it’s about recreating a joyful memory in your own kitchen. Whether you’re planning a fun family night, a birthday party, or just craving a sweet indulgence, fried Oreos are always a winner.
If you’ve never tried them before, you might be surprised by how easy they are to make. With just a handful of ingredients and a few simple steps, you’ll have a batch of carnival-style fried Oreos ready to serve in under 30 minutes.
So let’s dive in—you’re about to learn how to make one of the most beloved fair treats right at home!
Why I Love This Recipe

Here’s the thing about fried Oreos: they transform an everyday cookie into something spectacular. Oreos are already a comfort snack for many of us, but when you dip them in pancake batter and fry them to golden perfection, they become next-level delicious.
The outside has this pillowy texture, almost like a doughnut, while the inside is warm, soft, and slightly gooey. The contrast between the crispy fried batter and the creamy chocolate center is what makes this recipe so addictive.
Another reason I love this recipe is how simple it is. You don’t need fancy ingredients or complicated techniques. If you have a box of Oreos and some pancake mix in your pantry, you’re already halfway there. It’s the kind of dessert you can whip up on a whim, and it’s guaranteed to impress.
And let’s not forget the nostalgia factor. Fried Oreos carry the charm of summer fairs, carnivals, and festivals. Making them at home gives you a taste of that same joy any time you want, without waiting for the fair to roll into town.
Ingredients for Fried Oreos
One of the best things about this recipe is that it doesn’t require a long list of fancy ingredients. In fact, you might already have most of them sitting in your kitchen.
Here’s what you’ll need to make the perfect batch of fried Oreos:
- Oreo cookies – The classic kind works best, but you can experiment with flavored Oreos like golden or double-stuffed.
- Pancake mix – This will be the base of your batter. Any brand will do, but I recommend a fluffy style pancake mix for a softer coating.
- Milk – Helps loosen up the batter and create that perfect dipping consistency.
- Egg – Adds richness and helps the batter cling to the cookies.
- Vegetable oil – For frying. Neutral oils like canola or sunflower oil also work well.
- Powdered sugar – To dust over the fried Oreos once they’re out of the oil.
That’s it—simple, pantry-friendly, and budget-friendly ingredients. You don’t need anything more than this to achieve that irresistible carnival-style treat.
The key to success is the batter. You want it to be thick enough to coat the Oreo, but not so thick that it feels heavy. The milk and egg balance it out beautifully, making sure each cookie is wrapped in a light, golden crust when fried.
How Much Time Will You Need
Fried Oreos are one of those magical desserts that don’t take all day. From start to finish, you’ll only need about 20–25 minutes.
- Prep time: 10 minutes (mixing batter and heating oil)
- Cook time: 10–12 minutes (frying in batches)
- Total time: About 20–25 minutes
This makes them an ideal last-minute dessert. If you’ve got unexpected guests or you just want to whip up something fun after dinner, fried Oreos are a quick solution that feels special.
How to Make Fried Oreos

Making fried Oreos is surprisingly easy once you break it down step by step.
Step – 1: Prepare the batter
In a medium mixing bowl, combine your pancake mix, egg, and milk. Whisk until smooth. The batter should be thick but pourable—similar to cake batter. If it feels too thick, add a splash more milk.
Step – 2: Heat the oil
In a deep skillet or saucepan, pour in enough vegetable oil to submerge the Oreos completely—about 2 inches deep. Heat the oil over medium heat until it reaches 350°F (175°C). A kitchen thermometer works best here, but if you don’t have one, test by dropping a small bit of batter into the oil. If it sizzles and floats, it’s ready.
Step – 3: Coat the Oreos
Dip each Oreo cookie into the batter, making sure it’s fully coated. Use a fork or tongs to gently lift the cookie, letting excess batter drip off.
Step – 4: Fry the cookies
Carefully place the battered Oreos into the hot oil, a few at a time. Don’t overcrowd the pan—this helps them cook evenly. Fry for about 2 minutes per side, or until golden brown.
Step – 5: Drain the Oreos
Once fried, remove the Oreos with a slotted spoon and transfer them to a paper towel-lined plate. This will soak up any excess oil.
Step – 6: Dust and serve
While still warm, dust the fried Oreos generously with powdered sugar. Serve immediately for the best flavor and texture.
Substitutions
One of the fun parts about fried Oreos is how versatile they can be. You can easily make substitutions depending on your taste or dietary needs.
- Different cookies – If you don’t have Oreos, try using other sandwich cookies like Nutter Butters or even chocolate chip cookies.
- Batter variations – Instead of pancake mix, you can use waffle mix or even make a simple flour-based batter from scratch.
- Dairy-free option – Swap milk for almond milk, oat milk, or coconut milk. The flavor may vary slightly but still tastes delicious.
- Oil choice – Any neutral-flavored oil with a high smoke point works well. Avocado oil is a healthier alternative.
- Toppings – Instead of powdered sugar, drizzle with chocolate syrup, caramel sauce, or a scoop of ice cream on the side.
These little tweaks can make fried Oreos your own signature dessert.
Best Side Dishes for Fried Oreos
Since fried Oreos are quite sweet and indulgent, pairing them with the right sides makes the experience even better. Here are three ideas:
- Vanilla ice cream – The cold, creamy texture is the perfect contrast to the warm, crispy Oreos.
- Fresh berries – Strawberries, raspberries, or blueberries help balance the richness with a fresh, tangy bite.
- Whipped cream – Light and fluffy, it’s a classic topping that makes every bite feel extra special.
Serving and Presentation Tips
The beauty of fried Oreos lies in the fact that they’re already such a show-stopping treat on their own. But with just a little extra effort, you can make them look as amazing as they taste.
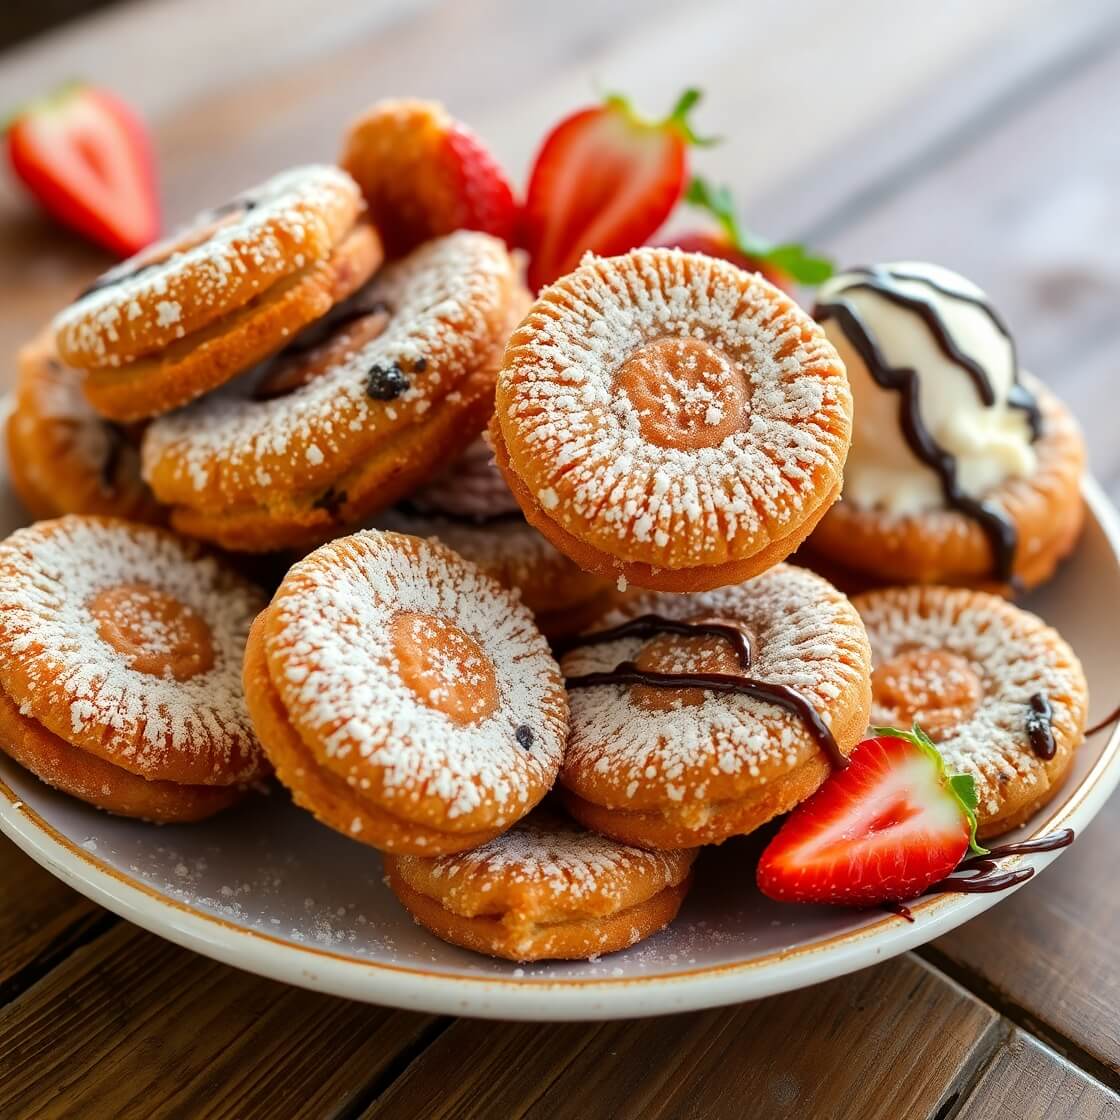
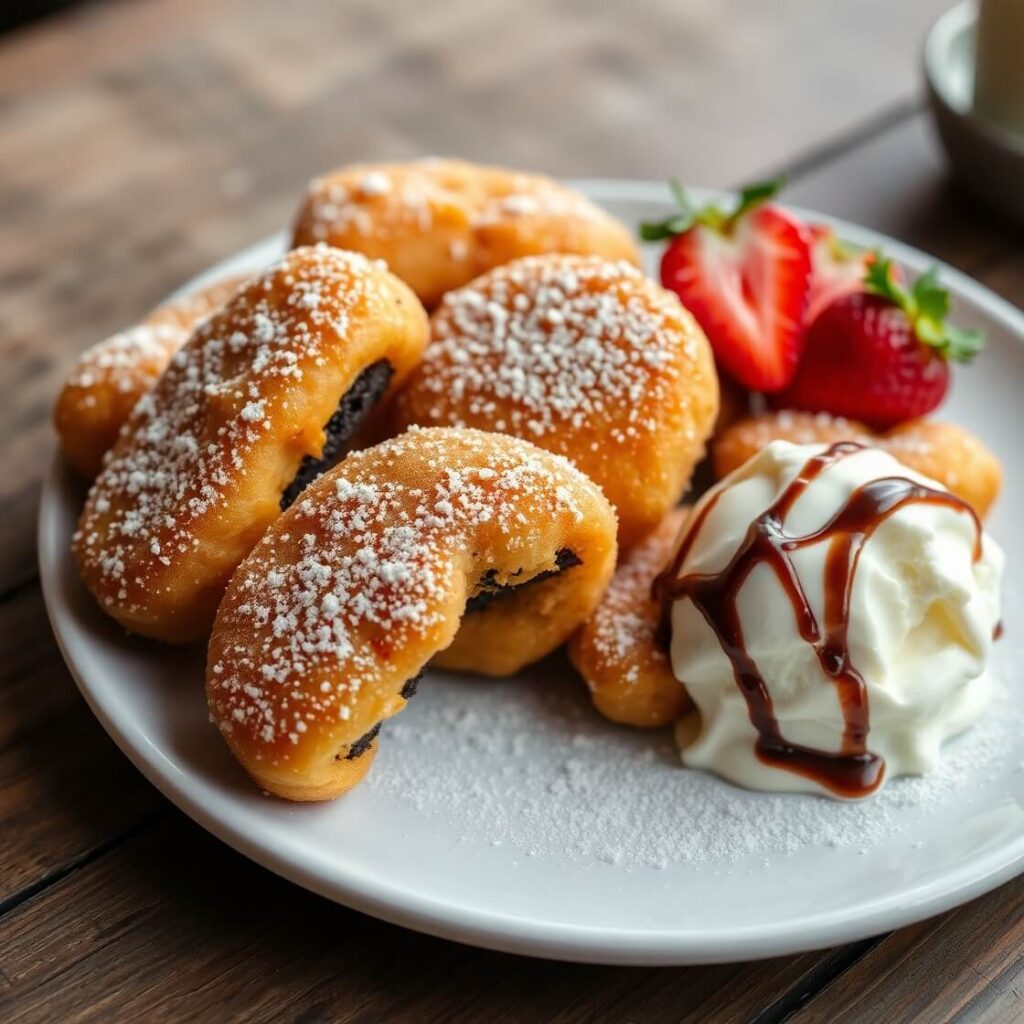
I love to serve them stacked on a small dessert plate, dusted generously with powdered sugar so they look like little pillows of sweetness. For a more dramatic presentation, I sometimes drizzle chocolate or caramel sauce across the plate, then place the Oreos on top. If I’m serving them at a party, I’ll pile them high on a tiered dessert stand—it instantly gives that “carnival chic” vibe.
You can also turn them into a plated dessert by pairing them with a scoop of vanilla or cookies-and-cream ice cream. Add a few fresh berries or even a sprig of mint for color, and suddenly you’ve taken a fun fair treat and elevated it into something restaurant-worthy.
Tips and Tricks to Make This Recipe Better
One thing I’ve learned over time is that the difference between “good” fried Oreos and “amazing” fried Oreos comes down to technique. Here are my go-to tricks:
- Keep the oil hot but steady. If the oil is too hot, the outside will brown too fast while the inside stays undercooked. Too cool, and the Oreos will absorb too much oil and turn greasy. Aim for 350°F and keep checking.
- Work in small batches. Frying too many Oreos at once drops the oil temperature, which makes the batter soggy instead of crispy.
- Don’t skip the paper towel step. Letting them rest on a paper towel after frying keeps them light instead of oily.
- Serve immediately. Fried Oreos are best eaten warm, right after dusting with powdered sugar. They lose their crispness quickly if left sitting.
- Experiment with flavors. Try golden Oreos, birthday cake Oreos, or even peppermint Oreos for a festive twist.
These little adjustments can turn your fried Oreos from a quick snack into something that tastes like it came straight out of a fairground booth.
Common Mistakes to Avoid
Even though fried Oreos are simple to make, there are a few common mistakes that can throw things off:
- Overcrowding the pan. This is the most frequent mistake. If you add too many Oreos at once, the oil temperature drops and they turn greasy instead of golden.
- Batter that’s too thin. If your batter is runny, it won’t cling to the Oreo. You’ll end up with bare spots instead of that beautiful golden coating.
- Skipping the test cookie. I always fry one Oreo first to test the oil temperature and batter thickness. That way, I can adjust before committing to a whole batch.
- Not drying the cookies. If your Oreos are damp (sometimes they pick up moisture if left open), the batter won’t stick well. A quick pat with a paper towel helps.
- Waiting too long to serve. These really shine when they’re hot and fresh. They’ll still taste good after 20 minutes, but they won’t have that same irresistible texture.
Avoiding these pitfalls ensures your fried Oreos will come out perfect every single time.
How to Store It
Fried Oreos are one of those treats that are meant to be enjoyed right away. They don’t keep their crispness for long. However, if you do have leftovers, here’s how you can store them:
- Room temperature: Place cooled fried Oreos in an airtight container lined with a paper towel. They’ll keep for about 1 day, but the texture will soften.
- Refrigerator: Not ideal, since the cold air tends to make them rubbery. If you must refrigerate, warm them in the oven before eating.
- Reheating: Skip the microwave—it makes them soggy. Instead, reheat in the oven or an air fryer at 350°F for 5–7 minutes to revive some of the crispiness.
If you want to prep ahead, you can make the batter and store it in the fridge for up to 24 hours. Then, when you’re ready, just dip fresh Oreos and fry them on the spot.
FAQ
Can I make fried Oreos without pancake mix?
Yes! You can make a quick batter using flour, sugar, baking powder, milk, and an egg. It won’t be exactly the same, but it works perfectly in a pinch.
Do I need a deep fryer for this recipe?
Not at all. A heavy-bottomed pan or deep skillet with 2 inches of oil is all you need.
Can I make them ahead of time?
Fried Oreos are best served fresh. If you make them ahead, they’ll lose their crisp texture, but you can reheat them in the oven.
Can I bake Oreos instead of frying?
Yes, you can bake them in a well-greased pan at 375°F for 8–10 minutes. They won’t have the exact same fried flavor but are still tasty.
What toppings go well with fried Oreos?
Powdered sugar is classic, but you can also try chocolate sauce, caramel drizzle, sprinkles, or a scoop of ice cream.

Fried Oreos Recipe
- Total Time: 20–25 minutes
- Yield: 20 1x
- Diet: Vegetarian
Description
Fried Oreos are the ultimate carnival-inspired treat that you can easily make at home. Imagine a warm Oreo cookie, wrapped in fluffy golden batter, lightly crisp on the outside and gooey on the inside. Dusted with powdered sugar, they taste like pure indulgence and bring a touch of nostalgia with every bite. What makes them even better is how quick and simple they are to make—you don’t need a deep fryer or special equipment, just a few pantry staples. Perfect for parties, family nights, or a fun dessert experiment, these fried Oreos are a guaranteed crowd-pleaser.
Ingredients
- 20 Oreo cookies (classic or flavored)
- 1 cup pancake mix
- 1 egg
- 3/4 cup milk (adjust as needed)
- Vegetable oil, for frying
- Powdered sugar, for dusting
Instructions
- Heat oil in a deep skillet or pan to 350°F.
- In a bowl, whisk together pancake mix, egg, and milk until smooth. Batter should be thick but pourable.
- Dip each Oreo into the batter, coating fully.
- Fry Oreos in small batches, 2 minutes per side, until golden brown.
- Remove with a slotted spoon and place on a paper towel-lined plate.
- Dust generously with powdered sugar and serve immediately.
Notes
- Test one Oreo first to ensure oil temperature and batter consistency are right.
- For a twist, try golden Oreos, mint Oreos, or birthday cake Oreos.
- Always serve warm for the best texture.
- Prep Time: 10 minutes
- Cook Time: 10–12 minutes
- Category: Dessert
- Method: Deep Frying
- Cuisine: American
Nutrition
- Serving Size: 20
- Calories: 210
- Sugar: 14g
- Sodium: 160mg
- Fat: 10g
- Saturated Fat: 2g
- Unsaturated Fat: 7g
- Trans Fat: 0g
- Carbohydrates: 28g
- Fiber: 1g
- Protein: 3g
- Cholesterol: 25mg