I still remember the first time I made this chocolate pie. It was one of those quiet Sunday afternoons when the house felt unusually still, and I had this sudden craving for something rich, silky, and unapologetically chocolatey. I didn’t want anything fancy or overly complicated — just a comforting dessert that felt like something my mother would’ve made when I was young. So I pulled out a simple pie shell, a handful of pantry staples, and let that familiar scent of warm cocoa fill the kitchen.
Over the years, this chocolate pie has become one of those “go-to” recipes I rely on when I need a dependable, crowd-pleasing dessert. It’s the kind of pie that doesn’t pretend to be something it’s not — there’s no need for elaborate toppings or complicated equipment. It’s classic, cozy, and full of that nostalgic chocolate pudding flavor everyone secretly loves. And the best part? It always gets the same reaction at the first bite: that soft pause, the smile, the inevitable “This is really good… did you make it yourself?”
If you’ve been looking for a chocolate pie that’s simple, comforting, and reliably delicious, this is the one I’d hand to you over my own kitchen counter.
Take your time. Enjoy the process. Your kitchen is about to smell wonderful.
Why I Love This Recipe

There are many chocolate pies out there, but this one is special because it strikes that perfect balance between simplicity and indulgence. It’s made with everyday ingredients, yet it tastes like something you’d find in a cozy diner where the pies sit under glass domes and the slices are always just a little too big.
What I love most is how forgiving it is. The filling is a stovetop custard made with cocoa powder, sugar, milk, and eggs — nothing fancy — but the result is this thick, glossy chocolate layer that sets beautifully once chilled. It’s not overly sweet, either, which means the chocolate flavor actually shines instead of getting lost behind sugar.
This recipe also has that nostalgic quality I adore. It reminds me of old-fashioned cookbook desserts where comfort mattered more than presentation. It’s the kind of pie you bring to potlucks, serve at family dinners, or slice up on an ordinary Tuesday just because you want something that feels homemade.
And honestly? Chocolate pie is the sort of dessert that never fails to spark joy. Kids love it, adults happily go back for seconds, and even the “I don’t really like sweets” people somehow find themselves scraping the last bits off their plates.
If you want a dessert that feels familiar, satisfying, and beautifully simple, this chocolate pie never disappoints.
Ingredients for Chocolate Pie
When I make this pie, I always smile at how basic the ingredient list is. There’s nothing exotic or complicated here — just simple staples that already live in most kitchens. That’s one reason this recipe is so approachable. It doesn’t ask you to chase special items or reinvent your pantry.
You’ll need a pie crust — you can use a store-bought one if you’re short on time, or you can roll out your favorite homemade crust. Blind-baking it is important because the filling is cooked separately on the stovetop.
For the filling, cocoa powder provides the deep chocolate flavor, and I find that using a good-quality unsweetened cocoa makes a noticeable difference. Sugar balances the bitterness, while eggs give the custard that thick, smooth body that feels like soft chocolate silk on the tongue. A little cornstarch helps it set properly, and milk brings everything together into a creamy mixture. I like adding a splash of vanilla at the end too — it rounds out the chocolate and adds warmth.
Butter is one of those quiet heroes in this recipe. Stirring in a knob of butter at the end gives the filling that glossy sheen and velvety finish, the kind that makes each slice look like it belongs in a bakery display case.
Nothing about these ingredients is intimidating — and that’s exactly what makes this recipe charming.
How Much Time Will You Need
You’ll be glad to know that this chocolate pie doesn’t require hours of effort. The active prep is surprisingly quick.
Blind-baking the crust will take around 12–15 minutes, depending on your oven. The stovetop filling takes another 10–12 minutes as it thickens into that lovely pudding-like mixture. The only part that asks for patience is the chilling. To properly set, the pie needs at least four hours in the refrigerator, though I personally prefer making it the night before.
From start to finish, including the chilling time, you’re looking at roughly 4½ to 5 hours. But hands-on? Only about 20–25 minutes.
It’s the perfect make-ahead dessert, especially when you want something that’s low effort but high reward.
How to Make This Chocolate Pie
Step – 1: Prepare and blind-bake the crust
Start by preheating your oven and fitting your pie shell into a 9-inch pan. Lightly prick the bottom with a fork to prevent puffing, then line it with parchment and add pie weights or dry beans. Bake until the edges begin to turn golden, then remove the weights and bake a few minutes more so it crisps up nicely. Set it aside to cool.
Step – 2: Combine the dry ingredients
In a medium saucepan, whisk together the sugar, cocoa powder, cornstarch, and a pinch of salt. Make sure there are no lumps — this helps the filling thicken evenly and keeps it velvety smooth.
Step – 3: Add the milk and eggs
Slowly pour in the milk while whisking, creating a dark, glossy mixture. Add the beaten eggs and whisk until everything is fully combined. The mixture will look thin at this stage, but don’t worry — it thickens beautifully on the stove.
Step – 4: Cook the filling
Place the saucepan over medium heat and whisk constantly. As the mixture heats, it will begin to thicken. This usually takes about 8–10 minutes. You’ll know it’s ready when the filling coats the back of a spoon and leaves a clean line when you drag your finger across.
Step – 5: Add butter and vanilla
Remove the pan from heat and whisk in the butter and vanilla. The butter adds shine and richness, while the vanilla brings warmth to the chocolate flavor.
Step – 6: Fill the crust
Pour the warm filling into the cooled pie shell. Use a spatula to smooth the top so it sets evenly.
Step – 7: Chill
Transfer the pie to the refrigerator and let it chill for at least 4 hours. This step is crucial because it allows the filling to firm up into that silky, sliceable texture.
Step – 8: Serve
Once fully chilled, slice with a sharp knife, wiping between cuts for clean edges. Serve as is or topped with softly whipped cream.
Substitutions
Sometimes you don’t have every ingredient on hand — or maybe you just want to customize the flavor. This recipe is flexible, and there are several swaps that work surprisingly well.
If you prefer a richer chocolate flavor, you can replace part of the cocoa powder with melted dark chocolate. It gives the pie a deeper, more luxurious taste.
Milk can be switched to evaporated milk for a silkier texture, or to a full-fat non-dairy option if you want a lactose-free version. Almond milk works well because it thickens nicely when combined with cornstarch.
For a different crust, chocolate cookie crusts or graham cracker crusts both complement the filling beautifully and add a bit of texture contrast.
Even the sugar can be adjusted. If you want a slightly less sweet chocolate pie, reduce the sugar by a couple of tablespoons — it won’t affect the texture. Or for a caramel-like flavor, brown sugar can be swapped in for part of the granulated sugar, giving the filling a warmer, deeper taste.
These little adjustments allow you to tailor the recipe without compromising that smooth, classic chocolate pie feel.
Best Side Dish of Chocolate Pie
Chocolate pie is wonderful on its own, but pairing it with something complementary can elevate the whole experience. Here are three options that make each bite even more enjoyable:
Fresh mixed berries — Their tartness balances the creamy chocolate beautifully.
Vanilla bean ice cream — Perfect if you want extra indulgence and a hot-and-cold contrast.
Salted caramel drizzle — A little sweetness with a hint of salt adds a delightful twist.
Serving and Presentation Tips
Serving chocolate pie is about creating that little moment of anticipation — the kind that makes dessert feel special. I like to chill the pie until it’s fully set, then slice it with a warm, clean knife to get perfectly smooth edges.
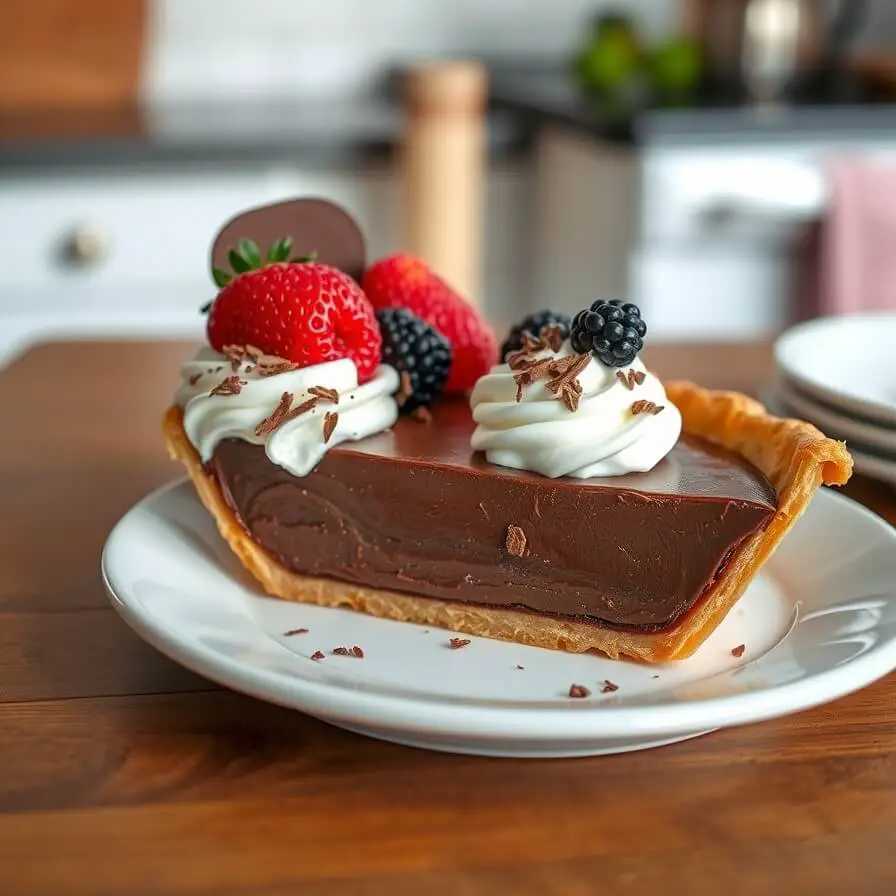
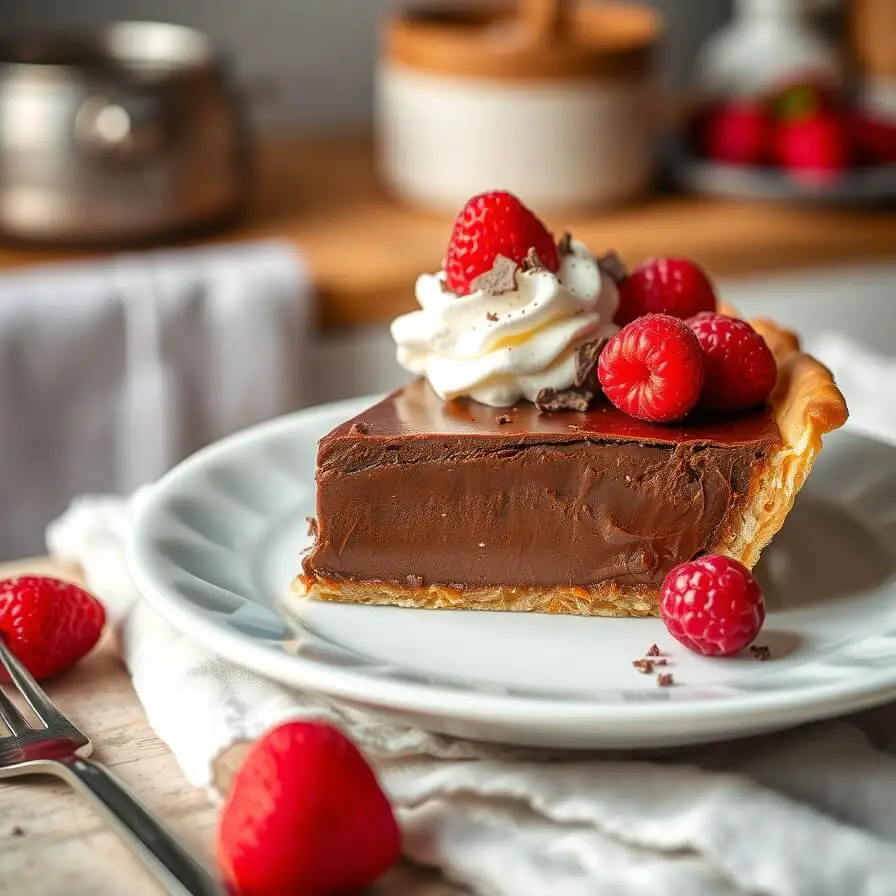
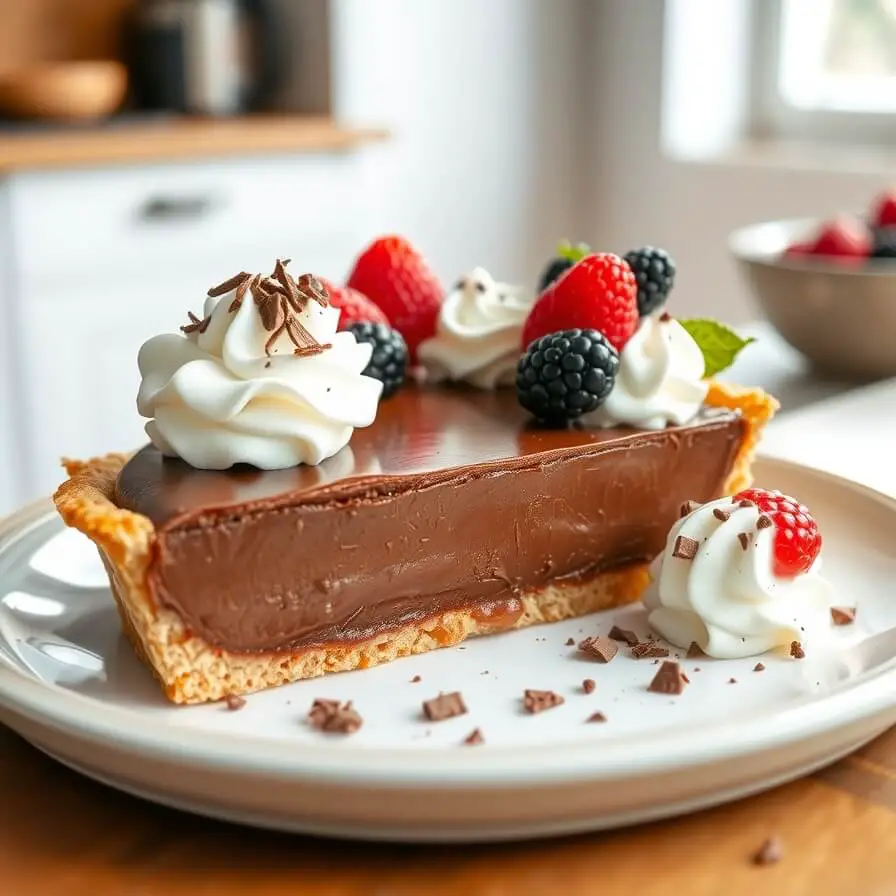
For presentation, you can keep it simple or dress it up. A dollop of lightly sweetened whipped cream on each slice instantly adds elegance. If you want a touch of drama, a few chocolate shavings or cocoa dusting on top creates a café-style look. You can even arrange fresh berries along the edge of the pie for a pop of color that contrasts with the deep chocolate filling.
When plating, try to serve each slice on a small dessert plate with a drizzle of chocolate sauce or caramel around it. Even a single mint leaf can make a slice look thoughtfully finished. I find that these small touches transform an everyday dessert into something that feels like an event.
Tips and Tricks to Make This Recipe Even Better
Here are some of my favorite ways to elevate this chocolate pie. First, using high-quality cocoa powder makes a noticeable difference — it intensifies the chocolate flavor without adding extra sugar.
When cooking the filling, constant whisking is key. It prevents lumps and ensures that the custard sets smoothly. Be patient; rushing this part can result in uneven texture or small curdled bits.
Chilling the pie overnight is my secret. It allows the chocolate filling to firm up perfectly and makes slicing much easier. If you want extra shine on top, brushing a thin layer of softened chocolate or ganache before serving adds a professional finish.
Lastly, consider infusing your milk with a cinnamon stick or a splash of espresso while heating — it deepens the flavor and adds subtle complexity without overwhelming the chocolate.
Common Mistakes to Avoid
Even though this recipe is forgiving, there are a few pitfalls to watch for.
One common mistake is undercooking the filling. If it hasn’t thickened properly, the pie won’t set well and will be too soft in the center. Always cook until it coats the back of a spoon.
Overcooking the eggs is another issue. High heat or slow stirring can cause the custard to curdle, so keep the heat moderate and whisk constantly.
Rushing the chilling process is also a trap. Chocolate filling needs time to firm; cutting it too soon can make a mess on the plate. And don’t forget the crust — blind-baking ensures it stays crisp under the creamy filling.
How to Store It
Proper storage makes a huge difference. Chocolate pie keeps best in the refrigerator, tightly covered with plastic wrap or stored in a pie container to prevent odors from other foods from being absorbed.
It will stay fresh for 3–4 days. If you want to prep ahead, you can make the pie completely, chill it, and cover it overnight. Slice just before serving for the cleanest presentation.
Avoid freezing the filled pie, as the texture can change and become slightly grainy once thawed. The crust might also lose its crispness. Instead, bake and chill freshly for the best experience.
FAQ About Chocolate Pie
Can I make this pie ahead of time?
Absolutely. Make it the night before and chill overnight. The flavors deepen, and the filling sets perfectly.
Can I use a store-bought crust?
Yes! Store-bought pie shells save time and work beautifully. Just make sure to blind-bake it first for a crisp bottom.
Can I make this pie dairy-free?
Yes. Swap the milk with almond, oat, or coconut milk and replace butter with a non-dairy alternative. The texture will still be creamy.
Can I add toppings?
Certainly. Whipped cream, chocolate curls, caramel drizzle, or berries all complement the chocolate filling nicely.
Why isn’t my pie setting?
Most often it’s undercooked filling or cutting before chilling fully. Make sure to cook until thickened and refrigerate for at least 4 hours.

Chocolate Pie Recipe
- Total Time: 4 hours 30 minutes (including chilling)
- Yield: 8 1x
- Diet: Vegetarian
Description
Chocolate Pie – A timeless classic dessert with a creamy chocolate filling and buttery crust. Smooth, velvety, and rich without being overly sweet, this pie is perfect for family gatherings, potlucks, or a simple treat at home. The combination of chocolate custard, crisp crust, and optional toppings creates a dessert that’s comforting, nostalgic, and irresistible. With just a handful of pantry staples, you can make a pie that looks like it belongs in a bakery showcase. Simple, elegant, and utterly delicious — this chocolate pie never fails to impress.
Ingredients
- 1 9-inch pie crust, blind-baked
- 3/4 cup sugar
- 1/3 cup unsweetened cocoa powder
- 3 tablespoons cornstarch
- Pinch of salt
- 2 cups milk
- 3 large eggs, beaten
- 2 tablespoons butter
- 1 teaspoon vanilla extract
Instructions
- Preheat oven and blind-bake pie crust until golden. Cool.
- Whisk together sugar, cocoa, cornstarch, and salt in a saucepan.
- Gradually add milk while whisking, then add eggs until combined.
- Cook over medium heat, whisking constantly, until thickened.
- Remove from heat, stir in butter and vanilla.
- Pour filling into cooled crust and smooth top.
- Chill at least 4 hours before serving.
- Slice and serve as is or with whipped cream and optional toppings.
Notes
- Use high-quality cocoa for the best flavor.
- Chill overnight for easy slicing.
- Try variations with espresso, cinnamon, or different crusts.
- Prep Time: 15 minutes
- Cook Time: 15 minutes
- Category: Dessert
- Method: Stovetop custard + baking
- Cuisine: American
Nutrition
- Serving Size: 8
- Calories: 320
- Sugar: 28g
- Sodium: 150mg
- Fat: 15g
- Saturated Fat: 9g
- Unsaturated Fat: 5g
- Trans Fat: 0g
- Carbohydrates: 41g
- Fiber: 3g
- Protein: 6g
- Cholesterol: 75mg