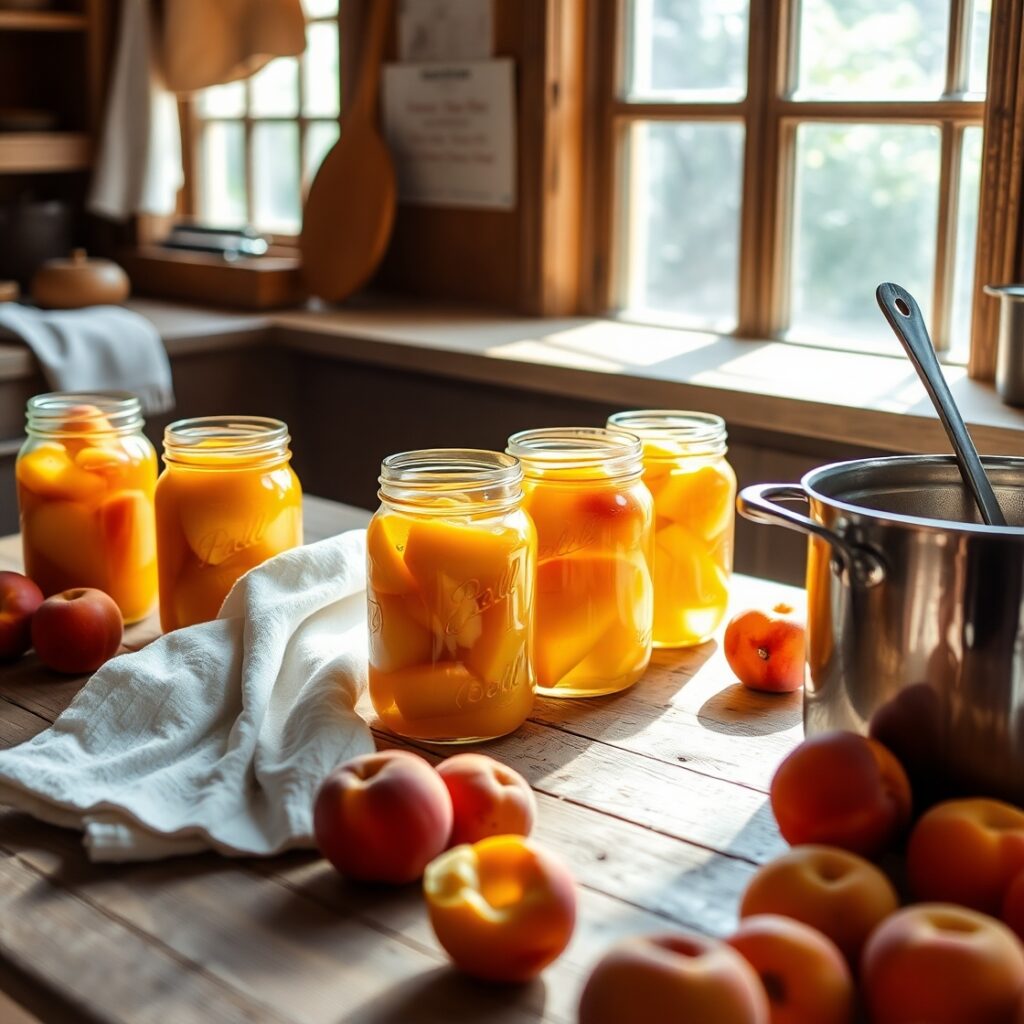
There’s something nostalgic and heartwarming about the art of canning peaches. Maybe it reminds you of long summer days, sticky fingers from eating ripe fruit straight from the orchard, or your grandmother’s kitchen filled with the sweet aroma of peaches simmering on the stove. For many, it’s more than just a preservation method—it’s a tradition, a ritual of capturing summer in a jar.
I first made this recipe out of sheer curiosity. I’d seen friends talk about home canning as a way to preserve the harvest, and I wanted in. But once I did it, I was hooked. There’s nothing like cracking open a jar of your own peaches in the middle of winter and tasting sunshine. Whether you’re prepping for winter or just want to reduce food waste, learning how to can peaches can be incredibly rewarding—and delicious.
This guide will walk you through every single step with clear, approachable instructions. Whether you’re brand new to canning or just need a reliable go-to recipe, you’ll find what you need right here. Let’s preserve some peaches, shall we?
Why I Love This Recipe

There’s something magical about knowing you preserved a little piece of summer with your own hands. I love this canning peaches recipe because it’s both practical and beautiful. The process is meditative—peeling, slicing, and packing fruit into gleaming jars—and the results are stunning: glistening golden peaches floating in syrup, ready to be enjoyed all year long.
Home-canned peaches beat store-bought every time. They’re softer, sweeter, and infinitely more flavorful because you control the ingredients and choose the ripest fruit. Plus, you can customize the syrup (light, medium, or heavy), experiment with spices like cinnamon or vanilla, or even skip sugar altogether if that’s your preference.
And let’s not forget the joy of gifting a jar of homemade canned peaches. It’s thoughtful, heartfelt, and tastes like sunshine.
Whether you’re building a pantry, planning for winter, or just want to try something new, canning peaches is an incredibly satisfying kitchen project.
Ingredients for Canning Peaches
Before you dive into the canning process, let’s talk ingredients. This recipe doesn’t require a long list, but quality is everything. Since peaches are the star of the show, choose the best you can find—ripe but firm, fragrant, and free from blemishes.
Here’s what you’ll need:
Fresh Peaches:
Freestone varieties are ideal because the pits come out easily. Yellow peaches hold up best in canning, with great texture and flavor. You’ll need about 17-20 medium peaches (approximately 10 lbs) to fill 7 quart-sized jars or 5-6 lbs for 7 pint-sized jars.
Lemon Juice or Citric Acid:
This keeps your peaches from turning brown and ensures a safe pH level for preservation. You can use bottled lemon juice or citric acid powder.
Water and Sugar (for Syrup):
You can choose between light, medium, or heavy syrup, or even use juice or water for a no-sugar version. A typical light syrup uses 2 1/4 cups sugar to 5 1/4 cups water.
Optional Flavorings:
Think cinnamon sticks, vanilla beans, or star anise if you want to infuse your peaches with warm, aromatic notes.
Canning Essentials:
- Water bath canner
- Canning jars (pint or quart) with lids and bands
- Jar lifter
- Large pot
- Paring knife
- Slotted spoon
- Ladle
- Bubble remover and headspace tool
Prep these before you begin, and set yourself up for a stress-free experience.
How Much Time Will You Need
Canning peaches does take a little time, especially if you’re doing it solo. But it’s completely doable in an afternoon. Here’s a rough breakdown:
- Prep Time: 45 minutes (washing, peeling, slicing peaches, preparing syrup)
- Processing Time: 20–30 minutes depending on jar size and altitude
- Cooling and Sealing Time: 12–24 hours before checking seals and storing
In total, budget around 2.5 to 3 hours from start to finish. If you prep your tools and workspace beforehand, it’s smooth sailing.
How to Make This Canning Peaches
Here’s your detailed, step-by-step guide to successfully canning peaches. Take your time, and follow each step carefully.
Step – 1: Sanitize Your Jars and Equipment
Wash jars, lids, and bands in hot, soapy water. Place jars in a water bath canner or large pot filled with hot (not boiling) water to keep warm. Keep lids and bands in a small pan of warm water—not boiling.
Step – 2: Prepare the Syrup
Choose your syrup:
- Light: 2 1/4 cups sugar to 5 1/4 cups water
- Medium: 3 1/4 cups sugar to 5 cups water
- Heavy: 4 1/4 cups sugar to 5 cups water
Combine sugar and water in a saucepan. Bring to a low simmer, stirring until sugar is dissolved. Keep it warm.
Step – 3: Blanch and Peel the Peaches
Bring a large pot of water to a boil. Score a small “X” on the bottom of each peach. Carefully lower peaches into the boiling water for 30–60 seconds.
Remove with a slotted spoon and immediately transfer to an ice bath. Skins should slip off easily. Peel and slice peaches in halves or quarters, removing the pits.
Step – 4: Add Acid to Prevent Browning
To prevent browning, place peeled peach slices in a bowl with cold water and 2 tablespoons of bottled lemon juice per quart of water, or use 1 teaspoon of citric acid per gallon of water.
Step – 5: Pack the Peaches into Jars
Using a slotted spoon, fill hot jars with peach slices, leaving 1/2 inch of headspace. Pour hot syrup over the peaches, again maintaining that 1/2-inch headspace. Gently remove air bubbles using a plastic utensil. Wipe rims clean with a damp cloth.
Step – 6: Seal and Process
Place lids on jars and screw on the bands just until fingertip-tight.
Place jars into the water bath canner, ensuring they’re fully submerged with at least 1–2 inches of water above the lids.
Processing times:
- Pints: 20 minutes
- Quarts: 25 minutes
(Adjust for altitude as needed.)
Start timing once water returns to a full boil.
Step – 7: Cool and Store
After processing, turn off the heat and let jars sit in the water for 5 minutes. Then remove using a jar lifter and place on a towel-lined counter.
Let jars cool undisturbed for 12–24 hours. Check seals by pressing the center of each lid—if it doesn’t pop back, it’s sealed. Label and store in a cool, dark place.
Substitutions
Sometimes you need to adjust based on what’s available. Here are a few smart swaps:
Sugar-Free Option:
Use white grape juice, apple juice, or simply water to can peaches without refined sugar. This is great for diabetics or those watching their sugar intake.
Honey or Maple Syrup:
For a natural twist, replace white sugar with honey or maple syrup in your syrup base. It adds a lovely depth of flavor.
Cinnamon or Vanilla:
Place a cinnamon stick or half a vanilla bean into each jar before sealing for a delicious infusion.
Freestone vs Clingstone:
Freestone peaches are easier to work with because the pit pops right out. If you only have clingstone, expect a bit more effort—but the flavor is still excellent.
Best Side Dish of Canning Peaches
Canned peaches are versatile and can elevate many meals or desserts. Here are three pairings to make the most of them:
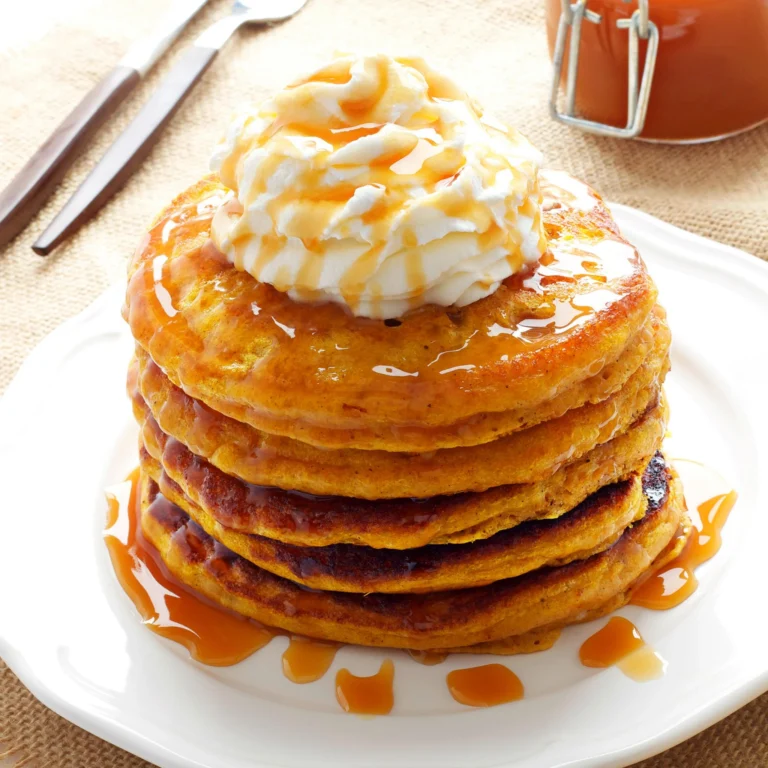
Buttermilk Pancakes:
Top warm pancakes with chilled canned peaches and whipped cream for a Sunday brunch delight.
Vanilla Bean Ice Cream:
A scoop of ice cream with a spoonful of syrupy peaches is the easiest, most indulgent dessert.
Grilled Pork Chops:
Serve canned peaches warmed with grilled pork chops. The sweet-savory combo is next-level comfort food.
Serving and Presentation Tips
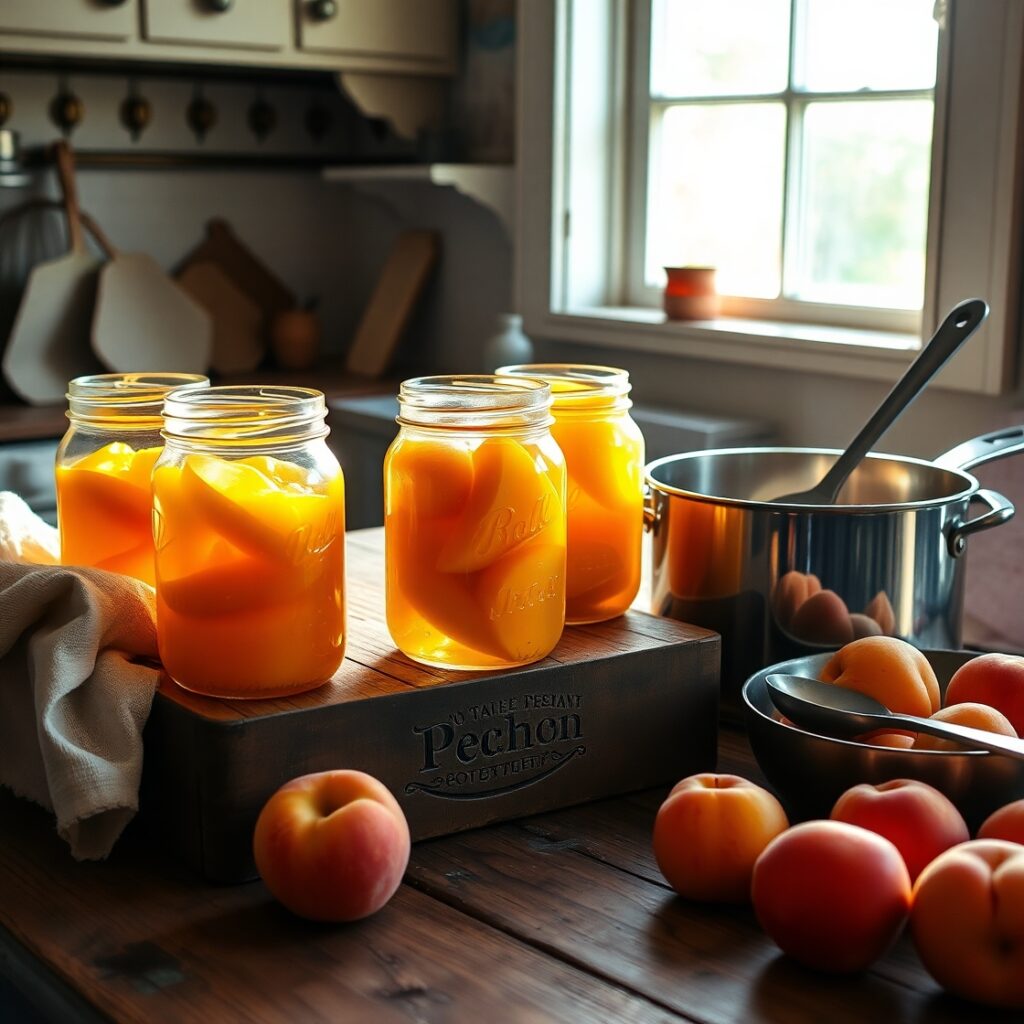
There’s a special kind of satisfaction in pulling out a jar of your own home-canned peaches—whether it’s for Sunday brunch, a last-minute dessert, or a gift basket for a friend. When it comes to serving and presentation, simple touches go a long way in making your peaches look as good as they taste.
Serve them chilled in a glass bowl for a timeless, elegant presentation. The golden color of the peaches shines beautifully against clear glass. If you’re planning a party or holiday table, you can spoon them into mason jars and tie a bit of twine or ribbon around the top for a rustic-chic touch.
For dessert, place warm canned peaches over shortcake or pound cake, then top with freshly whipped cream. A small mint sprig or light sprinkle of cinnamon makes the dish pop visually and flavorfully. If serving for breakfast, layer them in parfait glasses with granola and Greek yogurt for a show-stopping, healthy treat.
Canned peaches are also excellent on cheese boards—especially alongside brie or sharp cheddar. Add a drizzle of the peach syrup over soft cheese and serve with crusty bread or crackers for a sweet-savory combo your guests will remember.
Tips and Tricks to Make This Recipe Better
Perfecting the art of canning peaches is about more than just following directions—it’s about understanding the little things that make a big difference.
Choose the right peaches. Freestone peaches make the process much easier, especially when it comes to peeling and pitting. Look for ripe but firm fruit without bruises.
Use bottled lemon juice, not fresh. While fresh lemon juice seems appealing, its acidity can vary. Bottled lemon juice ensures a consistent and safe pH for preservation.
Preheat your jars and lids. Keeping everything warm prevents jars from breaking when hot syrup is added and helps with proper sealing.
Peel the peaches while they’re still warm. After blanching and shocking in ice water, start peeling right away. The skins come off much easier this way.
Pack jars tightly but gently. Air gaps between slices are normal, but try to fit in as much fruit as possible without crushing them. This helps preserve flavor and limits syrup use.
Label your jars. Always include the date and contents. Peaches are best used within 12–18 months for optimal flavor and texture.
Common Mistakes to Avoid
Canning is a precise process, and while it’s rewarding, there are a few common pitfalls to steer clear of.
Using overripe or underripe peaches. Overripe peaches can become mushy, while underripe ones lack flavor. Aim for peaches that yield slightly to gentle pressure.
Not using enough acid. Skipping the lemon juice or citric acid can result in browning or unsafe pH levels. Don’t skimp—this step is essential.
Incorrect headspace. Leaving too much or too little space in the jar can lead to sealing failures. Stick to the recommended 1/2 inch headspace.
Not removing air bubbles. Trapped air can affect sealing and storage life. Slide a clean utensil (like a bubble remover or butter knife) around the inside of the jar to release any bubbles.
Over-tightening lids. Bands should be fingertip-tight, not cranked down. Overtightening can prevent proper venting and lead to failed seals.
How to Store It
Proper storage is key to preserving the flavor, color, and safety of your canned peaches. After jars have cooled and seals are confirmed, remove the metal bands (they can trap moisture and encourage rust). Store jars in a cool, dark place such as a pantry, cabinet, or cellar—ideally between 50°F and 70°F.
Avoid storing them in direct sunlight or areas prone to temperature swings, like above a stove or near heating vents. Always label your jars with the date and batch number if you’re making multiple rounds during peach season.
Shelf life:
Properly canned peaches can last up to 18 months, but they’re best enjoyed within 12 months for peak quality.
After opening:
Once opened, refrigerate any unused peaches in an airtight container and consume within 7–10 days.
FAQ
Can I use white peaches instead of yellow?
Yes, but be aware that white peaches are lower in acidity, so they may not be safe for water bath canning unless tested. Use lemon juice generously or consider pressure canning.
Can I reuse jars and lids?
You can reuse jars and screw bands, but never reuse canning lids. They’re designed for one-time sealing only. Always use new lids for each batch.
Can I skip the sugar in this recipe?
Absolutely. You can use water, juice, or sugar substitutes like honey or maple syrup. Just remember that sugar helps with texture and flavor, so results may vary.
How do I know if my jars sealed properly?
After 12–24 hours, press the center of each lid. If it doesn’t pop up, the jar is sealed. A good seal is also slightly concave and won’t move when pressed.
What should I do with jars that didn’t seal?
You can reprocess them within 24 hours using a new lid, or refrigerate and eat them within a week.

Canning Peaches Recipe
- Total Time: 3 hours
- Yield: 7 1x
- Diet: Vegetarian
Description
Capture summer’s sweetness in a jar with this classic canning peaches recipe. Juicy, sun-ripened peaches are gently peeled, sliced, and preserved in a light homemade syrup—perfect for enjoying all year round. Whether you spoon them over ice cream or pair them with savory dishes, these home-canned peaches bring a touch of warmth and nostalgia to every meal. With a few simple tools and fresh ingredients, you’ll learn how to preserve peaches safely and deliciously, following a trusted, step-by-step guide.
Ingredients
- 10 lbs fresh freestone peaches (about 17–20 medium peaches)
- 3/4 cup bottled lemon juice or 2 tsp citric acid
- 5 1/4 cups water
- 2 1/4 cups sugar (for light syrup)
- Optional: cinnamon sticks, vanilla beans
Instructions
- Wash, peel, and slice peaches, removing pits.
- Place slices in lemon water to prevent browning.
- Prepare syrup by dissolving sugar in hot water; keep warm.
- Sanitize jars and lids by heating them in simmering water.
- Pack peaches into jars, leaving 1/2 inch headspace.
- Pour hot syrup over fruit, maintaining headspace.
- Remove air bubbles, wipe rims, and apply lids.
- Process jars in boiling water bath: 25 minutes for quarts, 20 for pints.
- Let cool for 12–24 hours, check seals, and store in a cool, dark place.
Notes
- Freestone peaches are easiest to pit and peel.
- Try adding a cinnamon stick to each jar for a spiced twist.
- For sugar-free canning, substitute juice or water.
- Always adjust for altitude as needed.
- Prep Time: 45 minutes
- Cook Time: 25 minutes
- Category: Preserving
- Method: Water Bath Canning
- Cuisine: American
Nutrition
- Serving Size: 7
- Calories: 80
- Sugar: 17g
- Sodium: 0mg
- Fat: 0g
- Saturated Fat: 0g
- Unsaturated Fat: 0g
- Trans Fat: 0g
- Carbohydrates: 20g
- Fiber: 2g
- Protein: 1g
- Cholesterol: 0mg