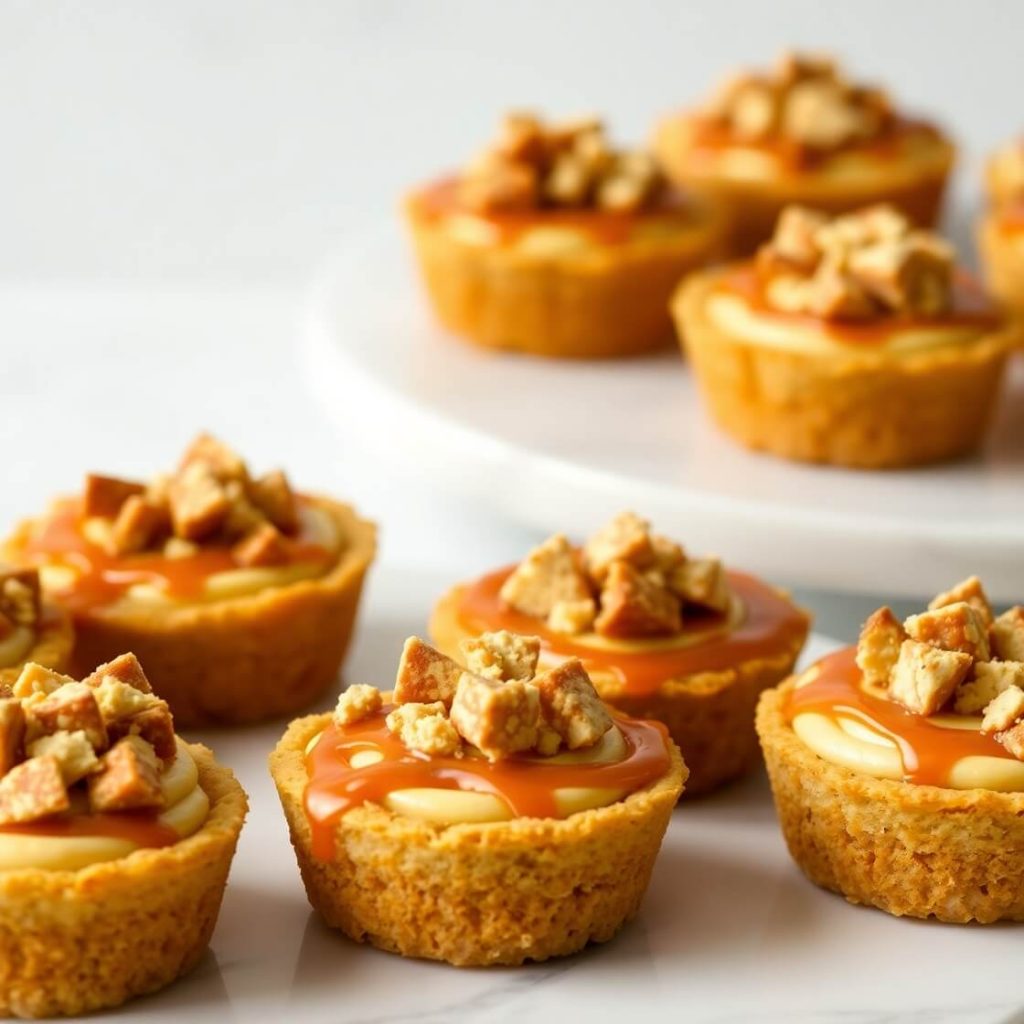
Sometimes, the best desserts come from a craving you just can’t shake. That’s exactly how these Butterfinger Caramel Crunch Mini Pies were born. One quiet afternoon, I found myself daydreaming about something sweet, crunchy, and loaded with caramel. I wanted a dessert that was easy to make, but indulgent enough to feel like a special treat.
These mini pies check every box—creamy, crunchy, and packed with chocolatey peanut butter goodness. Whether you’re making them for a casual family gathering or just treating yourself after a long week, they’re sure to bring a little joy to your day.
If you’re looking for an easy, no-bake dessert that’s as fun to make as it is to eat, keep reading. These little pies are going to become your new favorite!
Why I Love This Recipe

There’s something incredibly satisfying about desserts that combine creamy and crunchy textures, and these Butterfinger Caramel Crunch Mini Pies deliver both in every bite.
What makes this recipe so special is its simplicity. You don’t need fancy equipment or hours in the kitchen. It’s one of those no-fuss, no-bake recipes that anyone can make, whether you’re a seasoned baker or a complete beginner. They come together quickly but look and taste like something you’d pick up from a gourmet bakery.
I love how customizable they are, too. You can make them in standard muffin tins or mini versions for bite-sized treats. The balance of flavors is spot on—the peanut butter and chocolate from the Butterfinger bars blend beautifully with the creamy caramel and rich cheesecake filling. And that crunchy crust? Absolute perfection.
Plus, they’re ideal for just about any occasion. From potlucks to birthday parties, these mini pies have universal appeal. They’re indulgent, but not over-the-top sweet, so everyone loves them. If you’ve ever found yourself wishing for a dessert that feels a little nostalgic but still has a modern twist, this recipe is for you.
Ingredients for Butterfinger Caramel Crunch Mini Pies
Let’s talk about what you’ll need to bring these irresistible mini pies to life.
What I love about the ingredients is how simple and easy they are to find. Most of them are pantry staples or items you can grab in a single grocery run. Yet when combined, they create layers of texture and flavor that feel anything but ordinary.
Here’s what you’ll need for this recipe:
For the Crust:
- Graham cracker crumbs (1 ½ cups): These create the base of the crust. You can also use crushed vanilla wafers or chocolate graham crackers for a different twist.
- Granulated sugar (2 tablespoons): Just enough to sweeten the crust slightly.
- Unsalted butter, melted (6 tablespoons): This helps bind the crust together and adds richness.
For the Filling:
- Cream cheese, softened (8 ounces): The base of the creamy filling. Make sure it’s softened for easy mixing.
- Powdered sugar (½ cup): For a smooth sweetness.
- Vanilla extract (1 teaspoon): Enhances the flavor of the filling.
- Whipped topping (like Cool Whip), thawed (1 cup): This lightens the filling and gives it a fluffy texture.
- Caramel sauce (½ cup + extra for drizzling): Swirled into the filling and drizzled on top for a rich caramel flavor.
- Butterfinger candy bars, crushed (4 regular size bars or about 1 cup): The star ingredient. These bring that peanut butter crunch and chocolate flavor.
Optional Toppings:
- Additional whipped topping for garnish
- Extra crushed Butterfinger pieces
- More caramel drizzle
These ingredients are straightforward, but together they create an impressive and crave-worthy dessert that’s full of flavor and texture.
How Much Time Will You Need
This is a quick and easy dessert recipe that doesn’t require any baking.
Here’s the estimated time breakdown:
- Prep time: 25 minutes
- Chilling time: 2 hours (minimum for the filling to set properly)
In total, you’ll need about 2 hours and 25 minutes, but only about 25 minutes of active time in the kitchen. The rest is just waiting for them to chill and firm up.
How to Make Butterfinger Caramel Crunch Mini Pies
This recipe is straightforward and easy to follow. Below is the detailed, step-by-step guide that will walk you through the process.
Step 1: Prepare the Crust
In a medium bowl, combine the graham cracker crumbs and granulated sugar. Pour in the melted butter and stir until all the crumbs are evenly coated and the mixture resembles wet sand.
Spoon about 2 tablespoons of the crust mixture into each section of a standard muffin tin lined with paper liners. Use the back of a spoon or a small glass to press the crust down firmly into an even layer.
Place the muffin tin in the refrigerator to chill while you prepare the filling. This helps the crust set and hold together.
Step 2: Make the Filling
In a large mixing bowl, beat the softened cream cheese until smooth and creamy. Make sure there are no lumps for the best texture.
Add the powdered sugar and vanilla extract. Beat again until everything is fully combined and silky.
Next, gently fold in the thawed whipped topping. Do this slowly to keep the mixture light and airy.
Once combined, add ½ cup of caramel sauce and fold it into the mixture. You can fully incorporate it or leave it a little swirled for a marbled effect.
Finally, fold in the crushed Butterfinger candy bars, reserving a small handful to sprinkle on top later.
Step 3: Assemble the Mini Pies
Remove the muffin tin with the chilled crusts from the refrigerator.
Spoon the cream cheese mixture evenly into each crust, filling them just to the top of the paper liners. Smooth the tops with a spoon or spatula.
Drizzle a little extra caramel sauce over each mini pie. Then sprinkle with the reserved crushed Butterfinger pieces for an extra crunch.
Step 4: Chill the Pies
Place the muffin tin back in the refrigerator and chill the pies for at least 2 hours. This allows the filling to firm up and makes them easier to remove from the liners when serving.
Step 5: Serve and Enjoy!
Once fully chilled, carefully peel away the paper liners and transfer the mini pies to a serving platter. They’re ready to enjoy!
Substitutions
If you don’t have all the ingredients on hand, or if you want to switch things up, here are some great substitutions that work beautifully with this recipe.
If you want to add a personal twist, this is your chance!
- Crust options: Instead of graham cracker crumbs, try using crushed Oreos for a chocolate base or vanilla wafers for a lighter flavor.
- Whipped topping alternatives: If you prefer, you can make homemade whipped cream by whipping heavy cream with a bit of powdered sugar. Just make sure it’s stiff enough to hold its shape.
- Caramel sauce: If you don’t have caramel sauce, dulce de leche makes a rich and creamy alternative.
- Butterfinger bars: Not a fan of Butterfinger? You can use Heath bars for a toffee twist or chopped Reese’s for a double peanut butter punch.
These substitutions can make the recipe even more fun and adaptable to different tastes.
Best Side Dishes for Butterfinger Caramel Crunch Mini Pies
Pairing these mini pies with the right side dishes can create a balanced and complete dessert experience. Here are three of my favorite pairings:
- Fresh Berries
The sweetness of the pies pairs beautifully with the tartness of fresh strawberries, raspberries, or blueberries. They add a pop of color and a refreshing contrast. - Vanilla Bean Ice Cream
Serve these pies alongside a scoop of vanilla bean ice cream for an extra indulgent dessert. The cold, creamy ice cream complements the crunchy, rich filling. - Espresso or Coffee
A small cup of strong coffee or espresso cuts through the sweetness of the pies and adds a sophisticated balance to the flavors.
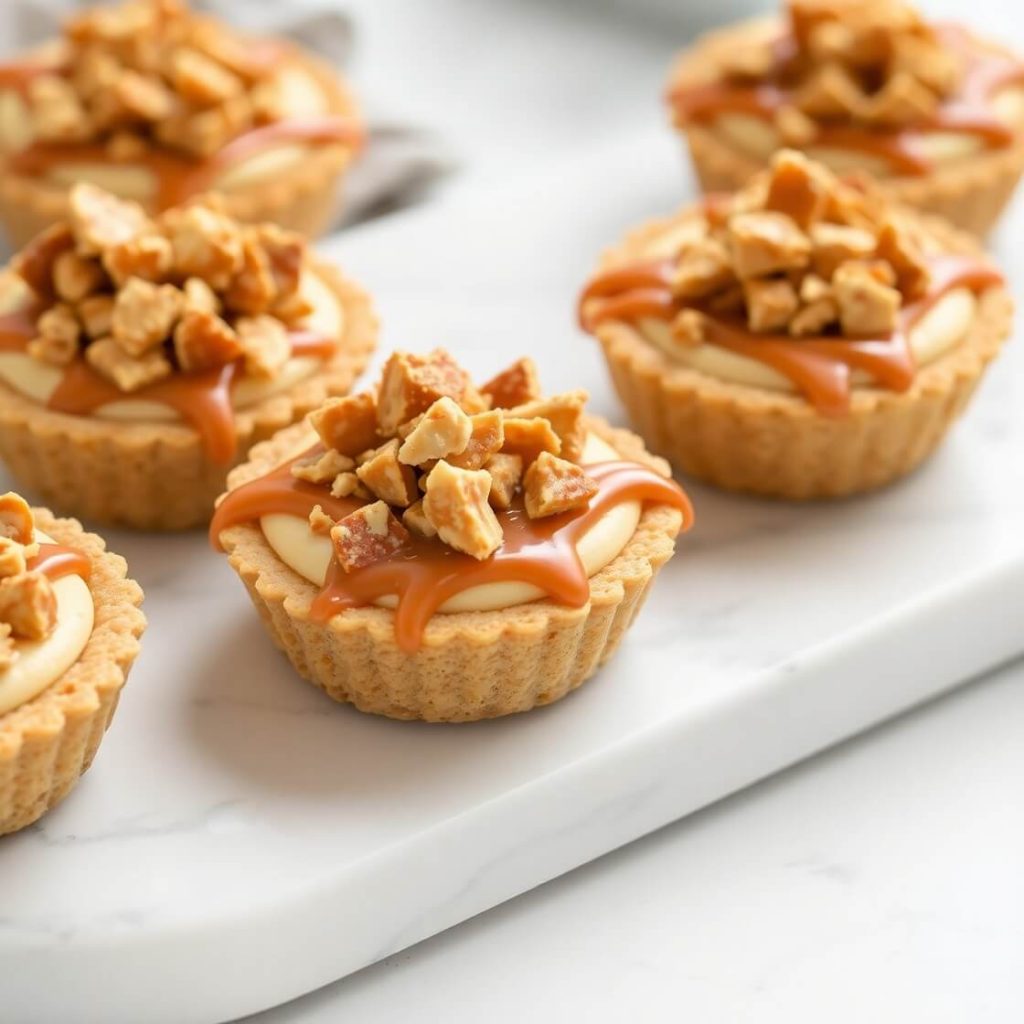
Serving and Presentation Tips
If there’s one thing I’ve learned, it’s that presentation can take a simple dessert from casual to absolutely stunning. These Butterfinger Caramel Crunch Mini Pies already have that homemade charm, but with a few simple touches, they can look as good as they taste.
When serving these pies, I like to remove the paper liners to reveal the perfect, clean crust and creamy filling. Placing them on a white serving platter makes the caramel drizzle and crushed Butterfinger pieces pop. You can also use mini cake stands for an elevated look—perfect for parties or dessert tables.
For an extra polished presentation:
- Drizzle a little caramel on the plate before placing the pie on top.
- Add a dollop of fresh whipped cream next to the pie, garnished with a small mint leaf.
- If you’re serving these at an event, you can dress them up with gold or silver cupcake liners instead of the basic paper ones.
These little extras turn an easy dessert into a memorable showstopper.
Tips and Tricks to Make This Recipe Even Better
The beauty of this recipe is how forgiving it is, but these little tips will help ensure they come out perfect every single time.
Use room temperature cream cheese
This ensures a smooth, lump-free filling. Cold cream cheese doesn’t mix as easily and can lead to a gritty texture.
Chill the crust well before adding the filling
Even a quick 15-minute chill in the fridge helps the crust set and keeps it from crumbling when you add the creamy layer.
Don’t over-mix the whipped topping
Fold it in gently to keep the filling light and fluffy. Over-mixing can deflate the whipped topping and make the pies denser.
Freeze for a firmer set
If you want the pies to be extra firm (especially helpful in warm weather), pop them in the freezer for about 30 minutes before serving. Just be sure to let them sit for a few minutes at room temperature so they’re not too hard to eat.
Add toppings just before serving
For the freshest look and crunch, add the final drizzle of caramel and sprinkle of Butterfinger pieces right before you bring them to the table.
Common Mistakes to Avoid
Making no-bake desserts is generally easy, but here are a few common mistakes to watch out for:
Not chilling long enough
The pies need at least 2 hours to set. If they’re not chilled properly, the filling can be too soft and messy when you try to serve them.
Using low-fat cream cheese
It’s tempting to go for a “lighter” option, but low-fat cream cheese doesn’t set up as firmly and can make the filling runny. Stick with full-fat for the best texture.
Skipping the crust press
If you don’t press the crust mixture firmly into the muffin cups, it can crumble apart when you try to serve the pies. Take an extra minute to compact it well.
Overloading the caramel
Caramel is delicious, but too much can make the pies overly sweet and a little messy. A little drizzle goes a long way.
How to Store It
These mini pies store beautifully, making them a great make-ahead dessert.
Refrigerator storage:
Keep the pies covered in an airtight container in the refrigerator for up to 5 days. They stay firm and fresh, and the flavor even improves after a day or two.
Freezer storage:
For longer storage, you can freeze the pies for up to 1 month. Place them in a single layer in an airtight container. Thaw in the refrigerator overnight before serving. Add fresh toppings like whipped cream and extra Butterfinger pieces after thawing for the best presentation.
FAQ
Here are some commonly asked questions that might come up as you make these pies:
Can I make these pies ahead of time?
Absolutely! These pies are ideal for making ahead. Prepare them the day before your event, and they’ll be perfectly chilled and set when it’s time to serve.
Can I use a store-bought crust instead of making one?
You can, but it’s best for larger pies. For mini pies, homemade crusts are easier to press into the muffin tins. Store-bought crusts often don’t hold up as well in this format.
How do I crush the Butterfinger bars without making a mess?
Place the candy bars in a zip-top bag and crush them with a rolling pin. This keeps crumbs contained and makes it easy to sprinkle them into your filling.
Can I make these pies gluten-free?
Yes! Just swap out the graham cracker crumbs for gluten-free cookie crumbs. Make sure your caramel sauce and Butterfinger pieces are also certified gluten-free.
What if I don’t like caramel?
No problem. You can skip the caramel entirely or substitute it with chocolate sauce or peanut butter drizzle for a different flavor profile.
Print
Butterfinger Caramel Crunch Mini Pies Recipe
- Total Time: 2 hours 25 minutes (includes chilling)
- Yield: 12 1x
- Diet: Vegetarian
Description
If you’re craving a no-bake dessert that’s quick to make and guaranteed to impress, these Butterfinger Caramel Crunch Mini Pies are for you. Creamy, crunchy, and filled with caramel goodness, they’re perfect for parties, potlucks, or just a little treat for yourself. With a buttery graham cracker crust, a luscious cream cheese filling swirled with caramel, and plenty of crushed Butterfinger candy bars, these mini pies are as fun to make as they are to eat. Best of all, they only take 25 minutes to prep—no baking required!
Ingredients
- 1 ½ cups graham cracker crumbs
- 2 tablespoons granulated sugar
- 6 tablespoons unsalted butter, melted
- 8 ounces cream cheese, softened
- ½ cup powdered sugar
- 1 teaspoon vanilla extract
- 1 cup whipped topping (thawed)
- ½ cup caramel sauce (plus more for drizzling)
- 4 regular-size Butterfinger bars, crushed (reserve some for garnish)
Instructions
- Combine graham cracker crumbs and granulated sugar in a medium bowl. Add melted butter and stir until the mixture resembles wet sand.
- Spoon 2 tablespoons of crust mixture into each paper-lined muffin cup. Press firmly to create a solid base. Chill while preparing the filling.
- In a large bowl, beat softened cream cheese until smooth. Add powdered sugar and vanilla extract, beating again until well combined.
- Fold in the whipped topping gently to keep the mixture light.
- Stir in the caramel sauce (½ cup), mixing until fully incorporated or swirled as desired.
- Fold in most of the crushed Butterfinger bars, reserving a handful for garnish.
- Spoon filling evenly into each prepared crust. Smooth the tops.
- Drizzle caramel sauce over each mini pie and sprinkle with reserved crushed Butterfinger pieces.
- Chill for at least 2 hours until firm. Remove paper liners before serving.
Notes
- For best results, use full-fat cream cheese.
- Chill the crust thoroughly before adding the filling to help it hold together.
- Add final toppings just before serving for the freshest look and crunch.
- To make it gluten-free, swap the graham crackers for gluten-free cookies.
- Prep Time: 25 minutes
- Cook Time: 0 minutes
- Category: Dessert
- Method: No-bake
- Cuisine: American
Nutrition
- Serving Size: 12
- Calories: 310
- Sugar: 18g
- Sodium: 190mg
- Fat: 20g
- Saturated Fat: 12g
- Unsaturated Fat: 7g
- Trans Fat: 0g
- Carbohydrates: 28g
- Fiber: 1g
- Protein: 4g
- Cholesterol: 35mg