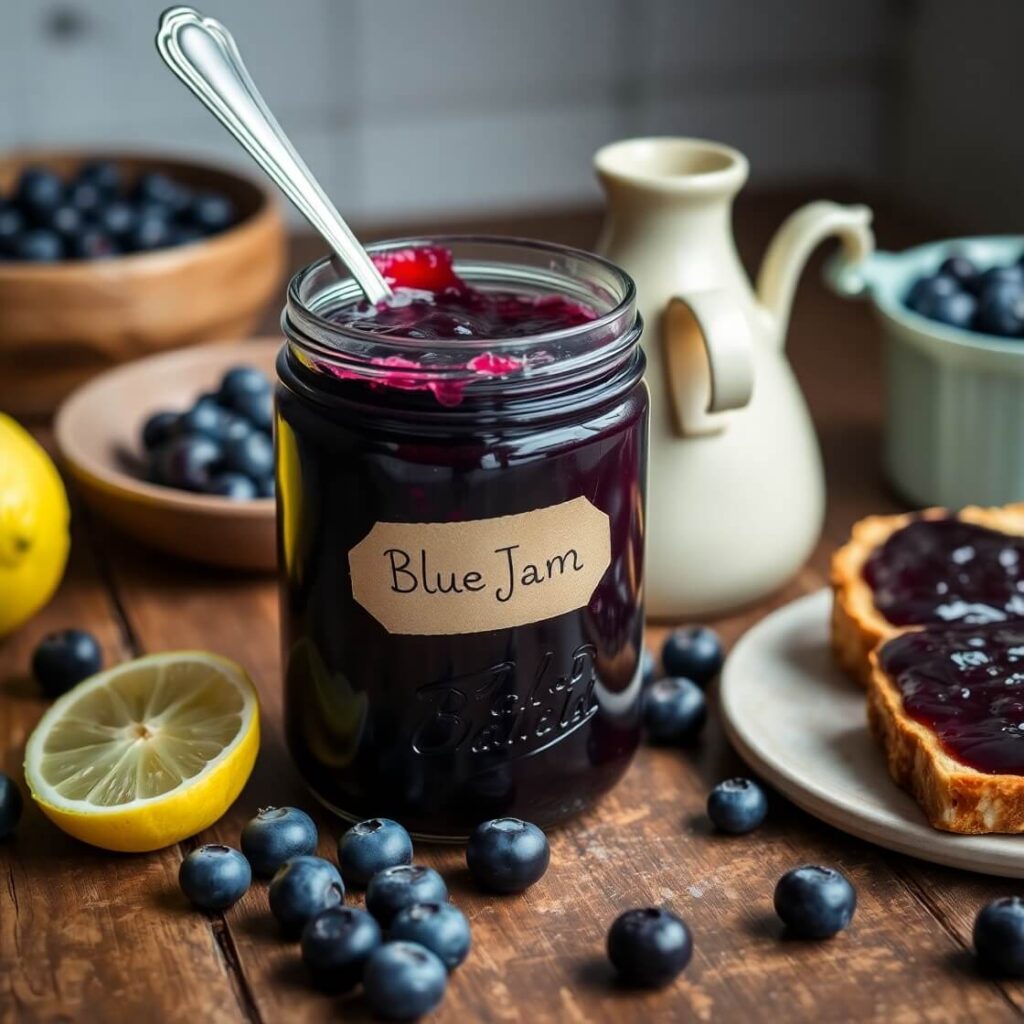
There’s something magical about a spoonful of homemade blueberry jam—it’s sweet, slightly tart, and bursting with the flavor of summer. I first made this recipe on a quiet Sunday morning when I had an abundance of blueberries from the local farmers market. I didn’t want them to go to waste, and jam felt like the perfect way to preserve the freshness a little longer.
If you’ve ever opened a jar of store-bought jam and been disappointed by how sugary or artificial it tasted, this recipe is for you. Making blueberry jam at home allows you to control the sweetness, skip the additives, and truly taste the fruit. Whether you’re a first-time jammer or a seasoned home cook, I promise—this blueberry jam will be the one you reach for every time.
Stick around, because I’m going to show you how easy and satisfying it is to make your own luscious, thick jam with just a handful of ingredients.
Why I Love This Recipe

There’s a reason why I keep returning to this recipe—actually, several reasons.
First, it’s incredibly simple. Unlike some jam recipes that require commercial pectin or fancy equipment, this one uses natural pectin found in lemon juice and the blueberries themselves. That means you can make it with pantry basics and whatever fresh or frozen blueberries you have on hand.
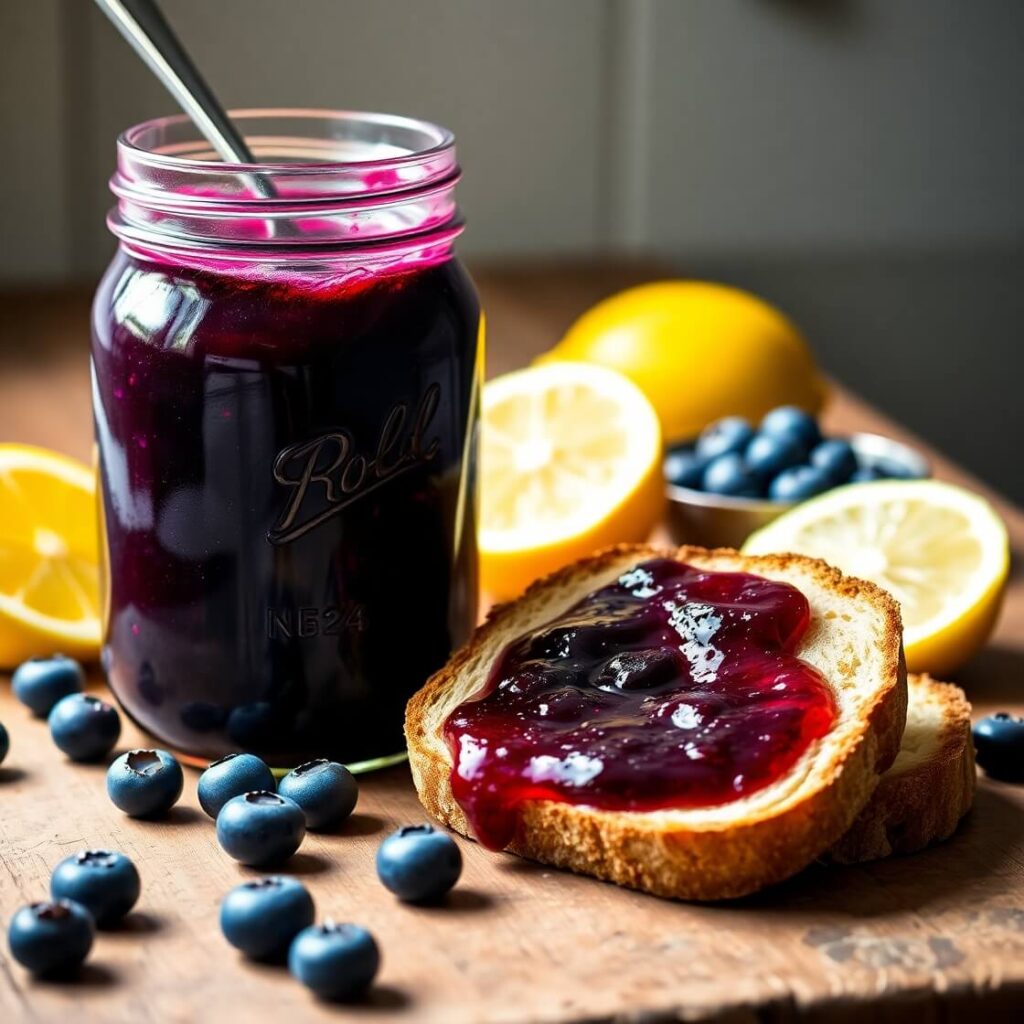
The flavor is another standout. Homemade blueberry jam tastes like real blueberries—sweet, vibrant, and slightly tangy. I love how the fruit shines through without being drowned out by sugar. You can spread it on toast, swirl it into yogurt, or even pair it with cheese for a savory contrast.
And the best part? It makes your kitchen smell amazing. There’s something incredibly satisfying about standing over a simmering pot of berries, stirring slowly as they transform into a thick, jewel-toned spread.
If you’ve ever felt intimidated by canning or preserving, this recipe will change that. It’s forgiving, approachable, and incredibly rewarding.
Ingredients for Blueberry Jam
To make a good jam, you don’t need a long list of ingredients—you just need the right ones.
This recipe sticks to a classic trio: fresh blueberries, sugar, and lemon juice. That’s it.
But don’t be fooled by the simplicity. Each ingredient plays a crucial role.
The blueberries are the star here, of course. Use the freshest you can find—plump, ripe berries that are deep blue in color. If you can’t get fresh, frozen berries work well too (just don’t thaw them first).
Sugar is essential for sweetness and preservation. You can adjust the amount slightly, but don’t cut it too much or your jam might not set properly. The sugar also brings out the blueberry flavor and gives the jam its glossy finish.
Lemon juice may seem like a background player, but it’s actually vital. It adds brightness and acidity, which balances the sweetness. It also helps the jam thicken by activating the natural pectin in the fruit.
Here’s everything you’ll need:
- Fresh or frozen blueberries
- Granulated white sugar
- Fresh lemon juice (bottled will work in a pinch, but fresh is best)
That’s it. No added pectin, no preservatives, no fillers. Just pure, blueberry goodness.
How Much Time Will You Need
This blueberry jam comes together surprisingly fast.
If you’re making a small batch (which I recommend for beginners), you’ll only need about 30 to 45 minutes total, including prep and cooking time.
- Prep time: 5–10 minutes (just rinse the berries and measure everything out)
- Cook time: 20–30 minutes (depends on your pot and heat level)
- Cooling time: Let it cool for at least 30 minutes before storing, but no active work is needed here.
So yes, you could absolutely whip this up before breakfast and have homemade jam by the time the toast pops out.
How to Make This Blueberry Jam
Here’s my no-fuss, step-by-step method for making blueberry jam. Follow these steps closely, and you’ll have a perfect batch every time.
Step – 1: Prep your ingredients
Start by washing your blueberries thoroughly. If using frozen berries, there’s no need to thaw—just measure and toss them into your pot.
Juice your lemon and set it aside. Measure your sugar so everything is ready to go once the heat is on.
Step – 2: Combine berries, sugar, and lemon juice
In a large saucepan or Dutch oven, add the blueberries, sugar, and lemon juice.
Stir to combine, and gently mash some of the berries with a potato masher or the back of a wooden spoon. You don’t need to puree them—just break a few open to release their juices.
Step – 3: Bring to a boil
Turn the heat to medium-high and bring the mixture to a boil, stirring frequently. Once it starts bubbling, reduce the heat to medium-low.
Continue to stir regularly to prevent scorching and make sure the sugar dissolves fully.
Step – 4: Cook until thickened
Let the jam simmer, uncovered, for about 20–30 minutes.
You’ll see it start to thicken and become syrupy. Use a spoon to test the texture—dip it into the mixture, and if the jam coats the back of the spoon and leaves a trail when you run your finger through it, it’s ready.
You can also do the cold plate test: place a spoonful on a chilled plate, wait 30 seconds, then run your finger through it. If it wrinkles slightly, it’s set.
Step – 5: Cool and store
Once the jam is ready, remove it from heat and let it cool slightly in the pot—about 10 minutes.
Then transfer it to clean jars (mason jars or recycled jam jars work perfectly). Let them cool fully at room temperature before sealing and refrigerating.
The jam will thicken even more as it cools.
Substitutions
If you don’t have every ingredient on hand, don’t worry—this recipe is flexible.
Blueberries:
You can swap in other berries like blackberries, raspberries, or even a berry blend. Keep in mind that each berry has a different water and pectin content, so cook time and set may vary slightly.
Sugar:
Try honey, maple syrup, or coconut sugar for a more natural option. Just know that these can affect the flavor and texture slightly—honey will result in a softer set.
Lemon juice:
You can use lime juice for a fun twist or bottled lemon juice if fresh lemons aren’t available. Just make sure whatever you use is high-acid—it’s important for setting the jam and keeping it shelf-stable.
This recipe is a great canvas to play with. A splash of vanilla, a pinch of cinnamon, or even a bit of grated ginger can elevate it into something totally new.
Best Side Dishes for Blueberry Jam
While jam is often thought of as a breakfast topping, it’s surprisingly versatile. Here are a few favorite pairings that really let the flavor shine:
Buttermilk Biscuits
Fluffy, buttery biscuits are made for jam. Spoon a generous helping of blueberry jam onto a warm biscuit and enjoy a classic Southern treat.
Yogurt Parfaits
Layer Greek yogurt with granola and a swirl of blueberry jam for a protein-packed snack or breakfast. The sweetness of the jam cuts through the tanginess of the yogurt perfectly.
Cheese and Crackers
Yes—blueberry jam on a charcuterie board. Pair it with brie, goat cheese, or sharp cheddar. The sweet-savory combo is always a crowd pleaser.
Serving and Presentation Tips
There’s something satisfying about opening a homemade jar of jam, but serving it beautifully? That’s where the charm really comes in.
I like to spoon my blueberry jam into a small glass bowl or ramekin before serving. It adds a touch of elegance and lets that deep, rich purple color shine. You can garnish with a few fresh blueberries or even a sprig of mint if you’re entertaining guests.
If you’re packing it as a gift, use mini mason jars with handwritten labels and a square of patterned fabric tied with twine on top. It’s a thoughtful, rustic touch that always makes people smile.
When using the jam in dishes—swirled into oatmeal, layered in cake, or spread between cookies—let it be the star. Its bold flavor and vibrant hue don’t need much embellishment.
Tips and Tricks to Make This Recipe Better
The beauty of homemade jam is how forgiving it is—but there are a few insider tips I always follow to guarantee the best result.
Use a wide, heavy-bottomed pan. It encourages evaporation and helps the jam cook down faster, leading to a thicker texture.
Don’t walk away. Jam can go from perfect to scorched in minutes. Stir often, especially as it thickens.
Skim the foam. During the first few minutes of boiling, you might notice a foamy layer rise to the top. Use a spoon to gently skim it off. It’s harmless, but removing it makes for a clearer, prettier jam.
Use a chilled spoon or plate to test the set. It’s more reliable than guessing. Just keep a small plate in the freezer while your jam cooks—perfect for testing when you’re close to done.
Sterilize your jars. Even if you’re just refrigerating the jam, clean jars ensure a longer shelf life. You can run them through a dishwasher cycle or boil them for 10 minutes.
Common Mistakes to Avoid
It’s easy to make jam, but these small missteps can throw off your results. Here’s what to watch out for:
Using under-ripe or overripe fruit. Under-ripe berries won’t have enough flavor or juice, while overripe ones may be too mushy and low in pectin.
Adding too much sugar too soon. Always wait to add sugar until your berries are slightly cooked and juicy, unless the recipe states otherwise. In this case, it’s added from the beginning, but make sure it’s fully dissolved.
Not boiling long enough. A soft-set jam is okay, but if it’s too runny, it won’t spread properly. Take your time and do the set test.
Skipping the lemon juice. It’s not just for flavor—it’s essential for the jam to set properly. Don’t leave it out or reduce it.
Storing before it’s fully cool. Sealing warm jars can create steam, which turns into condensation inside and may affect the shelf life or texture.
How to Store It
Once your blueberry jam has cooled, you can store it in one of two ways:
Refrigerator:
If you’re not canning, your jam will last up to 3 weeks in the fridge in a sealed glass jar. Always use a clean spoon when scooping it out to avoid contamination.
Freezer:
You can also freeze the jam in freezer-safe containers for up to 6 months. Leave some room at the top of the jar for expansion.
Water-bath canning (optional):
If you’re experienced or ready to try preserving for the long term, this jam is perfect for water-bath canning. It can be shelf-stable for up to 12 months when properly sealed.
Wherever you store it, just make sure your jars are clean and airtight. Label them with the date for easy tracking.
FAQ
Can I use frozen blueberries for this jam?
Yes! You don’t need to thaw them—just toss them in the pot and proceed as usual. The cooking time may increase slightly.
How do I know when the jam is done?
Use the spoon or plate test: dip a chilled spoon into the jam, and if it coats the back and holds a line when you swipe your finger, it’s ready.
Can I make this jam with less sugar?
Yes, but reducing sugar too much may result in a runnier jam and shorter shelf life. Consider low-sugar pectin if you’re making a reduced-sugar version.
What if my jam didn’t set?
If your jam is still runny after cooling, you can reheat it and cook for a few more minutes. Be sure to do the cold plate test before re-storing it.
Can I double this recipe?
It’s best to make small batches to ensure the jam sets properly. Large batches may take much longer to cook and may not thicken evenly.
Blueberry Jam Recipe
- Total Time: 35 minutes
- Yield: 2–3 1x
- Diet: Vegetarian
Description
This homemade blueberry jam is sweet, slightly tangy, and bursting with real fruit flavor. Made with just blueberries, sugar, and lemon juice—no added pectin—it’s an easy, foolproof recipe that yields rich, glossy jam you’ll want to spread on everything. Whether you’re a beginner or seasoned cook, this small-batch recipe delivers consistent results every time. Perfect for toast, biscuits, or even cheese boards, it’s a versatile preserve you’ll be proud to make and share.
Ingredients
- 4 cups fresh or frozen blueberries
- 1 ½ cups granulated sugar
- 2 tablespoons fresh lemon juice
Instructions
- Rinse and sort the blueberries, removing any stems or mushy fruit.
- In a heavy saucepan, combine blueberries, sugar, and lemon juice.
- Mash a few berries to release juice, then stir well.
- Bring to a boil over medium-high heat, then reduce to a steady simmer.
- Stir often and cook for 20–30 minutes until the mixture thickens.
- Do the cold plate test to check for set.
- Remove from heat and let cool slightly.
- Spoon into clean jars and cool completely before sealing.
- Refrigerate for up to 3 weeks or freeze for up to 6 months.
Notes
- Use a wide, shallow pot to encourage quicker evaporation.
- Stir frequently to prevent burning.
- For a smoother jam, blend some of the berries before cooking.
- Prep Time: 10 minutes
- Cook Time: 25 minutes
- Category: Condiment
- Method: Stovetop
- Cuisine: American
Nutrition
- Serving Size: 2–3
- Calories: 45
- Sugar: 10g
- Sodium: 0g
- Fat: 0g
- Saturated Fat: 0g
- Unsaturated Fat: 0g
- Trans Fat: 0g
- Carbohydrates: 11g
- Fiber: 1g
- Protein: 0g
- Cholesterol: 0mg