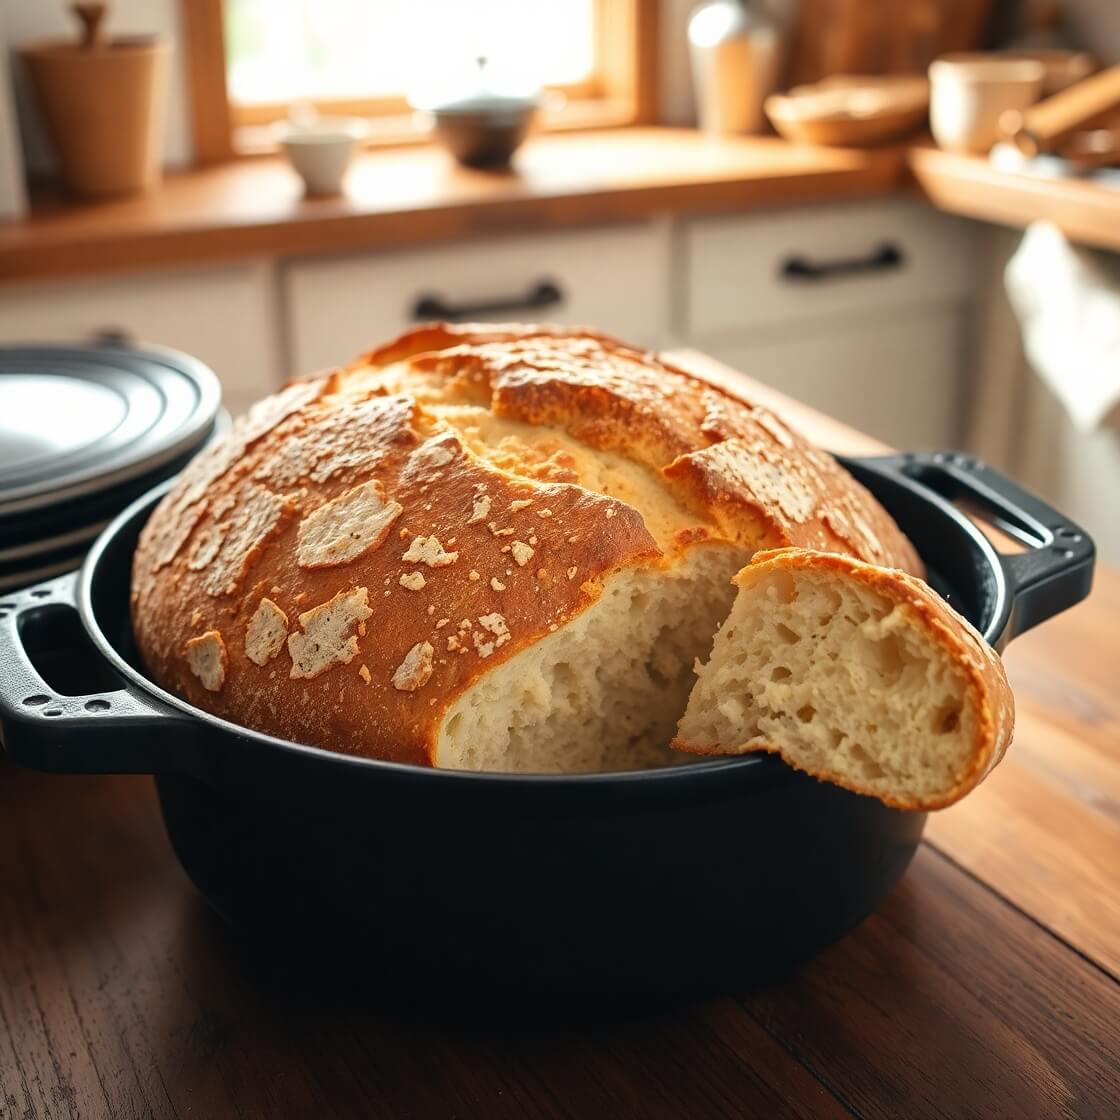
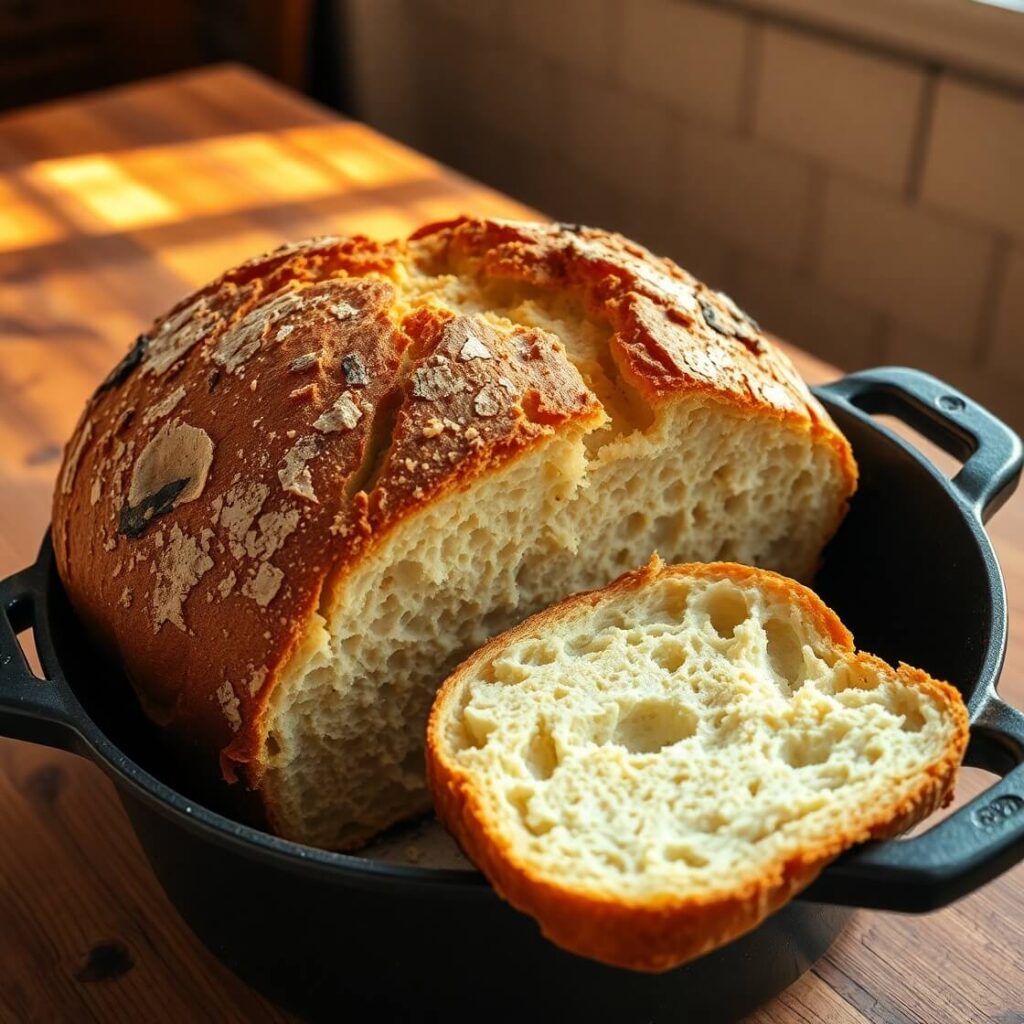
There’s something magical about pulling a golden, crackling loaf of bread from the oven. The aroma fills the kitchen, the crust sings as it cools, and the first slice—still warm, slathered with butter—is pure comfort. I started making artisan bread in a Dutch oven because I wanted that bakery-style loaf without leaving home.
What surprised me was how simple it really is. A few pantry staples—flour, water, yeast, and salt—transform into a rustic loaf with an airy crumb and a crusty exterior that rivals anything you’ll find at a café. The Dutch oven works like a professional steam oven, locking in moisture so the dough expands before setting into that irresistible crust.
If you’ve ever thought artisan bread was intimidating, I promise this recipe will change your mind. It’s approachable, forgiving, and the kind of recipe you’ll find yourself making on repeat. Once you taste the difference, you’ll understand why home bakers around the world swear by it.
Why I Love This Recipe

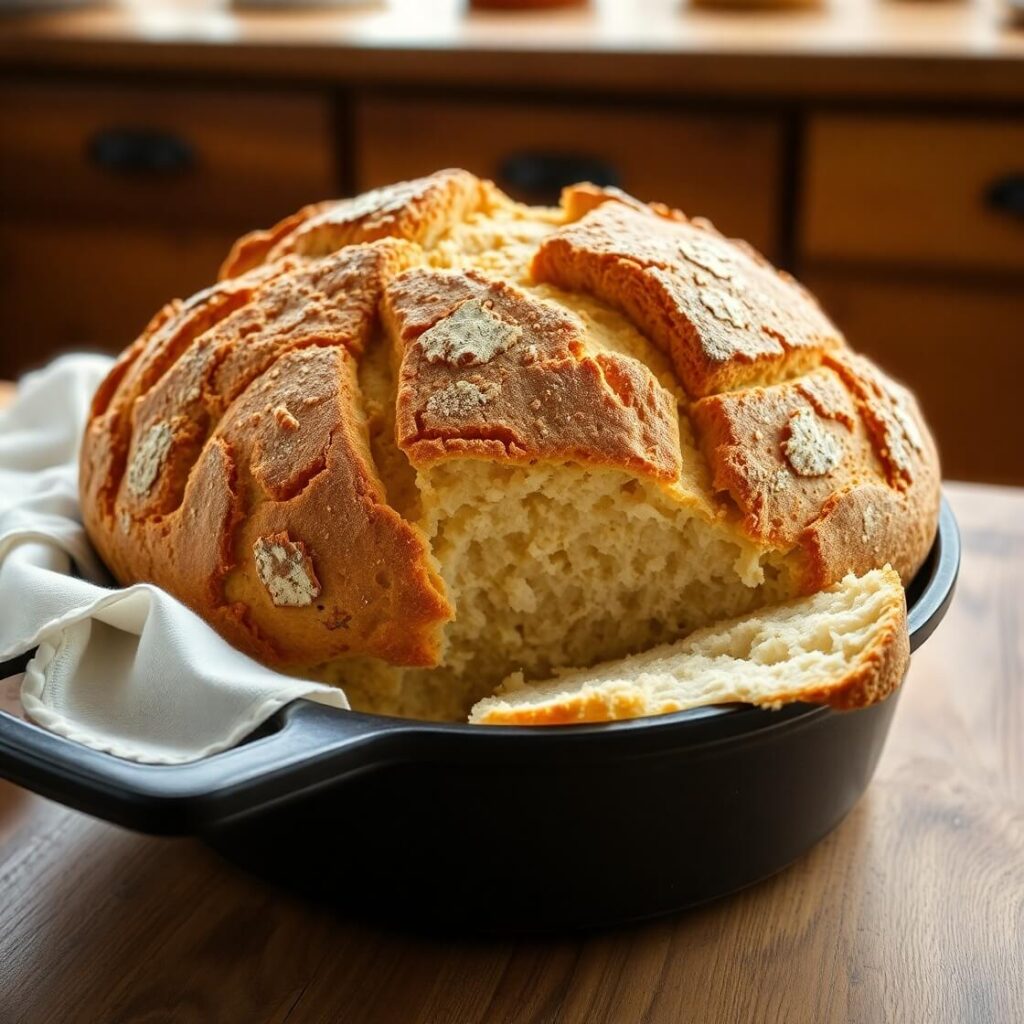
The first time I made this bread, I couldn’t believe how impressive it looked with such little effort. The Dutch oven creates the perfect environment—moisture, heat, and consistency—for a truly artisan result. Unlike store-bought bread, which often has additives and preservatives, this is pure, simple, and wholesome.
I love this recipe because it requires no fancy equipment or professional skill. You mix the dough, let it rise slowly, and then let the Dutch oven do the rest. The result is a loaf that’s chewy inside, crusty outside, and full of flavor.
The real specialty lies in the process. By allowing the dough to rest longer, the flavors deepen, creating that signature tangy, nutty taste you usually associate with artisanal loaves. It’s also versatile—you can serve it alongside soups, slice it for sandwiches, or simply enjoy it with olive oil and sea salt.
For me, this bread feels like a reward. It turns an ordinary dinner into something memorable and makes even the simplest meals—like a bowl of soup—taste gourmet.
Ingredients for Artisan Bread Recipes Dutch Oven
To make great bread, you don’t need a long shopping list. In fact, the beauty of artisan bread is its simplicity. You only need four ingredients, yet the flavor feels anything but simple.
- Flour – I like to use bread flour because it has a higher protein content, which helps create a strong gluten structure. However, all-purpose flour works beautifully too.
- Water – Use lukewarm water to help the yeast activate. Filtered water is ideal if your tap water has a strong taste.
- Yeast – Instant yeast works best here because it mixes directly into the flour. Active dry yeast can also be used, but it may require a little more proofing time.
- Salt – Don’t skip this. It enhances the bread’s flavor and helps strengthen the dough.
That’s it—no eggs, no milk, no butter. Just pure ingredients that transform with time and heat.
If you want to get creative, you can add mix-ins like seeds, nuts, herbs, or even roasted garlic. But to start, I recommend sticking to the classic version. It’s a perfect base recipe.
How Much Time Will You Need
Artisan bread takes patience, but not constant work. Most of the time is hands-off while the dough rests and develops flavor.
- Prep time: 15 minutes
- First rise: 12–18 hours (overnight works perfectly)
- Second rise: 30 minutes
- Baking time: 45 minutes
- Cooling time: 1 hour
So yes, it’s a long process—but don’t let that scare you. The active time you’ll spend is less than 20 minutes. The rest is just waiting, and the result is absolutely worth it.
How to Make This Artisan Bread Recipes Dutch Oven
Here’s the step-by-step guide that will take you from flour to finished loaf:
Step 1: Mix the dough
In a large mixing bowl, combine flour, salt, and yeast. Pour in lukewarm water and stir with a wooden spoon until it comes together into a shaggy dough. Don’t worry if it looks rough and sticky—that’s exactly how it should be.
Step 2: Let it rise overnight
Cover the bowl with plastic wrap or a clean kitchen towel. Leave it at room temperature for 12–18 hours. During this time, the yeast slowly ferments the dough, developing flavor and creating beautiful air pockets.
Step 3: Shape the dough
After the first rise, the dough will look bubbly and doubled in size. Lightly flour your countertop and gently turn out the dough. Use floured hands to shape it into a ball. Don’t knead—just fold the edges under to create surface tension.
Step 4: Second rise
Place the dough on parchment paper and cover it loosely with a towel. Let it rest for about 30 minutes while you preheat the oven.
Step 5: Preheat the Dutch oven
Set your Dutch oven with the lid on inside the oven. Preheat to 450°F (230°C) for at least 30 minutes. This ensures the pot is blazing hot and ready to mimic bakery conditions.
Step 6: Bake with the lid on
Carefully remove the Dutch oven from the oven. Lift the dough with the parchment paper and place it inside the pot. Cover with the lid and bake for 30 minutes. The lid traps steam, allowing the bread to rise fully before the crust sets.
Step 7: Finish without the lid
Remove the lid and bake for another 15–20 minutes until the crust is deep golden brown. This step gives you that signature crackle and color.
Step 8: Cool before slicing
As tempting as it is to cut right in, resist! Let the bread cool on a wire rack for at least 1 hour. This allows the crumb to set and keeps it from becoming gummy.
Substitutions
One of the joys of artisan bread is how flexible it is. If you don’t have a specific ingredient, there are plenty of options.
- Flour – If you don’t have bread flour, all-purpose flour works well. For a nuttier taste, try swapping in some whole wheat flour (up to 50%). Rye flour can also be used for a heartier loaf.
- Yeast – If you only have active dry yeast, use the same amount but dissolve it in a little warm water first. You’ll also need a slightly longer rising time.
- Add-ins – Seeds like sunflower, sesame, or pumpkin can be mixed into the dough. Dried fruits like cranberries or raisins make it slightly sweet. Even a sprinkle of cheese creates a savory variation.
These substitutions not only make the recipe flexible but also let you put your own stamp on it. Every loaf can feel unique depending on what you add.
Best Side Dishes for Artisan Bread Recipes Dutch Oven
Bread like this deserves to be enjoyed with something that complements it beautifully. Here are three of my favorite pairings:
- Hearty soups – Tomato basil, French onion, or creamy potato soup taste even better when paired with a slice of crusty artisan bread.
- Cheese and charcuterie – This bread makes the perfect companion to a cheese board with cured meats, olives, and spreads.
- Fresh salads – A crisp green salad with vinaigrette balances the richness of the bread, making it a well-rounded meal.
Serving and Presentation Tips
When it comes to artisan bread, presentation makes the experience even more special. I love serving my Dutch oven bread on a wooden cutting board, still warm from the oven, with a serrated bread knife nearby. It looks rustic and inviting, just like something you’d see in a countryside bakery.
For casual meals, I like to slice it thick and serve it in a bread basket lined with a linen cloth to keep it warm. If I’m hosting, I’ll drizzle some good olive oil into a small dish with a sprinkle of sea salt and herbs for dipping—guests can’t resist it.
Another great option is to slice the loaf horizontally, toast the pieces lightly, and arrange them with toppings like bruschetta, smoked salmon, or creamy cheese spreads. It elevates the bread into something elegant and appetizer-worthy.
The key is to let the bread itself shine—it’s beautiful and rustic, so a simple, natural presentation always works best.
Tips and Tricks to Make This Recipe Even Better
Over the years, I’ve learned a few little secrets that make this bread turn out consistently bakery-worthy.
- Weigh your flour if possible – Cups can vary, but weighing ensures perfect hydration.
- Use parchment paper – Not only does it prevent sticking, but it also makes lowering the dough into the Dutch oven much safer.
- Preheat the Dutch oven thoroughly – That blazing-hot pot is what gives you the rapid rise and crispy crust.
- Don’t rush the rise – Longer fermentation equals better flavor. If you can let it go 18 hours, do it.
- Experiment with add-ins – Rosemary, roasted garlic, or even olives take this bread to the next level.
Once you’ve mastered the classic loaf, don’t be afraid to experiment. Each tweak creates a new favorite.
Common Mistakes to Avoid
Even though this bread is simple, there are a few common pitfalls you’ll want to steer clear of.
- Using too much flour when shaping – A lightly floured surface is enough. Too much flour can make the loaf dense.
- Not preheating the Dutch oven – A lukewarm pot won’t give you that professional crust.
- Cutting the bread too soon – The crumb needs time to set. Slicing too early results in gummy bread.
- Underbaking – Make sure the crust is a deep golden brown. If it looks pale, leave it in a few minutes longer.
These small details make all the difference between good bread and unforgettable bread.
How to Store It
Fresh bread never lasts long in my house, but when it does, here’s how I keep it at its best.
- Room temperature – Wrap the cooled loaf in a clean kitchen towel or store it in a paper bag. This keeps the crust crisp while preventing it from drying out. Avoid plastic bags unless you prefer a softer crust.
- Freezing – For longer storage, slice the bread and freeze it in a freezer-safe bag. You can pull out slices as needed and toast them directly from frozen.
- Reviving – If the bread has gone a little stale, place it in a 350°F (175°C) oven for 10 minutes. It will crisp back up beautifully.
Never refrigerate bread—it dries out too quickly.
FAQ
Can I make this bread gluten-free?
Yes, but it requires a special blend of gluten-free flour. Regular flour substitutes one-to-one won’t give the same structure.
Do I really need a Dutch oven?
A Dutch oven gives the best results, but you can use a heavy pot with a lid or even a baking stone with a tray of water for steam.
Can I add herbs or cheese to the dough?
Absolutely! Herbs, garlic, cheese, nuts, or dried fruits all make delicious variations. Just fold them in after the first rise.
What size Dutch oven works best?
A 5–6 quart Dutch oven is ideal for this recipe. Smaller ones may cause the dough to rise unevenly.
How do I know the bread is done baking?
Besides the golden crust, the loaf should sound hollow when tapped on the bottom. An instant-read thermometer should read about 200–210°F (93–99°C).

Artisan Bread Recipes Dutch Oven
- Total Time: 14–20 hours (including rise time)
- Yield: 1 1x
- Diet: Vegetarian
Description
This artisan bread is the easiest way to achieve bakery-quality bread at home. With just four simple ingredients, a little patience, and a Dutch oven, you’ll have a rustic loaf that’s chewy inside with a golden, crackly crust. The long fermentation gives it a deep, complex flavor while the Dutch oven ensures a perfect rise and texture. It’s the kind of recipe that feels impressive but is simple enough for anyone to make, whether you’re a first-time baker or a seasoned home cook. Serve it with soups, cheese, or just a smear of butter—this bread makes every meal feel special.
Ingredients
- 3 cups bread flour (or all-purpose)
- 1 ½ teaspoons salt
- ½ teaspoon instant yeast
- 1 ½ cups lukewarm water
Instructions
- Mix flour, salt, and yeast in a large bowl. Add water and stir until a sticky dough forms.
- Cover and let rise at room temperature for 12–18 hours.
- Turn dough onto a floured surface, shape into a ball, and let rest 30 minutes on parchment paper.
- Preheat Dutch oven at 450°F (230°C) for 30 minutes.
- Place dough into the hot pot (using parchment), cover, and bake 30 minutes.
- Remove lid and bake 15–20 minutes until crust is golden brown.
- Cool on a wire rack for 1 hour before slicing.
Notes
- For extra flavor, replace up to 1 cup of flour with whole wheat flour.
- Add-ins like herbs, cheese, or seeds can be folded in after the first rise.
- If your bread feels sticky, don’t add too much flour—keep it light to maintain a soft crumb.
- Prep Time: 15 minutes
- Cook Time: 45 minutes
- Category: Bread
- Method: Baking
- Cuisine: European-inspired rustic bread
Nutrition
- Serving Size: 1
- Calories: 150
- Sugar: 0g
- Sodium: 220mg
- Fat: 0.5g
- Saturated Fat: 0g
- Unsaturated Fat: 0.5g
- Trans Fat: 0g
- Carbohydrates: 31g
- Fiber: 1g
- Protein: 4g
- Cholesterol: 0mg