There’s something about apple crisp that feels like home — even if you didn’t grow up eating it. The scent of bubbling cinnamon apples, the golden oat topping that crisps just enough to make that perfect crunch — it’s cozy, nostalgic, and downright irresistible.
I still remember the first time I baked apple crisp on a chilly Sunday afternoon. The kitchen windows were foggy, the air smelled of brown sugar and butter, and everyone in my family wandered in before it even came out of the oven. My husband peeked in and said, “What smells so good?” and I knew I’d hit on something special.
Unlike an apple pie, which takes a bit of fussing with dough and chilling, apple crisp feels effortless — yet still delivers that same sweet comfort. It’s the kind of dessert you throw together when you want something warm and homemade without spending all day in the kitchen. And honestly? It’s even better the next morning with a scoop of vanilla yogurt (don’t tell anyone I said that).
Why I Love This Recipe

Apple crisp is the ultimate “comfort dessert” — simple ingredients, minimal effort, and absolutely unbeatable results. What makes this particular version stand out is its balance of textures and flavors. The apples turn tender but not mushy, the buttery oat topping bakes to a perfect crunch, and there’s just the right amount of sweetness so it doesn’t feel heavy.
I also love that it’s incredibly forgiving. You don’t have to worry about rolling pastry or getting measurements exact. You can use almost any apple you have on hand — even that mix of sweet and tart ones at the bottom of your fruit bowl.
This recipe also has a slightly deeper flavor than most, thanks to a small splash of lemon juice (to brighten it) and a pinch of nutmeg that gives the apples a warm, rounded note. The topping — a mix of oats, flour, butter, and brown sugar — bakes into something that’s halfway between a crumble and a cookie.
It’s also perfect for gatherings because it feeds a crowd and reheats beautifully. Whether it’s Thanksgiving, a family potluck, or just a cozy fall night, this apple crisp never fails to disappear fast.
And maybe that’s why I love it so much — it’s humble, heartwarming, and just a little old-fashioned in the best way possible.
Ingredients for Apple Crisp
You won’t need anything fancy for this — just pantry staples and fresh apples. What makes a great apple crisp is the quality of your ingredients and a few small choices that make all the difference.
Here’s what I use and why:
Apples: You’ll want about 6–7 medium apples (roughly 6 cups when sliced). I like to mix sweet and tart varieties — Honeycrisp for sweetness, Granny Smith for tang, and maybe a Gala or Fuji for balance. Peeling them is optional, but I find it gives the dessert a softer texture. Slice them about ¼-inch thick so they hold shape but still cook down nicely.
Brown sugar: This adds depth and a lovely molasses flavor. I use light brown sugar for a subtle sweetness, but dark brown sugar works if you prefer a richer taste.
Oats: Rolled oats are the best choice here. They give that crisp, crunchy topping without getting soggy. Avoid instant oats — they’ll lose their texture.
All-purpose flour: Helps the topping bind together and adds a light crumble. You can swap in a gluten-free flour blend if needed.
Butter: Always go for real butter. Cold, unsalted butter cut into cubes works best because it gives the topping those golden, crispy bits. If you’re using salted butter, just reduce the added salt slightly.
Cinnamon & Nutmeg: Cinnamon brings that warm, cozy aroma we all love. Nutmeg adds depth — just a pinch goes a long way.
Lemon juice: A small splash keeps the apples from browning and balances the sweetness.
Salt: Don’t skip it. It brings out all the other flavors and makes everything pop.
Optional extras:
If you’re feeling creative, add a handful of chopped pecans or walnuts to the topping for a nutty crunch, or toss in a dash of vanilla extract to the apple mixture for a little extra comfort.
It’s amazing how such simple ingredients come together to create something that tastes this good.
How Much Time Will You Need
This recipe is beautifully simple and doesn’t demand much hands-on time. Here’s the breakdown:
- Prep time: 20 minutes (peeling, slicing, and mixing the apples + topping)
- Bake time: 40–45 minutes
- Cooling time: 10 minutes before serving
In total, you’ll have a warm, golden apple crisp on the table in just over an hour — perfect for weeknights, weekends, or last-minute guests.
And the best part? You can prep it ahead. Assemble the crisp, cover it tightly, and refrigerate it for up to a day. When you’re ready, pop it straight into the oven.
How to Make This Apple Crisp
This apple crisp is easy enough for beginners but delicious enough for everyone to think you spent all afternoon baking.
Step 1: Preheat your oven and prep the apples
Start by preheating your oven to 350°F (175°C). Lightly grease a 9×9-inch baking dish (or any similar size you have).
Peel (if you want) and slice your apples into thin, even slices — about ¼ inch thick. Toss them into a large mixing bowl. Add 2 tablespoons lemon juice, 2 tablespoons brown sugar, 1 teaspoon cinnamon, and a pinch of nutmeg. Give it all a gentle toss until the apples are evenly coated.
The lemon brightens the flavor while the sugar helps draw out some of the juices — this creates that delicious syrupy base once baked.
Step 2: Mix the crisp topping
In another bowl, combine ¾ cup flour, ¾ cup rolled oats, ½ cup brown sugar, and ½ teaspoon salt. Cut in ½ cup (1 stick) cold butter using a pastry cutter or your fingertips until the mixture becomes crumbly and starts to clump together.
You want to see small pea-sized bits of butter throughout — that’s what will give your topping those golden, crisp edges.
Step 3: Assemble the crisp
Pour the apple mixture into your prepared baking dish, spreading it evenly. Sprinkle the oat topping evenly over the apples, making sure it covers everything. Don’t press it down — you want it to stay loose and crumbly.
Step 4: Bake until golden and bubbly
Slide the dish into your preheated oven and bake for 40–45 minutes, or until the top is golden brown and you can see the apple juices bubbling up around the edges.
The smell at this stage is incredible — buttery oats, caramelized sugar, warm cinnamon. It’s basically fall in a pan.
Step 5: Cool slightly before serving
Let the crisp rest for at least 10–15 minutes before serving. This helps the juices thicken and keeps the topping from going soggy.
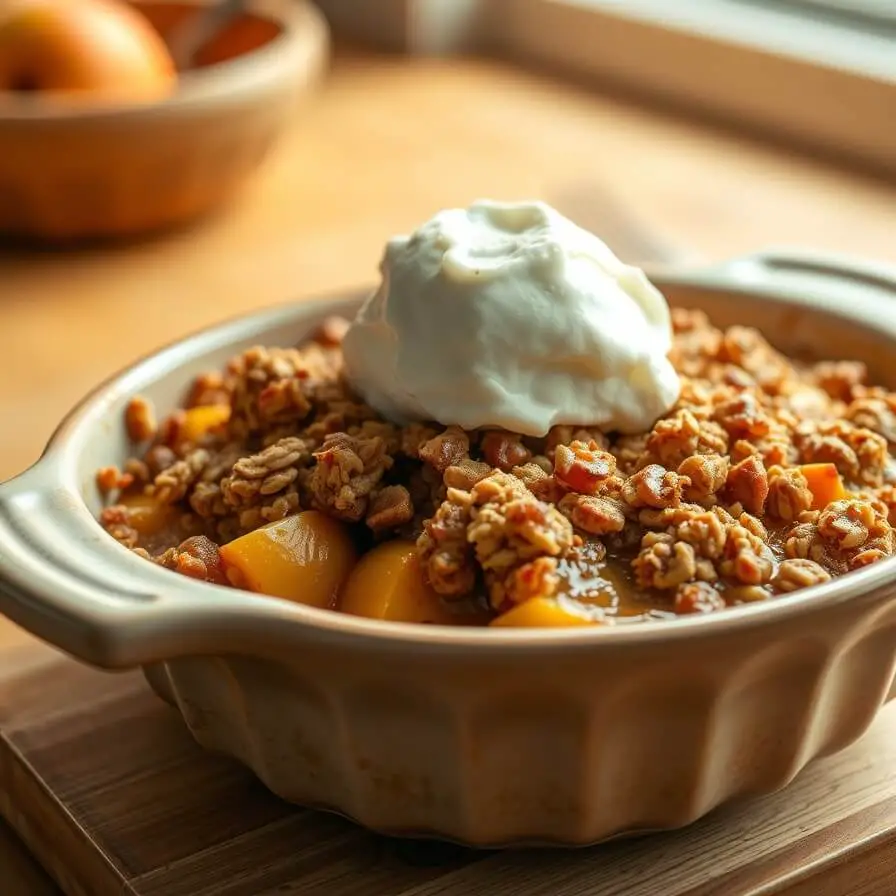
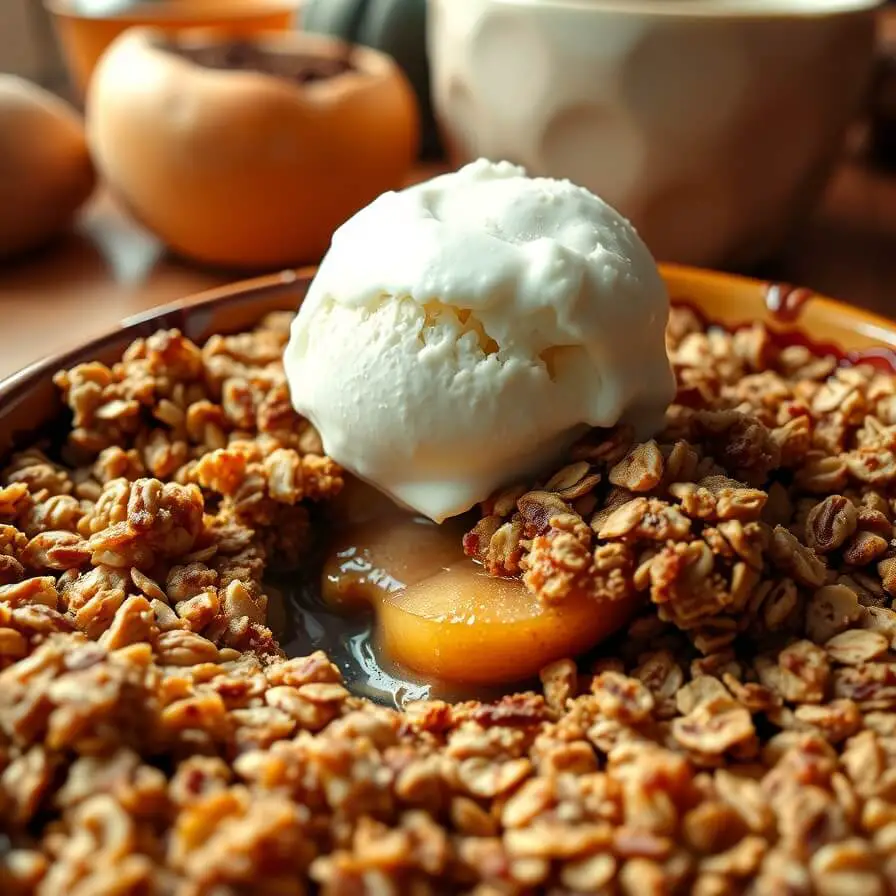
Serve it warm with a scoop of vanilla ice cream or a dollop of whipped cream. If you’re like me, a drizzle of warm caramel sauce over the top takes it from comforting to unforgettable.
Substitutions
One of the best things about apple crisp is how adaptable it is. You can swap ingredients depending on what you have — or dietary needs — and it will still turn out delicious.
Here are a few of my favorite substitutions:
Apples: No fresh apples? Try pears for a softer, more delicate flavor. Even frozen apple slices can work in a pinch — just thaw and drain them first.
Oats: If you’re out of rolled oats, you can use quick oats, though the topping will be slightly less crunchy. For a grain-free version, replace the oats with finely chopped nuts or almond flour.
Butter: Dairy-free? Coconut oil or vegan butter works beautifully. Coconut oil adds a subtle tropical flavor that actually pairs really well with apples.
Flour: Use a gluten-free flour blend or almond flour for a gluten-free crisp.
Sugar: Swap brown sugar with coconut sugar or maple syrup for a more natural sweetness. Maple syrup also deepens the flavor and adds a cozy aroma.
Spices: Don’t have nutmeg? Add a pinch of allspice or cardamom for a little twist. You can even add ginger for a spicier version.
And here’s the thing — you can mix and match these substitutions however you like. This recipe is very forgiving. It’s the kind of dessert that loves to be personalized, so feel free to experiment.
Best Side Dish of Apple Crisp
Now, apple crisp can absolutely shine on its own — but if you want to turn dessert into a full cozy moment, here are a few side pairings I swear by:
1. Vanilla Ice Cream
There’s truly nothing like warm apple crisp meeting a scoop of cold vanilla ice cream. The cream melts into the crisp, creating a silky sauce that balances every bite.
2. Whipped Cream with Cinnamon Sugar
If you want something lighter than ice cream, whip up some heavy cream with a touch of cinnamon and powdered sugar. It gives the perfect airy contrast to the rich, crunchy topping.
3. Hot Apple Cider or Chai Latte
This isn’t exactly a “dish,” but trust me — pairing apple crisp with a warm spiced drink takes it over the top. It’s cozy, aromatic, and just feels like fall wrapped in a blanket.
Serving and Presentation Tips
Serving apple crisp is one of my favorite parts — mainly because there’s no wrong way to do it. But a few small presentation tricks can turn this humble dessert into something that looks (and tastes) like it came straight out of a cozy country café.
First, serve it warm. Apple crisp is at its best when the juices are still bubbling and the topping has that satisfying crunch. Let it cool just enough so the syrup thickens slightly, then scoop generous portions into small bowls or glass dessert dishes.
Add contrast. A dollop of cold vanilla ice cream or whipped cream creates the perfect hot-and-cold balance. I love to sprinkle a little cinnamon sugar or crushed pecans on top for a rustic finish. If you’re serving guests, drizzle a thin ribbon of caramel or maple syrup across the top just before bringing it to the table — it adds a golden sheen that makes everyone’s eyes light up.
For family dinners, I sometimes bake the apple crisp in individual ramekins instead of one large pan. It feels special and makes serving easier. And if you’re setting up a dessert table, place the ramekins on a wooden tray with a few cinnamon sticks or fresh apple slices for decoration.
It’s simple, comforting, and elegant — all at once.
Tips and Tricks to Make This Recipe Even Better
Every time I make apple crisp, I learn something new. Over the years, a few small tweaks have turned this from “delicious” to “absolutely unforgettable.”
1. Mix apple varieties.
Using more than one kind of apple gives your crisp a deeper flavor and better texture. I love combining tart Granny Smith with sweet Honeycrisp or Fuji.
2. Keep the butter cold.
Cold butter helps form those tiny clumps in the topping that turn golden and crunchy in the oven. If your kitchen is warm, pop the mixture in the fridge for five minutes before sprinkling it over the apples.
3. Don’t overbake.
Once the topping turns golden and the edges start to bubble, it’s ready. Overbaking can make the apples too soft and the topping too hard.
4. Let it rest before serving.
This step is often overlooked but so important. Allowing it to sit for 10–15 minutes helps the juices settle so you get a perfect scoop instead of a soupy mess.
5. Add a flavor twist.
Try mixing a teaspoon of vanilla or a splash of bourbon into the apple filling — it gives an irresistible depth of flavor. A handful of chopped nuts or even a sprinkle of sea salt on top makes a huge difference.
6. Reheat like a pro.
To bring back that fresh-baked crispiness, reheat leftovers in the oven at 350°F for 10 minutes. The topping will become crunchy again — just like when it first came out of the oven.
Common Mistakes to Avoid
Apple crisp may be simple, but even a classic dessert has its pitfalls. Avoid these common mistakes to ensure yours turns out perfect every single time:
Using the wrong apples.
Some apples turn mushy when baked, like Red Delicious or McIntosh. Stick to firm, crisp varieties that hold their shape — think Granny Smith, Honeycrisp, or Pink Lady.
Too much sugar.
It’s tempting to load up on sugar, but remember, apples are naturally sweet. If your apples are very ripe, reduce the sugar slightly.
Skipping the lemon juice.
Lemon juice doesn’t just keep apples from browning — it also balances the sweetness and enhances the flavor.
Overmixing the topping.
You want small chunks of butter throughout the topping. If you mix until it’s smooth, it’ll bake into a dense crust instead of a crumbly, crisp layer.
Not letting it cool.
If you scoop it right out of the oven, the juices won’t have time to thicken. Let it rest for 10 minutes, and you’ll get that perfect syrupy consistency.
How to Store It
If you somehow have leftovers (which doesn’t happen often in my house!), apple crisp stores beautifully.
At room temperature: Cover loosely with foil or plastic wrap and keep for up to 2 days.
In the refrigerator: Store in an airtight container for up to 5 days. When reheating, use the oven at 350°F for about 10 minutes to bring back the crisp texture — the microwave works in a pinch, but the topping will soften.
Freezer option: You can freeze apple crisp before or after baking.
- Before baking: Assemble everything in a freezer-safe dish, cover tightly, and freeze for up to 3 months. Bake from frozen, adding about 10 extra minutes.
- After baking: Let it cool completely, wrap tightly in foil, and freeze. Reheat directly from frozen until warmed through and bubbly.
This makes it a fantastic make-ahead dessert for holidays or gatherings.
FAQ
Q: Can I make this recipe ahead of time?
Yes! You can assemble the crisp a day in advance, cover it, and refrigerate it until you’re ready to bake. Just add a few extra minutes to the bake time.
Q: What are the best apples to use for apple crisp?
A mix of tart and sweet apples gives the best flavor — Granny Smith, Honeycrisp, Fuji, or Pink Lady are great choices.
Q: Can I make apple crisp gluten-free?
Absolutely. Just use gluten-free rolled oats and a 1:1 gluten-free flour blend in place of regular flour.
Q: How can I make it vegan?
Swap the butter for vegan butter or solid coconut oil. The rest of the ingredients are naturally vegan-friendly.
Q: How do I know when it’s done baking?
Look for a golden brown topping and bubbling fruit juices around the edges. If the top browns too quickly, cover loosely with foil for the last few minutes.

Apple Crisp Recipe
- Total Time: 1 hour 5 minutes
- Yield: 6–8 1x
- Diet: Vegetarian
Description
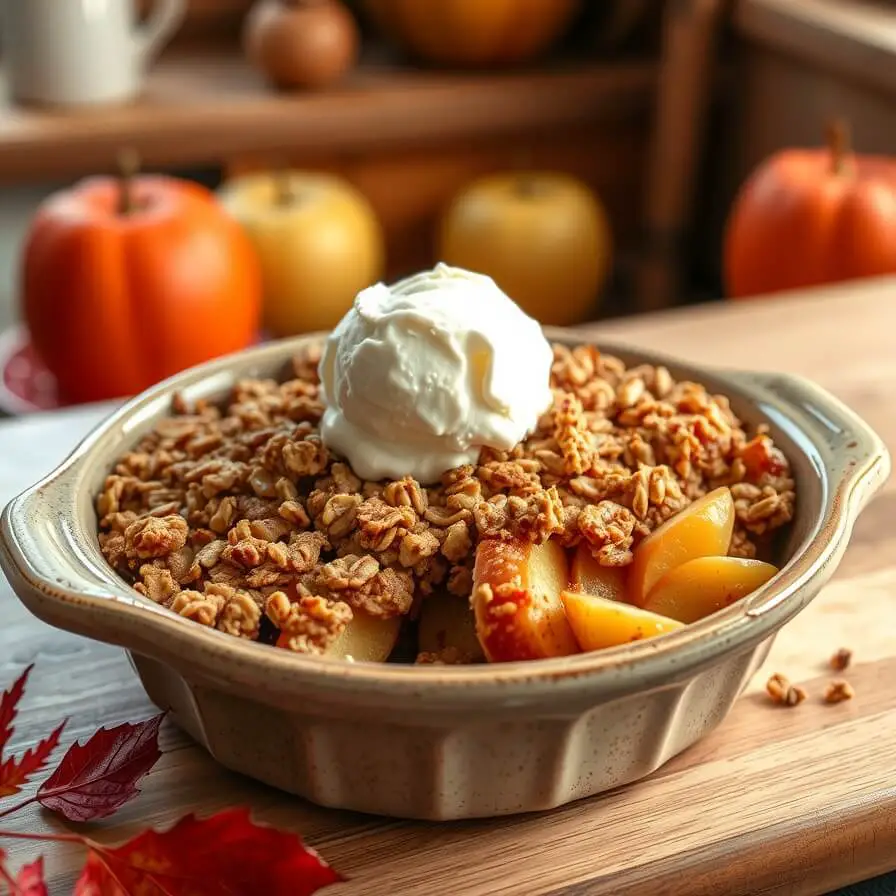
There’s nothing quite like a warm apple crisp fresh from the oven — tender cinnamon-spiced apples beneath a buttery oat topping that crackles with every bite. It’s a simple, old-fashioned dessert that never goes out of style. Perfect for fall evenings, family gatherings, or whenever you crave something cozy and homemade. Serve it with vanilla ice cream or whipped cream for a truly comforting treat.
Ingredients
- 6–7 medium apples (peeled, cored, sliced)
- 2 tbsp lemon juice
- 2 tbsp brown sugar
- 1 tsp cinnamon
- Pinch of nutmeg
- ¾ cup all-purpose flour
- ¾ cup rolled oats
- ½ cup brown sugar
- ½ tsp salt
- ½ cup unsalted butter, cold and cubed
Instructions
- Preheat oven to 350°F (175°C) and grease a 9×9-inch dish.
- Toss apples with lemon juice, 2 tbsp brown sugar, cinnamon, and nutmeg. Spread evenly in the dish.
- In another bowl, mix flour, oats, ½ cup brown sugar, and salt. Cut in butter until crumbly.
- Sprinkle topping evenly over apples.
- Bake 40–45 minutes, until golden and bubbling.
- Let rest 10–15 minutes before serving warm with ice cream or whipped cream.
Notes
- For extra crunch, add chopped pecans or walnuts to the topping. If your apples are very sweet, reduce sugar slightly.
- Prep Time: 20 minutes
- Cook Time: 45 minutes
- Category: Dessert
- Method: Baking
- Cuisine: American
Nutrition
- Serving Size: 6–8
- Calories: 315
- Sugar: 31g
- Sodium: 160mg
- Fat: 12g
- Saturated Fat: 7g
- Unsaturated Fat: 4g
- Trans Fat: 0g
- Carbohydrates: 50g
- Fiber: 4g
- Protein: 3g
- Cholesterol: 30mg